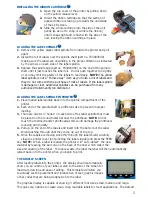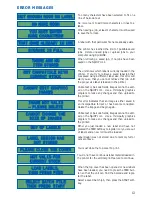
lines are entered, an error will appear on the
printer. Each label with an error will have text
printed stating that an error occurred and the
label was skipped.
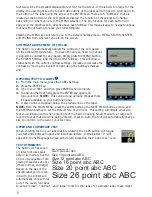
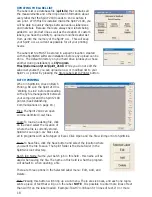
Move: Adjusts the position of the text on the
label. Press up to move selected line of text up
one row, press down to move it down one row.
Add: Press this button to add another label,
which will appear ABOVE the selected label.
Delete: Press this button to
delete the selected label.
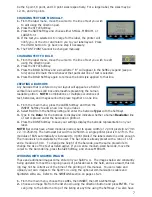
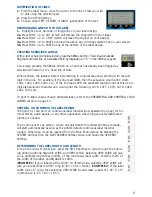
Label Width: Change the width of the label. Predetermined settings of
0.300", 0.500", 0.625", 0.750", 0.800", 0.900", 1.00", 1.250",
1.500", 1.750", 1.875", 1.90", and 2.00". Select the width of your
label and it will appear in blue.
Check: Select the label width and press this button. Labels with too
many characters for the selected width will appear in red. A message
will appear stating that one or more label lines is too long for the speci-
fied label width. The labels in red will need a wider label stock, or less
characters and the red error will clear. If no width is selected, the fol-
lowing message will pop up: 'Please scroll to the desired label width
and then click on it to select it.'
Clear Flags: This will clear the labels that are in red.
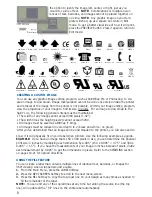
Font Size: Select which font size you want on the label. The “automat-
ic” option will select the largest size based on the label size and the
amount of characters in the table.
Justification: Select how the text will align on the label.
Style: Select if you want the text Regular or Bold.
DOWNLOAD BATCH JOB TO PRINTER
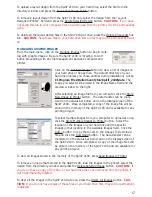
When ready to import data to your printer, click the Download Batch
Job to Printer button. Be sure the Spirit 2100 is "Waiting to Link"
before proceeding with any file management between your computer
and the Spirit printer (see Establishing Communications on page 16).
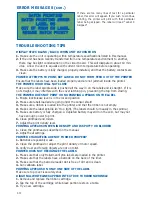
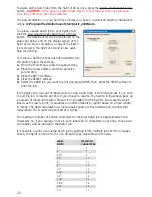
To view all batch jobs stored in the memory of your Spirit 2100, press
the Read Batch Jobs From Printer button. The stored batch jobs will be
listed in the Batch Jobs in Printer field.
To remove a batch job from the Spirit 2100 only, select the batch job from the Batch Print Jobs
In Printer field and press the Delete Selected Batch Print Job button.
CAUTION:
If you have
not saved these files to your computer first, once removed from the printer it cannot be
restored.
19

