7
be the 6 point, 8 point, and 10 point sizes respec
-
tively. For a larger label, the sizes may be
12, 16, and 20 points.
CHANGING TEXT SIZE MANUALLY
1.
From the label menu, move the cursor to the line of text you wish
to edit using the direction pad.
2.
Press the STYLE SoftKey.
3.
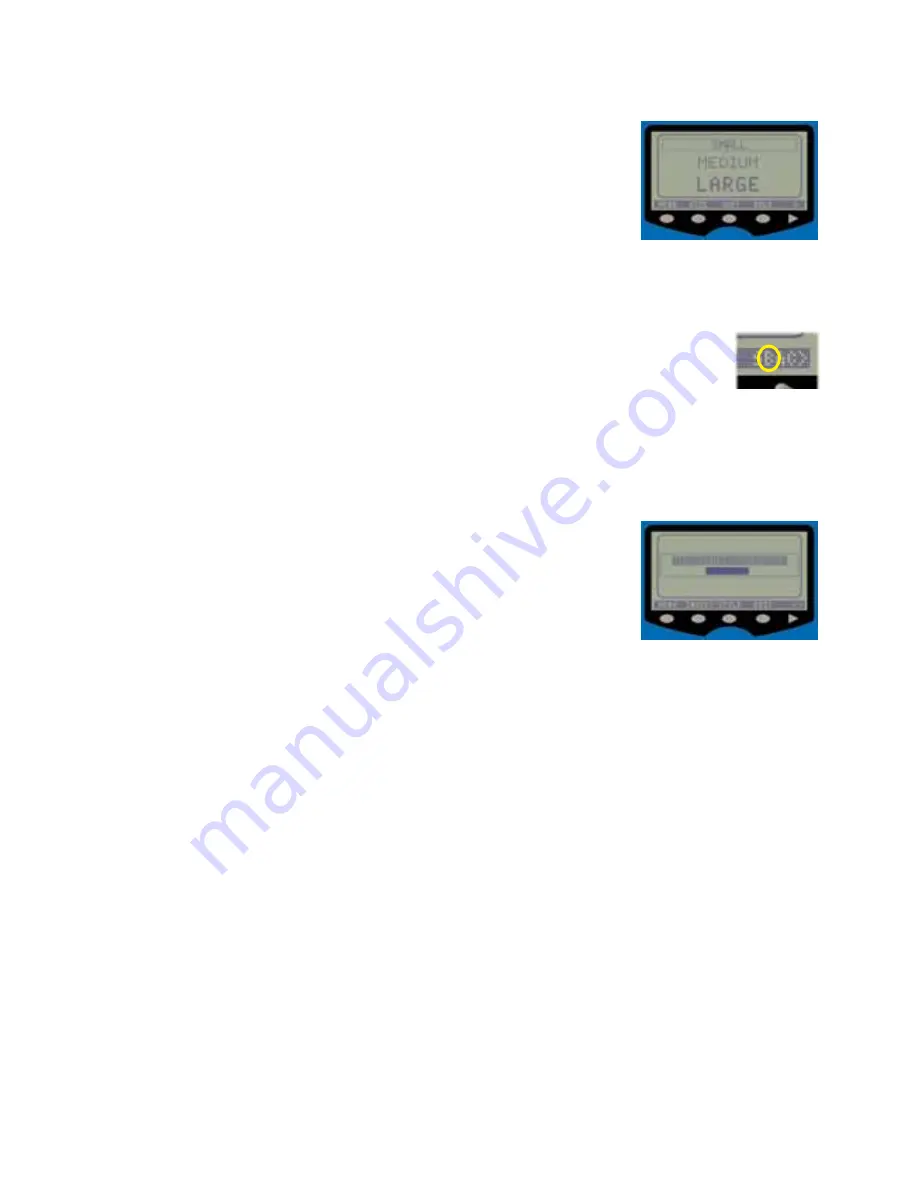
Press the SIZE SoftKey and choose either SMALL, MEDIUM, or
LARGE font.
4.
If the text you selected is too large for the label, the printer will
notify you of the error and return you to your label layout. Press
the UNDO button to go back one step if necessary.
5.
The FONT POINTS cannot be changed manually.
CHANGING TEXT TO BOLD
1.
From the label menu, move the cursor to the line of text you wish to edit
using the direction pad.
2.
Press the STYLE SoftKey.
3.
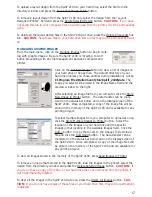
Press the BOLD SoftKey and a small letter "B" will appear in the SoftKey Legend (see pic-
ture) and will remain there whenever that particular line of text is selected.
4.
Press the BOLD SoftKey again to remove the bold style applied to that line.
CREATING A BARCODE
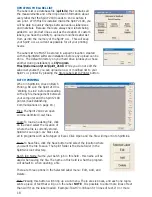
Any barcode that is entered on your layout will appear as a field of
vertical lines with a solid box underneath representing the human
readable portion.
NOTE:
Combinations or multiple occurrences of
text, barcodes, and images cannot be place together on one line.
1.
From the main menu, press the LABEL SoftKey and then the
INSERT SoftKey to add a new line to your label.
2.
Select BAR from the SoftKey listing and enter the barcode
Type:
with the SoftKeys.
3.
Type in the
Data:
for the barcode to display and indicate whether a human
Readable:
line
of text is placed under the barcode on printout.
4.
Press the DONE SoftKey to save your settings display the barcode representation on your
label.
NOTE:
Bar codes have a fixed modulus (narrow bar to space width) of 2 print pixels (0.127mm
x 2 = 0.254mm). The narrowest bar width is 0.254mm. A single printer pixel is 0.127mm. The
modulus of EAN automatically is increased to 3 print pixels if the label selected is wide enough.
The modulus is not selectable by the user. The bar code is already preset with a ratio of 1.5:1
and a module of .010. To change the height of the barcode, use the same procedure to
change the size of the text as listed earlier. If you want a medium-sized barcode, move the
cursor to the barcode line, press the SIZE SoftKey, and choose MEDIUM.
WORKING WITH GRAPHIC IMAGES
These and additional images come stored in your Spirit
™
2100
. The images below are constantly
being updated to meet the ongoing needs of professionals in the field, and as a result, this list-
ing may not be current as of the time of the printing of this manual. You can create and
upload your own images to the Spirit
™
2100
using the optional communications cable and
SpiritLINK software. Refer to the SPIRITLINK section on pages 16-21.
1.
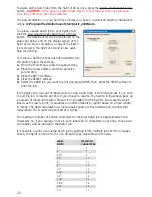
From the main menu, choose the LABEL, then INSERT, then IMAGE SoftKeys.
2.
Choose an image file from the list shown using the direction button and press ENTER. You
can jump to the bottom or top of the listing at any time using the SoftKeys. You also have

