background image

Getting started

INSTALLATION TOOLS

•  5/16" Hex Head Screwdriver
•  Torx Screwdriver (or Other, as needed, to access fuse panel)
•  Wire Crimper
•  Cutters (for cutting zip ties)
•  Isopropyl Alcohol and Wipes


MOUNTING PARTS

•  #10 x 1" Hex Head Screws (5/16" Hex Head)
•  UV Stabilized 6" Zipties
•  1" x 1" Velcro squares

SYSTEM COMPONENTS

•  Pack of Halo Connect sensors
•  Power cable with mini fuse connector
•  TPMS cable
•  TPMS antenna
•  Cellular antenna
•  GPS antenna

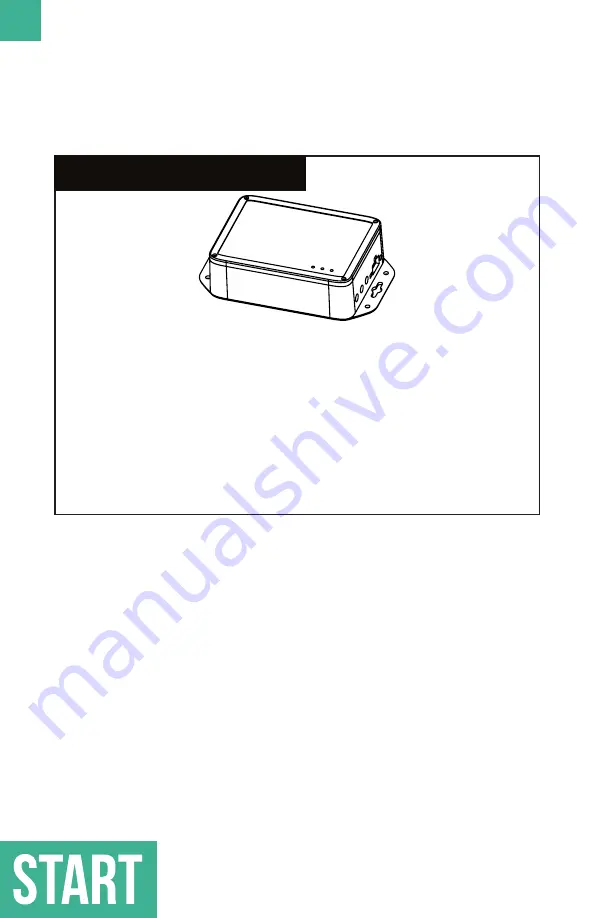
HALO Connect Gateway

6

Summary of Contents for IN-100CM

Page 1: ...ep this manual in the vehicle for future reference Read this manual before using this product Failure to follow the instructions and safety precautions in this manual may result in serious injury or d...

Page 2: ......

Page 3: ...RNING indicates a hazardous situation that if not avoided could result in serious injury or death CAUTION indicates a hazardous situation that if not avoided could result in minor or moderate injuries...

Page 4: ...ermine where to put the Gateway 9 Locate power source and ground 10 Attach TPMS antenna to vehicle 10 Attach GPS antenna to vehicle 11 Attach Gateway to vehicle 11 Connect cables to Gateway 11 Confirm...

Page 5: ...nnect Gateway The Halo Connect Gateway is comprised of a durable enclo sure that is secured in the cab of the vehicle It uses a built in LTE cellular connection to send data to the cloud TPMS to talk...

Page 6: ...Crimper Cutters for cutting zip ties Isopropyl Alcohol and Wipes MOUNTING PARTS 10 x 1 Hex Head Screws 5 16 Hex Head UV Stabilized 6 Zipties 1 x 1 Velcro squares SYSTEM COMPONENTS Pack of Halo Connec...

Page 7: ...ess location to permanently attach the gateway ID sticker inside the vehicle The gateway ID sticker contains gateway identification infor mation used to pair the gateway when using the phone app and d...

Page 8: ...r instructions on attaching the Gateway to the vehicle Other Gateway placement considerations include Gateway should be accessible for maintenance Gateway should be installed with minimum distance of...

Page 9: ...ith the Gateway If using this add a fuse locate the vehicle s fuse box and select the power and ground locations If you are using a different power connection be sure to add a fuse to the positive pow...

Page 10: ...tenna must have a clear view of the sky to operate properly Remove adhesive protector from GPS antenna and place the antenna on the dashboard inside the cab Route the cable back to the Gateway Avoid c...

Page 11: ...the holes on the Gateway to allow for the mounting screws to fit properly ON OFF ANTENNAS 4x 6 Connect cables to gateway On the gateway the side label marks the port for each of the cables as seen bel...

Page 12: ...stem or sensor seal may cause a poor seal between the sensor and valve stem resulting in a tire leak 10 Pair gateway using mobile app On the Gateway ensure that the Ready LED is emitting blue Download...

Page 13: ...ly with the limits for a Class B digital device pursuant to part 15 of the FCC Rules These limits are designed to provide reasonable protection against harmful interference in a residential installati...

Page 14: ...es under the most accurate measurement standards possible and that all the necessary steps have been taken and are in force to assure that production units of the same equipment will continue to compl...

Page 15: ......

Page 16: ...2449 www aperiatech com 2019 Aperia Technologies Inc IN 100CM 91 00006672 Rev R02 PMN Halo Connect Gateway Model No GW 10 for xBR type sub 1GHz Rx Model No GW 20 for cc1310 type sub 1GHz Rx Printed i...

Reviews: