Page 15 of 15
2.4 Calibration
After turning on the instrument, use up or down keypad to go to the Calibration Screen
(Figure 6). Users may calibrate the instrument at his/her own wish after using for a
certain time of period or suspect degradation of sensor performance.
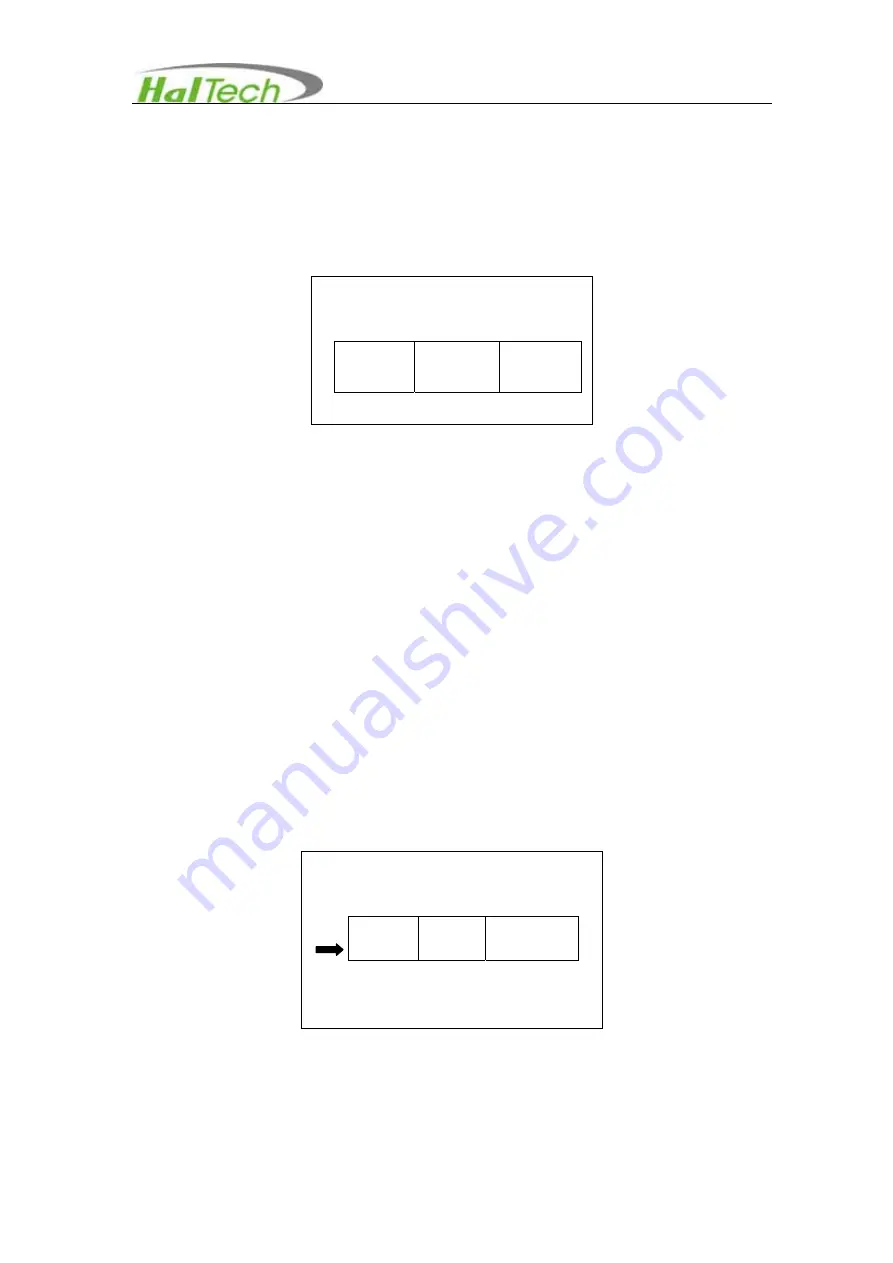
Figure 6
Calibration Screen - 1
Recommended calibration method is standard Zero-Span technique. The X values in
the first column represent the concentration of calibrating gas in ppm. The Y values in
the second column represent the response of the sensor to be calibrated. The values in
the third column are calibration coefficients. The example of calibration procedures is
described below:
Here we use a zero air and the vapor concentrations of 100 ppm of carbon monoxide
standard gas cylinder as an example for calibration:
1) Connect the inlet of the instrument to a glass container and then introduce the zero
air to the glass container
2) Enter into the calibration screen by pressing the
ENTER
keypad and make sure
that the left arrow pointed at the first row of 0ppm concentration. Use up or down
key to move the cursor. (refer to Figure 7)
Figure 7
Calibration Screen -2
Calibration
[X] [Y] [K B]
000
100
0040
0610
+ 208
+ 000
Calibration
[X] [Y] [K B]
000
100
0040
0610
+ 208
+ 000
Reset
000
ppm


