7
3. Parts/Preparation for use
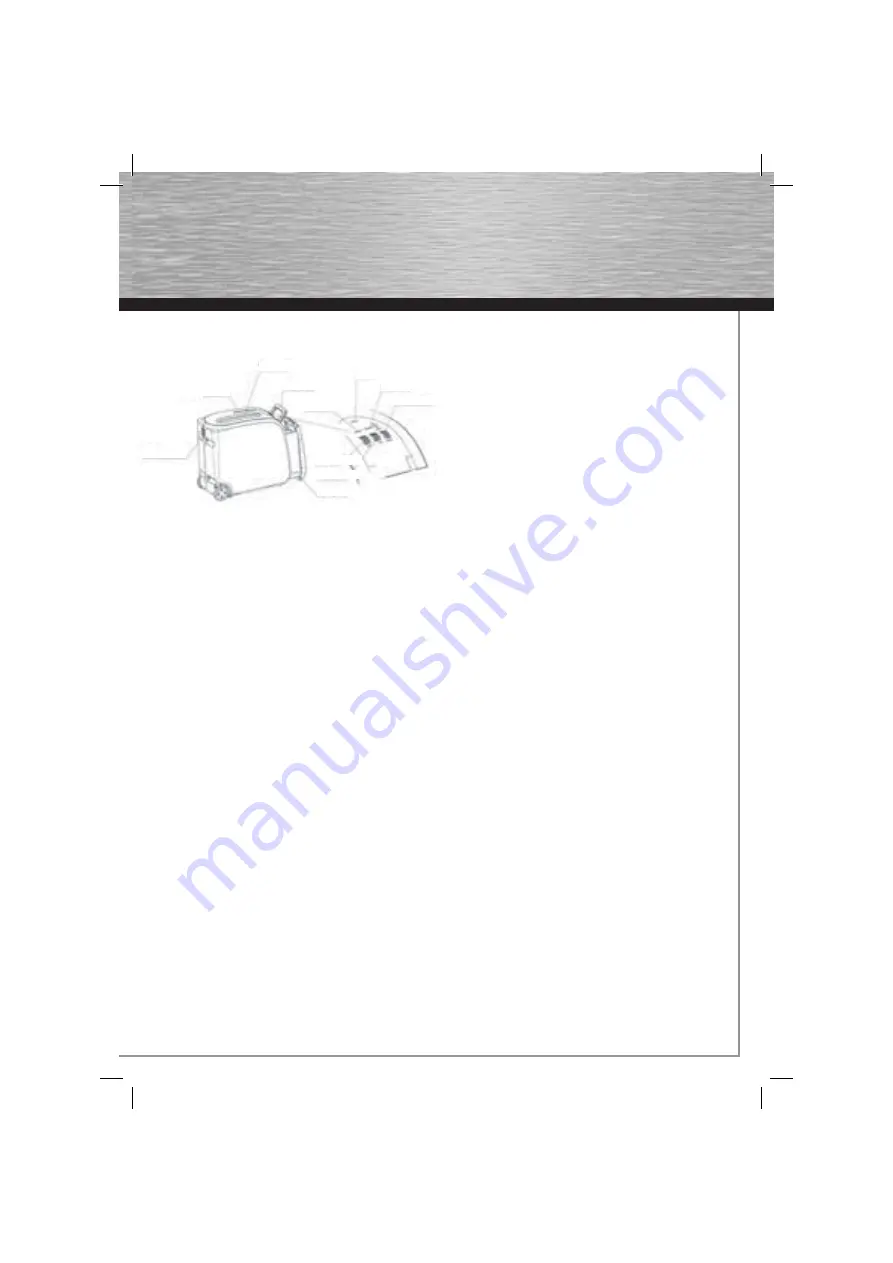
3.1 Parts
3.2 Preparation for use
a) Remove all packaging materials from the device.
b) Make sure that the power switch on the rear side
of the device is set to “0”. If it is not, switch it to “0”.
c) Position the paper shredder on a fl at surface near a
mains power socket and in such a way that it is
steady and easily accessible on all sides.
d) Lift the handle on the front side to release the waste
bin and pull it out.
e) Place the separate waste bin for CDs, DVDs and
plastic cards into the larger waste bin for paper.
To keep the two bins separate, make sure that the
smaller bin’s upper tongue is fi tted exactly into the
recess on the larger bin.
f) Slide the two bins (together) completely back into the
housing and press down the handle to secure them in
place.
g) Connect the power cable to a 220-240 V~ mains
power
socket.
h) You can now switch on the power switch on the back
side of the device by setting it to the “I” position.
i) You can put the paper shredder into standby mode by
pressing the on/off button. Once you have done so,
the green light above the button is illuminated.
4. Modes and operation
4.1 Functions
Once you have followed the steps outlined in section 3,
the paper shredder is ready for use.
The following is a detailed description of the three
function buttons found on the front side of the device.
•
ON/OFF
The on/off button is used to put the paper shredder
in standby mode. When this is done, the green light
is
illuminated.
As soon as a sheet of paper is placed into the
appropriate slot, the device automatically begins to
shred it. When inserting a sheet of paper into the
device, make sure that it is inserted straight down.
As soon as the shredding process is complete, the
device is automatically reset to standby mode.
If the waste bin is taken out during shredding, the
device stops automatically for your safety.
If the on/off button is pressed again, the device is
switched out of standby mode and the green light
goes
out.
•
REV
You can press the REV button to run the cutting rollers
in a backwards direction.
This is particularly useful if there is a paper jam, as
it clears the rollers. If you notice that the paper being
inserted is slanted or that you have accidentally
inserted too much paper at once, press and hold
down this button until the jammed paper is released
back through the cutting slot.
• FWD
You can use this function to move paper shreds
caught between the rollers to the waste bin.
To do so, press the FWD button and let the rollers
keep running until all stray shreds are in the waste
bin.
Pressing the REV and FWD buttons one after the other
can also help clear a paper jam.
Shredding slot for
Shredding slot for
CDs/DVDs/plastic cards
Handlepaper
Power switch
Overload indicator
Reverse button
Forward button
Waste bin
Bin full indicator
Overheat indicator
On/off switch
Shredding slot


