32
Setting the time and date
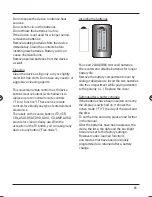
The initial display shows the time and day of
the week in the lower line.
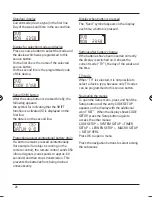
Briefly press the Setup button and the date
appears in the lower line for approx. 30
seconds.
Setting the time
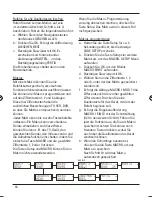
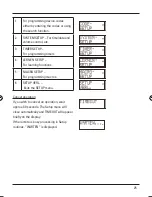
a. Press and hold the Setup button for
approx. 3 seconds until CODE SETUP
appears.
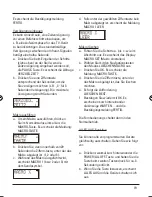
b. Briefly press the Setup button again to
access SYSTEM SETUP.
c. Press OK to confirm. VOL/MUTE SETUP
appears.
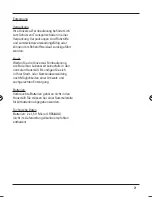
d. Select the TIME SETUP menu using
the navigation buttons and press OK to
confirm.
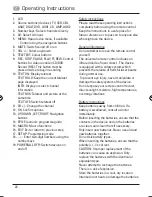
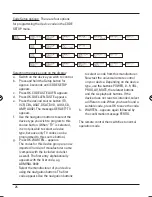
e. The current time mode flashes. Select 12
or 24 HR time mode using the navigation
buttons and press OK to confirm (see end
of this section).
f. The hours display flashes. Set the hour
using the navigation buttons and press OK
to confirm.
g. The minutes display flashes. Set the
minutes using the navigation buttons and
press OK to confirm.
h. The confirmation message FERTIG
appears. The display returns to
CODE SETUP.
If you select 12 HR time mode, the time is
displayed with the additional AM or PM.
Setting the date
a. Access SYSTEM SETUP as described in
the section “Setting the time”.
b. Press OK to confirm. VOL/MUTE SETUP
appears.
c. Select the DATE SETUP menu using
the navigation buttons and press OK to
confirm.
d. The year flashes. Set the year using
the navigation buttons and press OK to
confirm.
e. The month flashes. Set the month using
the navigation buttons and press OK to
confirm.
f. The date flashes. Set the day using the
navigation buttons and press OK to
confirm.
g. The day of the week flashes. Set the day
of the week using the navigation buttons
and press OK to confirm.
h. The confirmation message FERTIG
appears. The display returns to
CODE SETUP.
00012089man_de_en.indd 32
15.06.11 11:03

