4
Overview:
1. Package
Contents
2.
Installing the Hardware
3.
Installing the Software
3.1 Windows 2000/XP
3.2 Windows Vista/Windows 7
4.
Contact and Support Information
1. Package
Contents
-
2x PCI-eSATA card
- Driver CD with MAGIX Goya Base
- Installation instructions
2. Installing the Hardware:
You must open your computer to install the card. Ensure that you
have unplugged your computer from the power supply. If you
are not familiar with the internal setup of your computer, please
consult your computer manual or ask an expert.
1.
Switch off all connected devices and your computer.
2. Unplug your PC before beginning installation.
3. Open the case of the computer.
Note:
Be aware that static electricity can damage both the
card and your computer. Ground yourself by touching a
metal object.
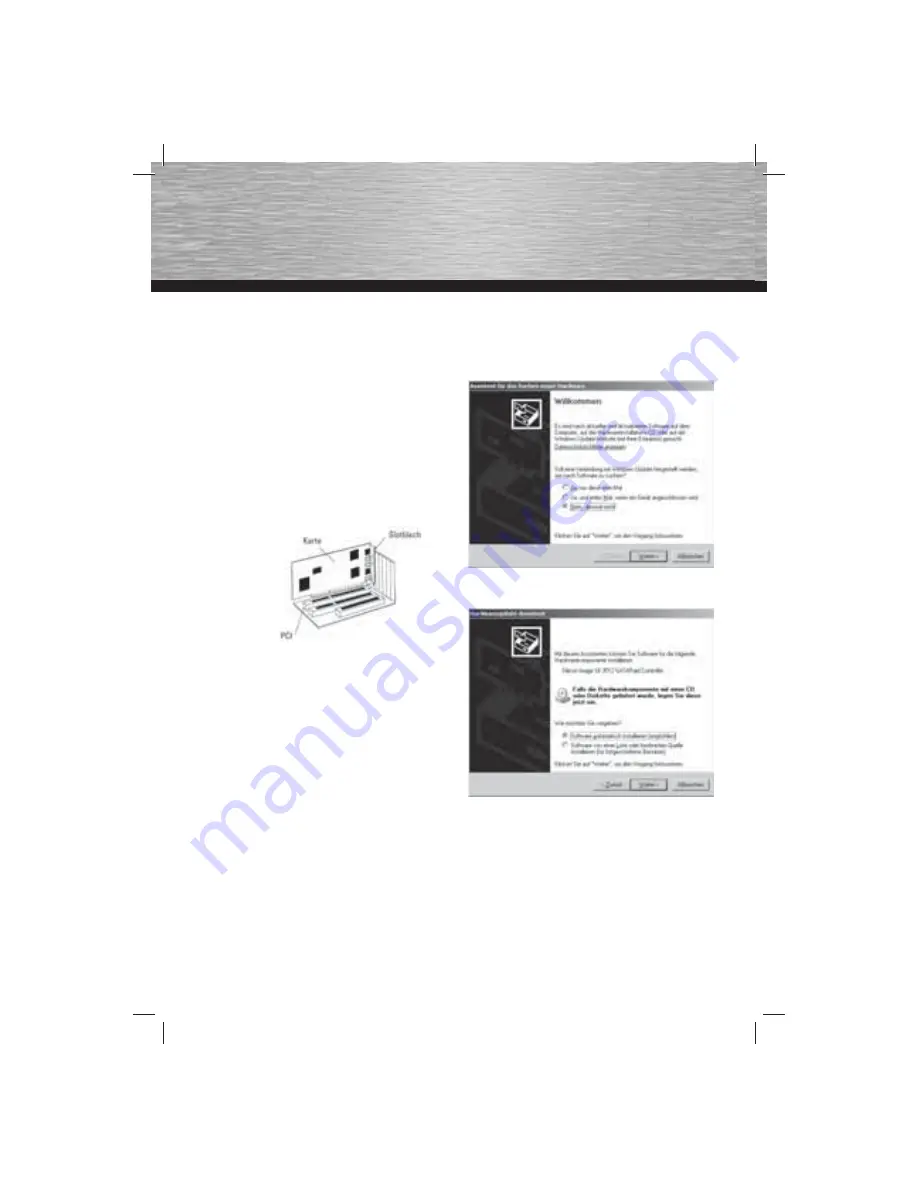
4. Select a free PCI slot. Remove the cover plate for this slot.
Keep the screw – you will need it later to secure the card.
5. Hold the card on the edges of the board and insert it into
the free slot. Carefully press the card into the slot until the
holding bracket is lined up with the casing and the gold-
plated contacts have disappeared within the slot.
6. Secure the card using the slot plate screw you removed
earlier.
7. Close the case of your computer, and reconnect it to the
power grid.
8. Restart your computer.
3.
Installing the Software
3.1 Windows 2000 / XP
Once the PC is booted, the
“New Hardware Wizard”
will
appear. Now place the enclosed driver CD into your computer’s
CD-ROM drive.
Select
“No, not this time”
and then click
“Next”
.
Select
“Install the software automatically (recommended)”
,
and click Next.
The driver will now be automatically installed and the card can
then be used.
3.2 Windows Vista/Windows 7
Important:
Ensure that the PC is not connected to the internet,
then insert the driver CD in the CD-ROM drive
.
g
Operating Instruction


