
16
17
g
Operating Instruction
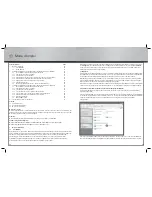
Contents:
Page
1.
Installation
Instructions
17
1.1.
On
Windows
17
1.2.
On
Mac
OS
X
17
2.
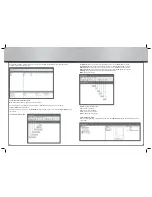
Using the EasySuite Data Transfer Program on Windows
17
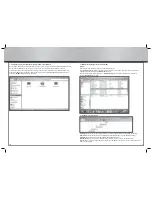
2.1. Functions of the EasySuite program
18
2.1.1.
Functions
of
the
toolbar
18
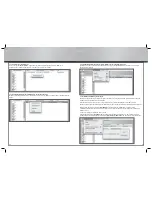
2.1.2.
Creating
a
new
folder
19
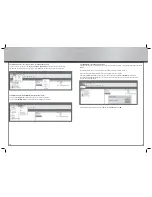
2.1.3. Explanation of the cut, copy, paste, delete, open and rename functions
20
2.1.4. Explanation of the View and Window menus on the menu bar
20
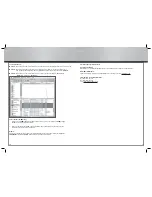
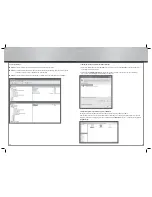
2.1.5. Explanation of the write-protect function
21
2.1.6.
Data
exchange
22
2.2. Exiting EasySuite and removing the Hama link cable
23
3.
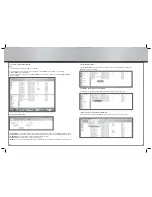
Using the EasySuite Data Transfer Program on Mac OS X
23
3.1.
Functions
of
the
EasySuite
program
24
3.1.1.
Functions
of
the
toolbar
24
3.1.2.
Creating
a
new
folder
25
3.1.3. Rename, update, delete and copy functions
25
3.1.4. Cut, copy, paste, delete and select all functions
25
3.1.5.
Explanation
of
the
write-protect
function
26
3.1.6.
Data
exchange
26
3.2.
Exiting
EasyMacCopy
27
4.
Contact
and
Support
Information
27
Contents:
1 x USB 2.0 link cable
1 x Quick guide
1 x Disposal instructions
Safety instructions:
Do not use the product in moist or extremely dusty areas, on radiators or in the vicinity of heat sources. This device is
not designed for use outdoors. Protect the device from pressure and impact. The product may not be opened during
operation.
Requirements:
Computer or laptop with at least one free USB 1.1/2.0 port.
Supported operating systems:
Windows 2000 / Windows XP / Windows XP x64 Edition / Windows XP Media Center Edition 200X /
Windows Vista / Windows Vista 64-bit.
Mac OS X 10.3.x / Mac OS X 10.4.x
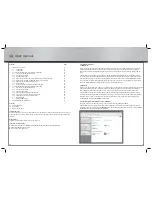
g
User manual
1. Installation Instructions
1.1 On Windows
Before connecting the Hama link cable to your computer, ensure that you have already installed the most up-to-date
Service Pack from Microsoft. Hama recommends installing the Service Pack because Microsoft has eliminated a
number of fl aws and implemented optimizations that could in certain circumstances affect the speed of the USB link
cable.
Since the Hama USB link cable is a plug-and-play solution, installing a driver beforehand is not required. Start your
operating system and plug the USB link cable into a free USB port. Your system then recognizes and installs the cable.
If the link cable is no longer required, do not simply unplug the cable. Instead, remove it via the
“Eject device”
option.
You reach this menu item by right clicking the EasySuite device and selecting the corresponding menu item in the con-
text menu. Wait until Windows notifi es you that it is safe to unplug the USB device.
1.2 Mac OS X
Before connecting the Hama link cable to your computer, make sure that you have already installed the most up-to-date
Update Pack from Apple. Hama recommends installing the Update Pack because Apple has eliminated a number of
fl aws and implemented optimizations that could in certain circumstances affect the speed of the USB link cable.
Since the Hama USB link cable is a plug-and-play solution, installing a driver beforehand is not required. Start your
operating system and plug the USB link cable into a free USB port. Your system then recognizes and installs the cable.
If the link cable is no longer required, do not simply unplug the cable. Instead, remove this cable by dragging and
dropping the CD icon labelled
EasyShare
onto the
Trash
.
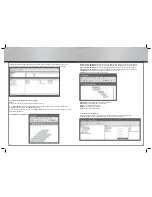
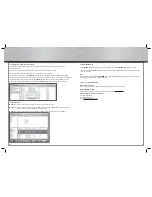
2. Using the EasySuite Data Transfer Program on Windows
EasySuite is stored in the link cable so that you do not need to install any additional software.
After the USB link cable is connected to and installed on both computers, the program automatically starts on both
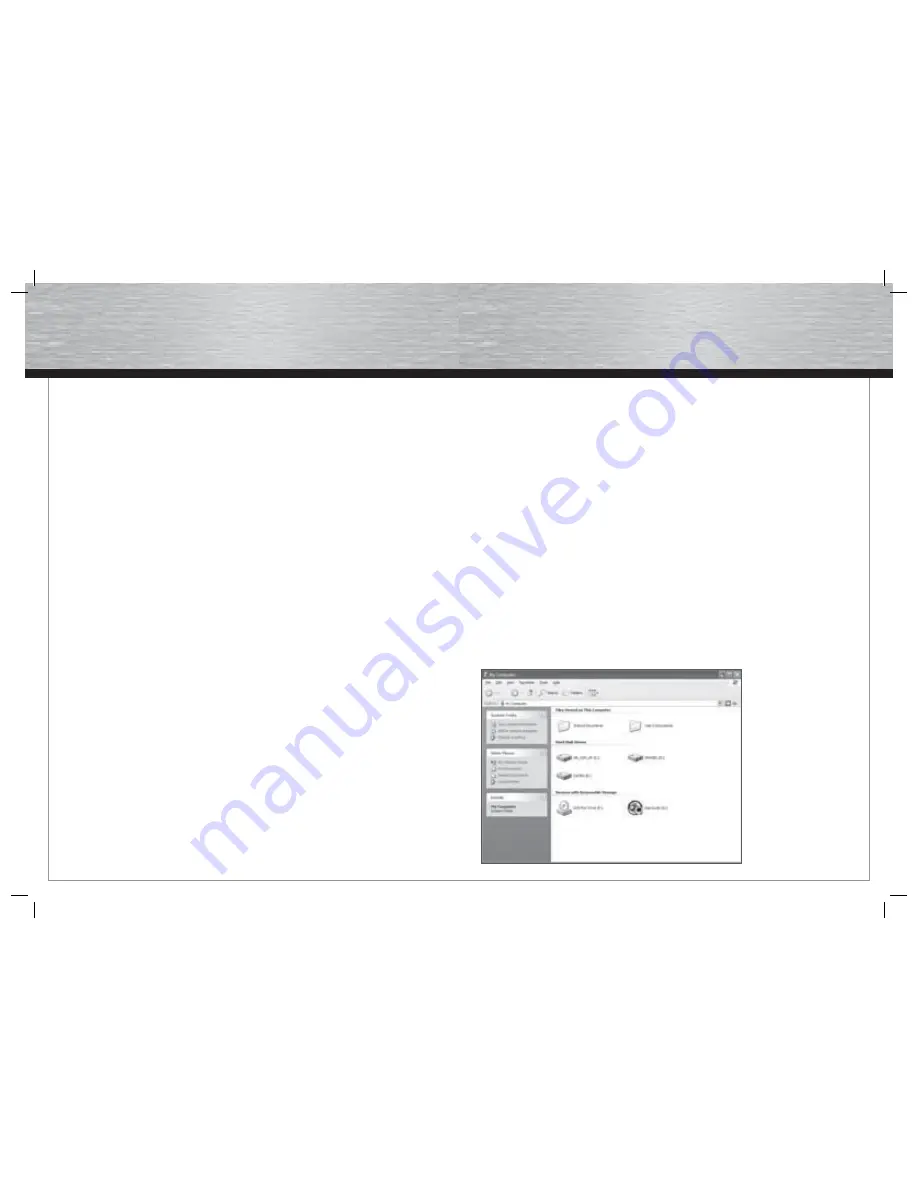
computers. If this does not happen, open
“My Computer”
on both computers and double click the device/drive labelled
“EasySuite”
. Here you can manually run the program.


