21
• P-scan: if your TV is connected to the
component video socket of the player and
Progressive Scan is supported.
• HDMI: if your TV is connected to the HDMI
socket of the player.
Switching setting from HDMI to S-Video
If you want to use a C-video (Composite) or SVideo
instead of HDMI,
• unplug the HDMI cable from the back panel of
the
player.
• select Component or P-scan in the Video
Output
menu.
Note:
• Consult your TV User’s Manual to fi nd out if
your TV supports Progressive Scan. If
Progressive Scan is supported, follow the TV
User’s Manual regarding Progressive Scan
settings in the TV’s menu system.
• If Video Output is set incorrectly, the screen
may be distorted or you will have a blue screen.
• The HDMI output of this unit can be
connected to a DVI jack on a TV or other
device using a conversion adapter. In this
case, it is necessary to use a TV or display
with an HDCP-compatible DVI input.
• There may be no image output if the DVD
player is connected to a TV or display that is
not compatible with the above format.
• Refer to the TV’s instruction manual for detailed
information regarding the HDMI/DVI terminal.
Black level
This option lets you adjust the video brightness
level on a scale of 1 to 16, with 16 being the
brightest.
HDMI Resolution
When HDMI mode is activated, HDMI resolution
items will be highlighted. You can select among
HDMI AUTO, 480P, 576P, 720P and 1080i.
Note:
• The resolutions available for HDMI output depend
on the connected TV or projector. For details,
see the user’s manual of your TV or projector.
• When the resolution is changed during
playback, it may take a few seconds for a
normal image to appear.
• If you set the HDMI output resolution 720p or 1080i,
HDMI output provides better picture quality.
• When HDMI output resolution 720p or 1080i
is selected, the C-VIDEO,S-VIDEO and
Component video(only during playback of
Copyright Protected DVD discs) will not
output video signal. Press and hold the
SUBWOOFER button on the front panel to
reset the HDMI Resolution setting.
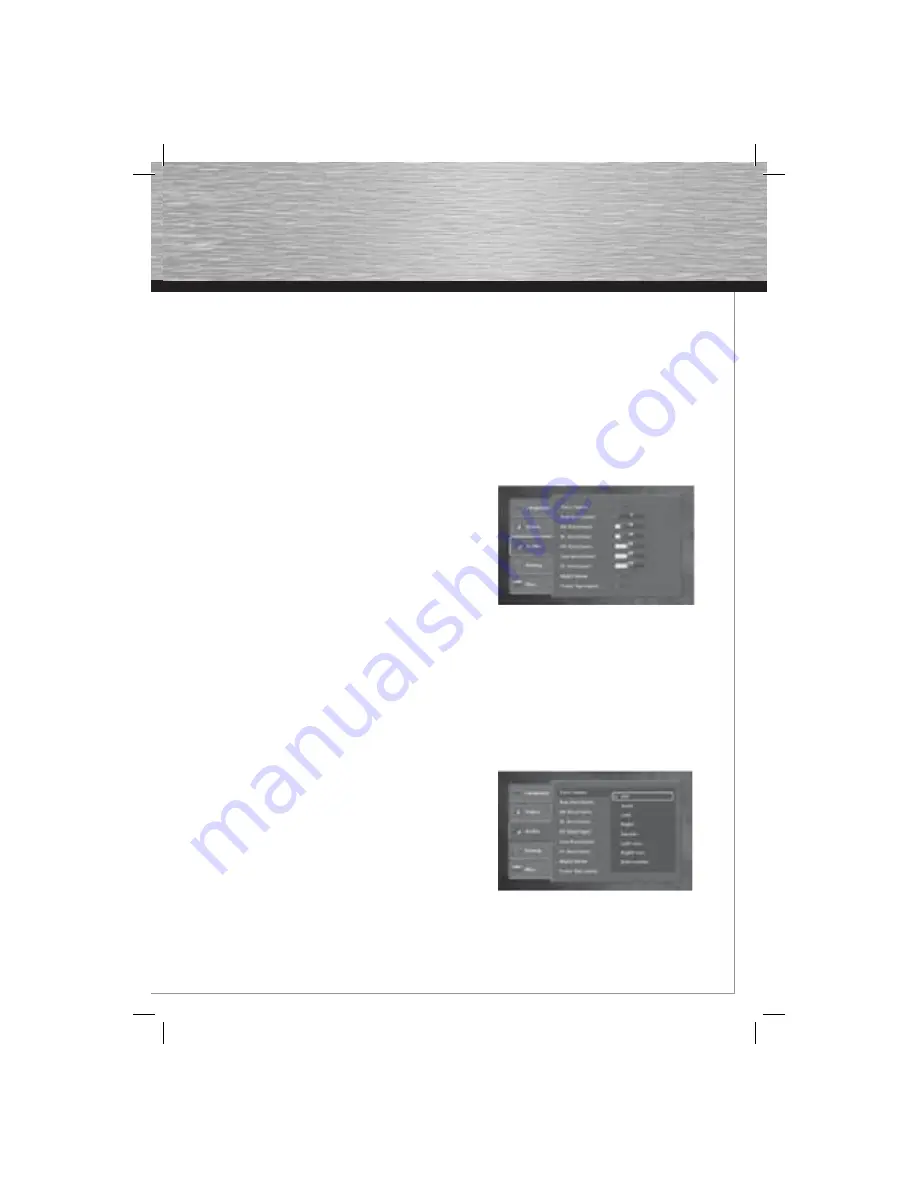
Audio
You can adapt your player to other equipment
and access specifi c functions with the Audio menu.
1. Select Audio in the main menu using the
up/down arrow buttons and press the right
arrow
buttons.
2. Select an option using the up/down arrow
buttons and press OK.
Test Tone
This function is used to test the speaker setting. A
short noise comes from the respective speaker.
Distance
Basic settings have been preset for the speakers
included with your unit. However, to suit the
acoustic conditions in your listening room and to
make the sound more effective, you may need to
delay the signal coming from some of the
00055454bda_GB.indd Abs2:21
00055454bda_GB.indd Abs2:21
06.08.2007 16:07:58 Uhr
06.08.2007 16:07:58 Uhr

