


6
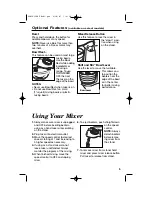
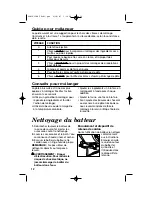
1.
Always unplug mixer from electrical
outlet and eject the attachments
before cleaning.
2.
Wash attachments and bowl in hot,
soapy water; rinse and dry.
3.
Wipe the mixer body and cord with a
clean, damp cloth.
NOTE:
Do not use abrasive cleaners or
scouring pads.
w
w
WARNING: Electrical Shock
Hazard. Do not immerse base,
cord or plug in water or any other
liquid.
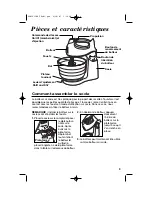
Cleaning Your Mixer
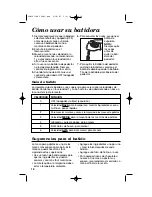
Mixing Guide
The following mixing guide is a suggestion for selecting mixing speeds. Begin on
speed 1 and increase to desired speed depending on the recipe consistency.
FUNCTION
OFF and/or Eject
LOW
speed for folding or mixing in dry ingredients, muffins,
or quick breads
To cream butter and sugar; most cookie dough
MEDIUM
speed for most packaged cake mixes
Frosting and mashed potatoes; kneading dough
Beating egg whites; kneading dough
HIGH
speed for whipping cream; kneading dough
6 SPEED
0
1
2
3
4
5
6
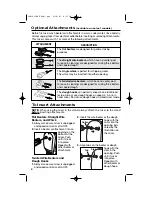
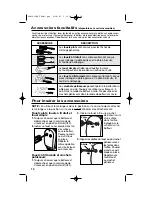
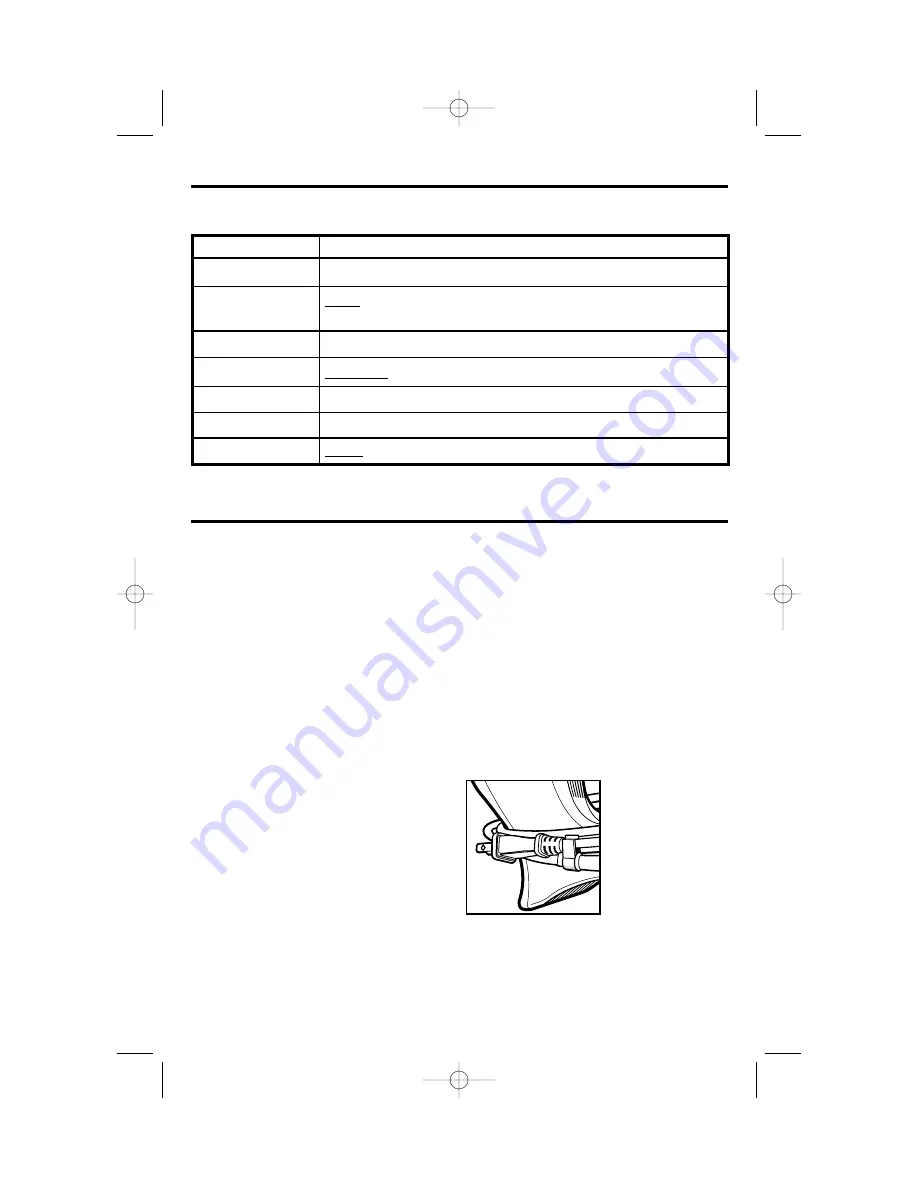
Cord Wrap and Clip
When finished using the mixer, clean
as instructed.
Then wrap cord
around mixer
body as illustrated
and secure cord
in clip.
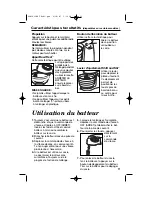
Cookie dough is one of the thickest
doughs to mix. Make it easier by
following these tips:
• Use a large mixing bowl, like the one
provided, to spread out ingredients
for easier mixing.
• Have butter or margarine at room
temperature.
Mixing Tips
• Add ingredients one at a time,
thoroughly mixing after each addition.
• Add flour one cup at a time.
• If adding chips or nuts to a very
thick dough or batter, we recommend
stirring them in by hand at the very
end of the recipe.
840163500 ENv03.qxd 4/30/07 1:43 PM Page 6


