7
6
10.
Press ON/OFF button and release once grinding has
begun. The coffee grinder will stop automatically when
grinding is complete. To stop grinding cycle at any time,
push ON/OFF button. If ON/OFF button is pressed again,
grinder will start from beginning of timed cycle.
If unit does not turn on, make sure BOTH removable
grinding chamber AND grindking cover are firmly
LOCKED into position.
11.
Remove cover and grinding chamber from base. Pour
ground coffee into paper or permanent filter. The brush
can be used to remove remaining grounds.
12.
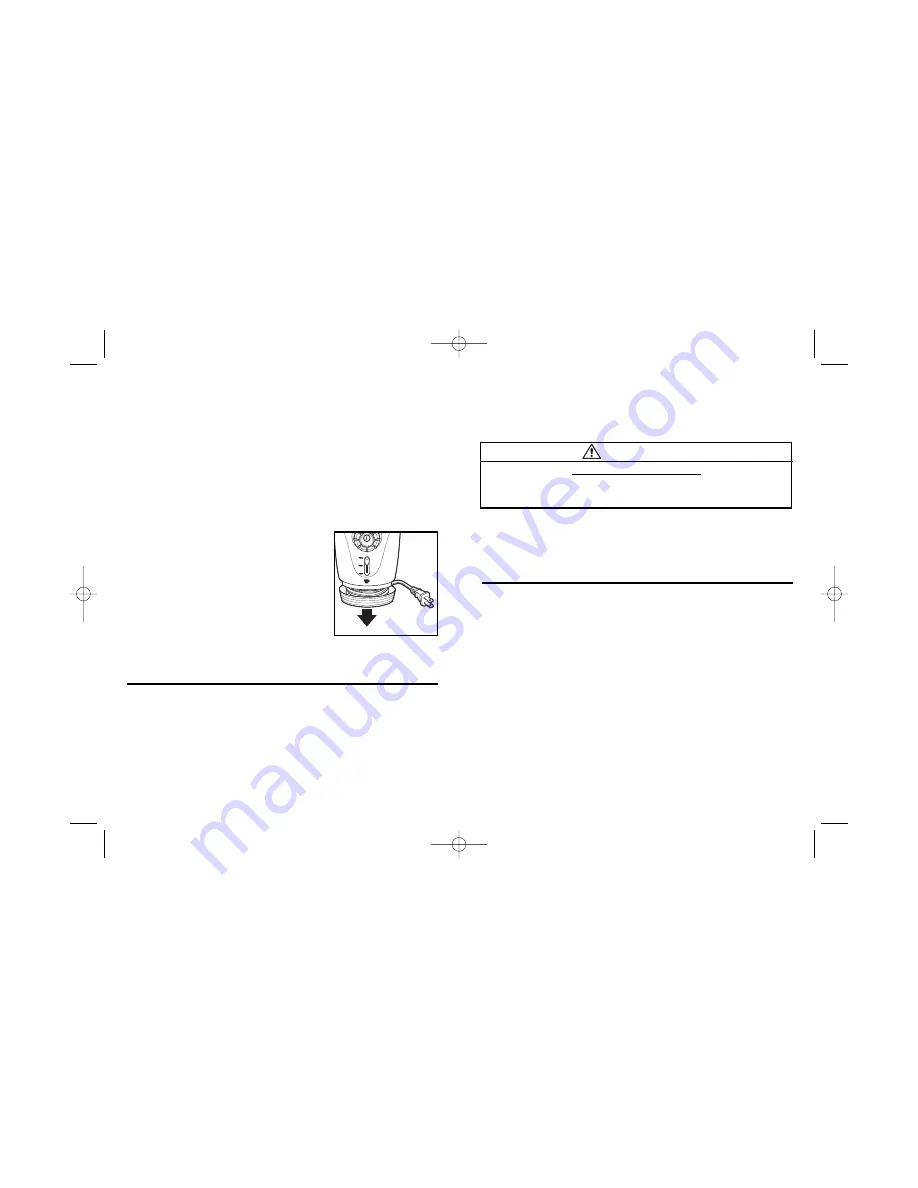
When finished, unplug grinder.
Clean grinding chamber. Open the
Cord Storage by sliding it away
from the grinder body. Wrap cord
around center post. Secure cord in
notch. Close the hide-away cord
storage to cover the cord.
12
8
4
ON/OFF
How To Clean
1.
Unplug from outlet before cleaning.
2.
Remove cover by turning counter-clockwise to unlock
position, then lift straight up.
3.
Remove grinding chamber by turning counter-clockwise
until it comes loose from base. Lift grinding chamber
straight up out of base.
4.
Grinding chamber and lid can be washed in sink. Grinding
chamber may also be washed on top shelf of dishwasher.
Electrical Shock Hazard
• Unplug unit before cleaning.
• Do not immerse base, plug or cord in water or other liquid.
WARNING
Tips for Best Results
• For best flavor, store coffee beans in an airtight container.
• Grind beans immediately before brewing.
• Grinding times will vary by amount and fineness setting.
• To ensure optimal grinding performance, allow coffee
grinder to cool for at least one minute between uses.
•
Coffee flavor and strength is a personal preference. Vary the
type of coffee beans, amount of coffee and fineness of
grind to find the flavor you prefer.
• To grind flax seed, spices, herbs, garlic, and nuts: place one
to four tablespoons of food in the grinding chamber. Select
espresso grind and 12 cups for maximum grinding time.
Press ON/OFF button to start grinder. When desired ground
size is reached, press ON/OFF to stop grinder
5.
Wipe base with a damp cloth.
6.
Open the Cord Storage by sliding it away from the grinder
body. Wrap cord around center post. Secure cord in notch.
Close the hide-away cord storage to cover the cord.
840143700 ENv02.qxd 12/22/05 10:12 AM Page 6


