background image

5

1.

Plug the iron into outlet.

2.

Turn Adjustable Steam Control to 

(Dry Iron).

3.

Turn Temperature Control Dial to desired
temperature. Allow 2 minutes for iron to
reach desired temperature.

4.

To turn iron Off, turn Temperature Control
Dial to 

O

(Off) and unplug iron.

To Dry Iron

To Steam Iron

5.

Allow 2 minutes for the iron to reach desired temperature.

6.

Set Adjustable Steam Control to the recommended steam level.
See the “Fabric Setting Chart.”

7.

To turn iron off, set Adjustable Steam Control to 

(Dry Iron). Turn

the Temperature Control Dial to Off. Unplug iron.

8.

Empty water from the iron following directions in “Caring for 
Your Iron.”

Water:

Please use ordinary tap water. If you have extremely hard

water, alternate between tap water and distilled water for use in 
the iron.

4

Before First Use

• To clean steam vents before first use, prepare iron for steam iron-

ing, then iron over an old cloth for a few minutes while letting the
iron steam. Press the Blast button several times to clean the vents.
Then follow the Self-Cleaning instructions on page 7.

• Many irons spit or sputter during the first few uses with tap water.

This happens as the steam chamber becomes conditioned and
will stop after a few uses.

1.

Unplug iron. Turn Adjustable Steam Control to 

(Dry Iron) Set iron

upright on heel rest. Open water fill cover. 

2. 

Using a cup, slowly pour 8 ounces (250 ml)
of tap water into water tank opening. Do
not fill iron directly from the faucet.

3.

Plug iron into outlet.

4.

Turn Temperature Control Dial to desired
fabric setting in the steam range. 
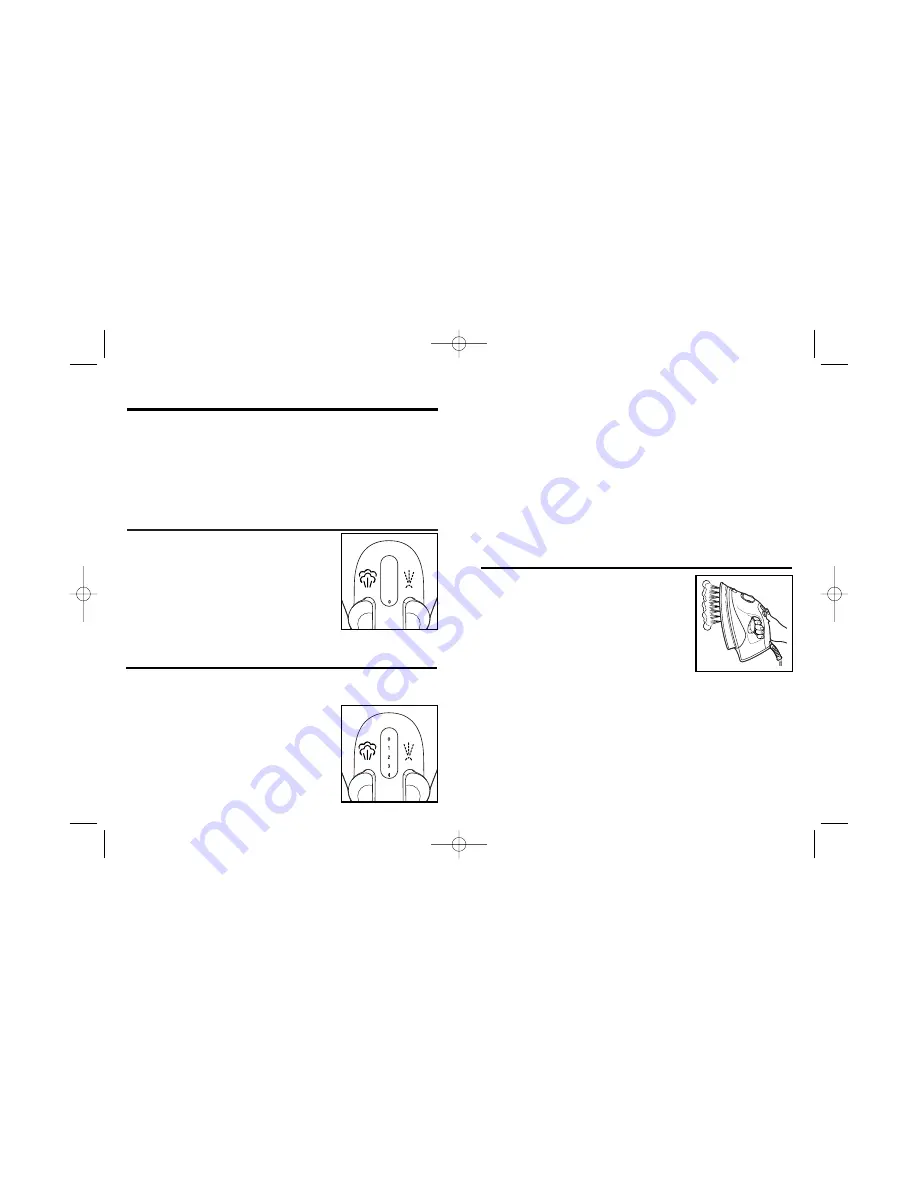
To Vertical Steam

1.

Follow Steps 1 through 5 in 
“To Steam Iron.”

2.

Hang garment in a location that is not 
susceptible to damage from heat or 
moisture. Do not hang in front of wallpaper,
window, or mirror. 

3.

Hold iron about 6 inches (15 cm) away
from garment and press and release the
Blast Button to steam out wrinkles. Do not
press Blast Button more than once every 2 seconds.

4.

To turn iron off, turn Temperature Control Dial to 

O

(Off). 

Unplug iron.

5.

Empty water from the iron following directions in “Caring for 
Your Iron.”

NOTE: 

Do not allow hot soleplate to touch delicate garments.

840129100 Comm_IronEv01.qxd  7/14/04  2:40 PM  Page 4

Summary of Contents for 840129100

Page 1: ...VANT L UTILISATION Irons READ BEFORE USE Planchas LEA ANTES DE USAR English 2 Fran ais 11 Espa ol 21 Le invitamos a leer cuidadosamente este instructivo antes de usar su aparato 840129100 Comm_IronEv0...

Page 2: ...ecessary for any appliance being used by or near children Do not leave iron unattended while connected or on an ironing board 8 Burns can occur from touching hot metal parts hot water or steam Use cau...

Page 3: ...n the vents Then follow the Self Cleaning instructions on page 7 Many irons spit or sputter during the first few uses with tap water This happens as the steam chamber becomes conditioned and will stop...

Page 4: ...will run out of water tank opening 2 After iron has completely cooled wrap cord loosely around iron and store in an upright position Do not store iron laying flat on soleplate Soleplate 1 Never iron o...

Page 5: ...he iron after using Water left in the tank may discolor clothing and soleplate If the iron cord should become twisted unplug iron and let cool Hold iron cord in the middle of entire length Let plug an...

Page 6: ...ect unauthorized repair or use not in conformity with the printed directions Always use this product in the manner provided in the Operation Manual This warranty gives you specific legal rights and yo...

Page 7: ...rancher le fer d une prise de courant lectrique lorsqu on le remplit d eau ou lorsqu on le vide ou s il n est pas utilis 6 Ne pas faire fonctionner le fer avec un cordon endommag ou si le fer a t chap...

Page 8: ...lumineux de remise en marche et d arr t automatique 5 Bouton de remise en marche et d arr t automatique 6 Talon d appui 7 Voyant lumineux de marche 8 Cadran de r glage de la temp rature 9 Semelle 10 R...

Page 9: ...git d une eau tr s dure permuter entre eau distill e et eau du robinet lors des utilisations successives du fer repasser 1 Brancher le fer repasser 2 R gler le commutateur de vapeur r glable repassage...

Page 10: ...ux 3 Remiser toujours le fer repasser verticalement en appui sur le talon Autonettoyage Pour maintenir un rendement id al de vapeur de votre fer tourner le bouton de r glage de la vapeur de 0 4 plusie...

Page 11: ...une position correcte pour le repassage d un tissu Sur le mod le qui s teint automatiquement le t moin lumineux du bouton de remise en marche est il illumin Sinon appuyer pour la remise en marche Ne p...

Page 12: ...e non prescrit dans le mode d emploi Utiliser toujours ce produit en conformit avec le guide d utilisation Cette garantie vous conf re des droits juridiques sp ci fiques et vous pouvez aussi jouir d a...

Page 13: ...a se enfr e completamente antes de guardarla Cuando guarde la plancha enrolle el cable holgadamente alrededor de la misma 6 Siempre desconecte la plancha del tomacorriente cuando la llene con agua o l...

Page 14: ...ue puede haber agua caliente en el tanque INSTRUCCIONES ESPECIALES 1 Para evitar una sobrecarga del circuito no opere otro aparato electrodom stico de alto vataje en el mismo circuito 2 Si es absoluta...

Page 15: ...250 ml de agua del grifo en la apertura del tanque de agua No llene la plancha con agua directamente del grifo 3 Enchufe la plancha en el tomacorriente 4 Gire el control de temperatura a la posici n...

Page 16: ...ical sobre su base de descanso Autolimpieza Para mantener un ptimo rendimiento de vapor de su plancha Rote el control de vapor ajustable de 0 a 4 varias veces para remover desechos y minerales de la v...

Page 17: ...peratura en el rango de vapor y ha tenido la plancha suficiente tiempo para precalentarse Si est planchando en seco aseg rese de que la perilla de vapor ajustable est en la posici n de PLANCHADO EN SE...

Page 18: ...a o reparaci n no autorizada o cualquier otro uso que no se conforme con las direcciones impresas Siempre use este producto en la manera que se especifica en el Manual de operaci n Esta garant a le da...

Page 19: ...840129100 261 Yadkin Road Southern Pines NC 28387 7 04 840129100_Comm_iron_SPv01 qxd 7 14 04 2 39 PM Page 32...

Reviews: