---6---
C. Charge the built in rechargeable battery.
1) Turn on the power switch of amplifier and power LED indicator will light.
2) Turn on the power of DVD PLAYER, LCD display will light.
3) Open the door of DVD player by pressing OPEN/CLOSE button and
insert a disc. Press OPEN/CLOSE again to close the door.
4) Using supplied RCA cable to connect the VIDEO output jack and TV,
video will be transferred from DVD PLAYER to TV screen.
5) Adjust main volume controls of the amplifier to the desired level.
6) Adjust tone control to the desired level.
7) Press the previous button for previous song.
8) Press the next button for next song.
9) Press play/pause button for play or pause.
10) Press stop button for stopping.
11) Press track button to select track when singing karaoke.
2. USING DVD PLAYER
1) Using supplied AC cord to connect the unit to suitable power source with
the correct voltage as marked. Charge LED indicator will flash.
NOTE:
Either DVD power and main AMP power is on or off, the battery
will be charged once you plug AC power.
2) Charge indicator will turn from red to green when battery is fully charged.
3) Charging time should be about 10 hours.
4) If the unit is not going to be used for a long period of time, please charge
the battery once per month to protect rechargeable battery.
3. USING USB
1) Insert flash DISC into USB port.
2) Press the previous button for previous song.
3) Press the next button for next song.
4) Press play/pause button for play or pause.
5) Press stop button for stopping.
NOTE:
To play flash disc, please make sure that no DVD disc is inside DVD
player. If both DVD disc and flash disc are inserted, DVD will be played.
---3---
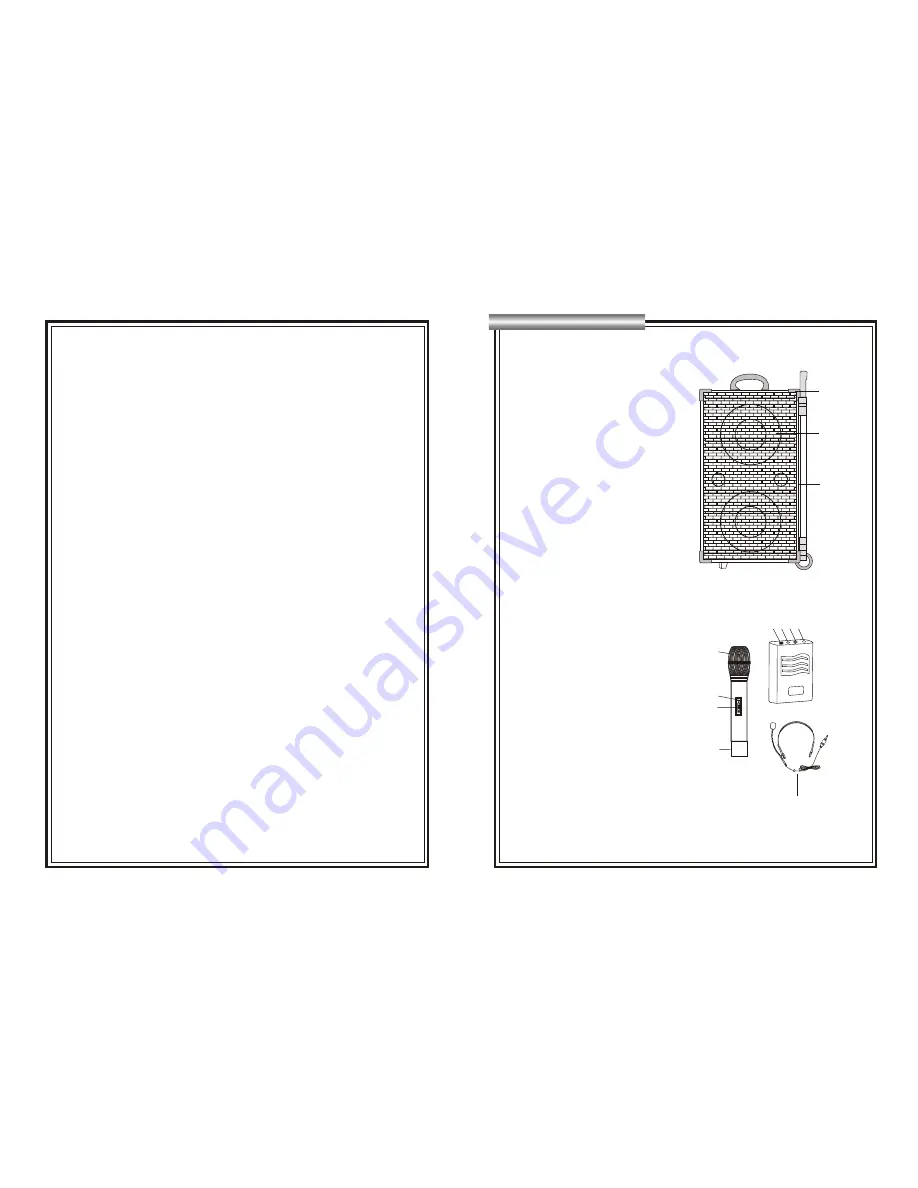
27. Metal corner
28. Full range speaker
29. Battery compartment
TRANSMITTER
5 6 7 8
1
2
3
4
9
PARTS DESCRIPTION
28
29
27
1. Mesh(capsule inside)
2. Power LED indicator
3. Power switch
4. Battery compartment
5. Power switch
6. Power LED indicator
7. Attenuation switch
8. MIC IN jack
9. Headset MIC
Front


