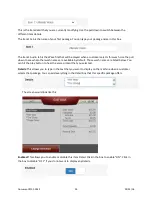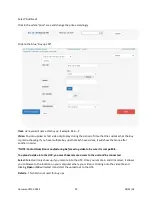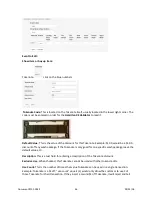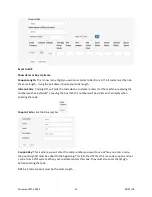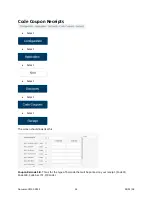
Now click the “Schedule” tab
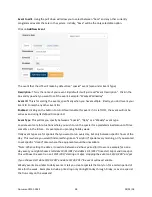
Event Start Date/Time
: For the Special event, this is where you will set the date and time for when you
actually want the event to begin.
Event End Date/Time
: This is where you will choose the end of the promotion.
Priority
: Priority is important for a scenario where you may have 2 events running simultaneously (say a
“Wacky Wednesday” and an “Early Bird” special). To prevent confusion, the one with the highest priority
will be the one that runs at that time. This will ensure that the customer isn’t necessarily getting a
double promotion and will also make sure that the two events don’t cancel each other out.
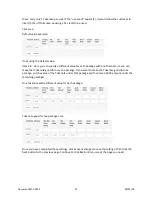
Once you have completed these settings, click activate changes to save the settings.
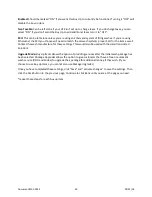
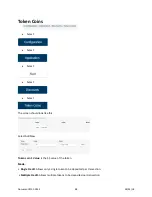
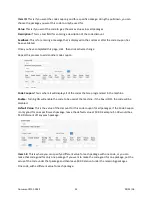
To set up a closed event, click on the “Close Details” tab
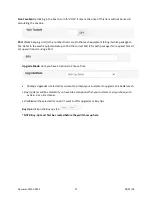
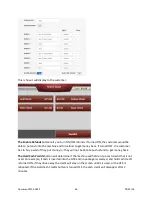
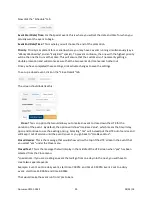
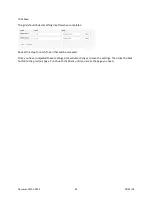
The screen should look like this:
Close
: This is an option that would allow you to make an event to close down the HTK for the
duration of the event. By default, the option will show “Use Base Value”, which means that it will stay
open and continue to use the existing pricing. Selecting “Yes” will instead put the HTK out of service and
will keep it out of service until the event is over or you go back to “Use Base Value”.
Closed Header
: This is the message that would show across the top of the HTK screen in the event that
you select “yes” under the Close menu.
Closed Text
: This is the message that will display in the middle of the HTK screen when “yes” has been
selected from the Close menu.
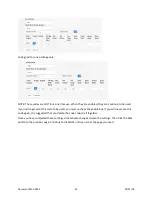
*special note: If you are creating an event that will go from one day into the next, you will have to
create two separate events.
Example: Event 1 set to a daily event, start time 7:00PM, end time 11:59PM. Event 2 set to a daily
event, start time 12:00AM, end time 6:00AM
That would make the event run from 7pm to 6am.
Document #101-0243
39
02/01/18

