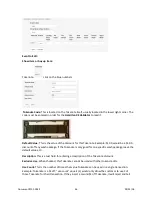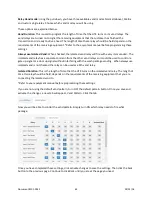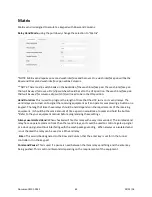
Item 1-8:
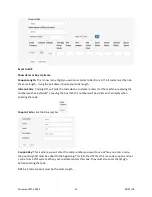
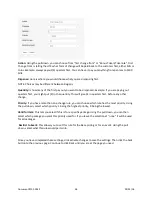
This is for which package you will associate this barcode/code coupon to. You can choose to
only print when one particular package is purchased, or you can have it printed for all packages.
Coupon:
Here you will select which code coupon you will print on the receipt. This code coupon will
then print out as a barcode on the receipt. This will allow the customer to scan the receipt, on the
barcode reader attached to the HTK, on their next visit. Normally these are used for a discount on the
customer’s next visit.
*NOTE: the code coupon printed on a receipt, will follow the same rules as a normal code coupon. It will
always be good, until it has been disabled or deleted.
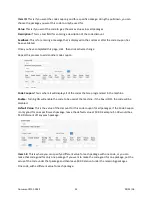
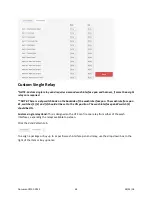
Printed: When a QR Code is selected, what is typed in this box will print on the receipt, under the QR
Code, example: $2.00 off on your next visit.
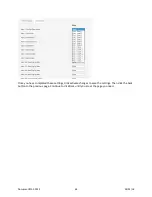
Coded: This gives you the option to add text within the barcode itself. Example: Go to Hamiltonmfg.com.
Now if your customer has an app that will read barcodes, they will see the “visit Hamiltonmfg.com”.
Without the app, this will not be a readable field.
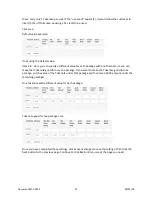
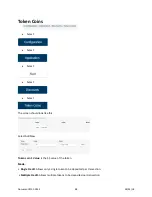
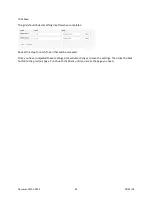
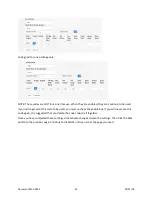
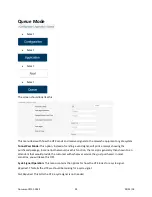
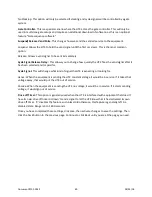
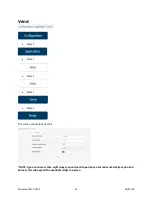
Once you have completed these settings, click activate changes to save the settings. Then click the back
button to the previous page. Continue to click Back until you are at the page you need.
Document #101-0243
55
02/01/18

