Generally the deeper your rod, the lower the
resistivity will be.
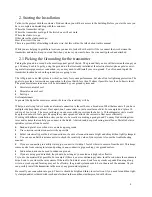
Bury any horizontal wires, the more ground/dirt
contact the better. Just an inch or two below the
surface will do. You can use a flat blade shovel
to create a “trench” that the wire can be laid into.
This works well with lawns. It is best to bury
your rods entirely if possible to avoid anyone
tripping over them, the lawn mower hitting
them, ect. Some will bury any metal that will not
corrode (tin cans, ect) in the area to help.
The type of trench ground system above can work
well with sandy/dry soil.
So look over the site, sometimes it will help to get pictures
before you get there. It can be possible to use the HVAC
“boxground” connection, for an “Earth” ground. This con-
nect will connect to the electrical ground rod. Don’t try to
connect to this yourself unless you are qualified, there are
dangerous voltages inside of the HVAC panel that can
kill
you.
Call an electrician to make this connection. Some-
times there may be a water pipe or other metal pole lead-
ing into the ground you can use. You need to be creative
with grounding sometimes. I once used a deep well. I con-
nected to the cast iron sleeve that went into the ground and
had great range. The iron sleeve was metal and went deep
into the ground. The more metal / dirt contact the better.
Note that the ground wires to the transmitter need to be
clamped down so they will not move. Do not connect to
gas lines
or other unsafe objects in any way
2.2 Finding a place for the Transmitter
Transmitter location is also very important and will determine your range. You want the transmitter to generally be
the highest thing in the area if possible, but you still need to be able to get to it to make adjustments. The antenna
that screws into the top needs to be in the open air, not up against anything, especially metal. It is best if the anten-
na is above surrounding man made things. Natural things like trees should not be a problem, however don’t let
branches, leaves actually touch the antenna.
5
!
CAUTION
CAUTION !
Summary of Contents for HAMILTON AM1000
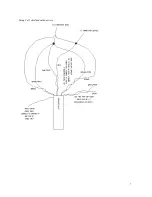
Page 7: ...Using Cat 5 shielded outdoor wire 7 ...
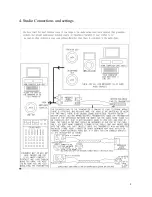
Page 8: ...4 Studio Connections and settings 8 ...
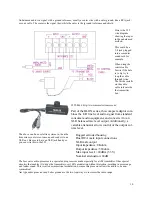
Page 14: ...6 Trying to get good Range 14 ...
Page 19: ...19 11 Certification ...


