62
X/2
X
Gefaket!!
15 mm in Richtung dimetrie 1 verschoben
Schiebetisch, Grundbahn, Handrad Logo
"
!
#
Panel Saw
K3 basic/K3 winner/K3 e-classic
Operation
Warning! Risk of injury!
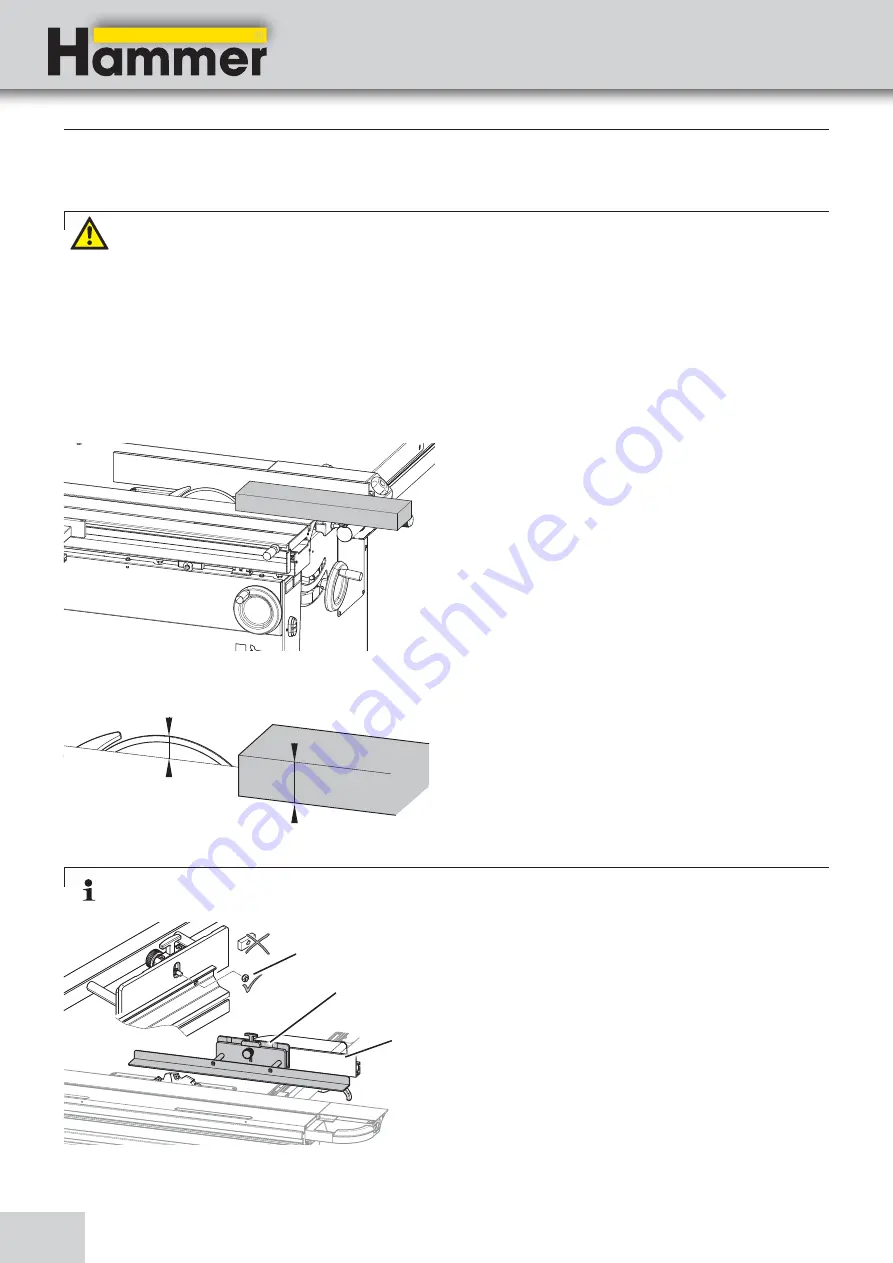
9.5.11 Groove cuts
• Groove cuts may only be carried out with an
overhead saw guard! Do not, under any circumstances, use a saw blade guard (guard mounted onto splitter)!
• Do not pull back the fence guiding tracks (guide) of the rip fence!
• Do not remove the splitter!
• If the saw blade protrudes over the upper edge of the parallel cutting fence guide, guiding the workpiece safely is
not guaranteed. A higher auxiliary fence must be used to ensure that the workpiece is guided safely.
• When working on small workpieces, use a wooden push stick, a push stick or a load feeding accessory.
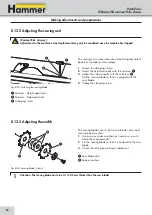
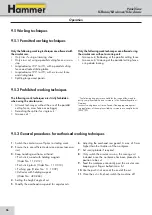
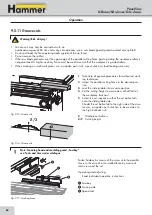
Fig. 9-15: Groove cuts
1.
Take note of general procedures for authorised work-
ing techniques.
2.
Adjust the parallel cutting fence to the desired posi-
tion.
3.
Lock the sliding table into a centre position.
4.
Set the cutting height to a maximum of half that of
the workpiece thickness!
5.
Select the cut sequence so that the cut batten falls
onto the sliding table side.
Should the cut batten fall to the right side of the circu-
lar saw, a wooden push stick has to be used due to
the high kickback risk!
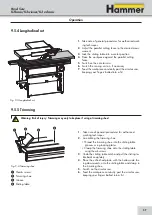
X
Workpiece thickness
X/2
Cutting height
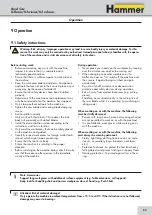
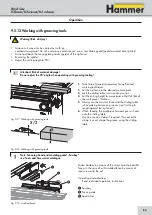
Fig. 9-16: Groove cuts
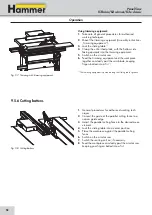
Fasten Sawboy by means of the screw onto the parallel
fence, in the case of a thin-walled fence by means of
said screw and the nut.
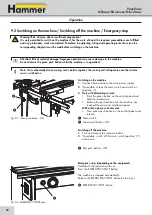
Operating and adjusting:
Read individual operation instructions
!
Sawboy
"
Fence guide
#
Special-nut
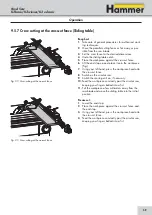
Fig. 9-17: Auxiliary fence
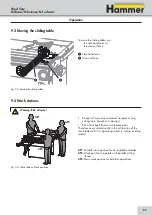
Note: Tenoning hood and moulding guard „Sawboy“
see: Tools and Accessories catalogue

