3
2. Algemene informatie 2. General
Deze training apparatuur is voor thuisgebruik. De apparatuur
voldoet aan DIN EN 957-1/6 Klasse HB. De CE-markering verwijst
naar de EG Richtlijn 2004/108/EG, 98/37/EG, 2006/42/EG en
2006/95/EG. Schade aan de gezondheid kan niet worden
voorkomen als de apparatuur niet gebruikt wordt zoals bedoeld
(bijvoorbeeld door overmatig trainen, incorrecte instellingen etc.).
Voor u begint met trainen, consulteert u uw arts over eventuele
gezondheidsrisico's bij gebruik van deze apparatuur op basis van
uw persoonlijke gezondheid om gezondheidsrisico's te voorkomen.
2.1 Verpakking
De verpakking bestaat uit milieuvriendelijke en recyclebare
materialen:
De buitenverpakking is gemaakt van karton
De gegoten onderdelen zijn van CFS-vrij polystyrol (PS)
Foli Folie en zakken zijn gemaakt van polyethylene (PE)
Verpakkingsbandjes zijn van Polypropylene (PP)
2.2 Afval
Bewaar de verpakking voor het geval van
reparaties / garantie aangelegenheden.
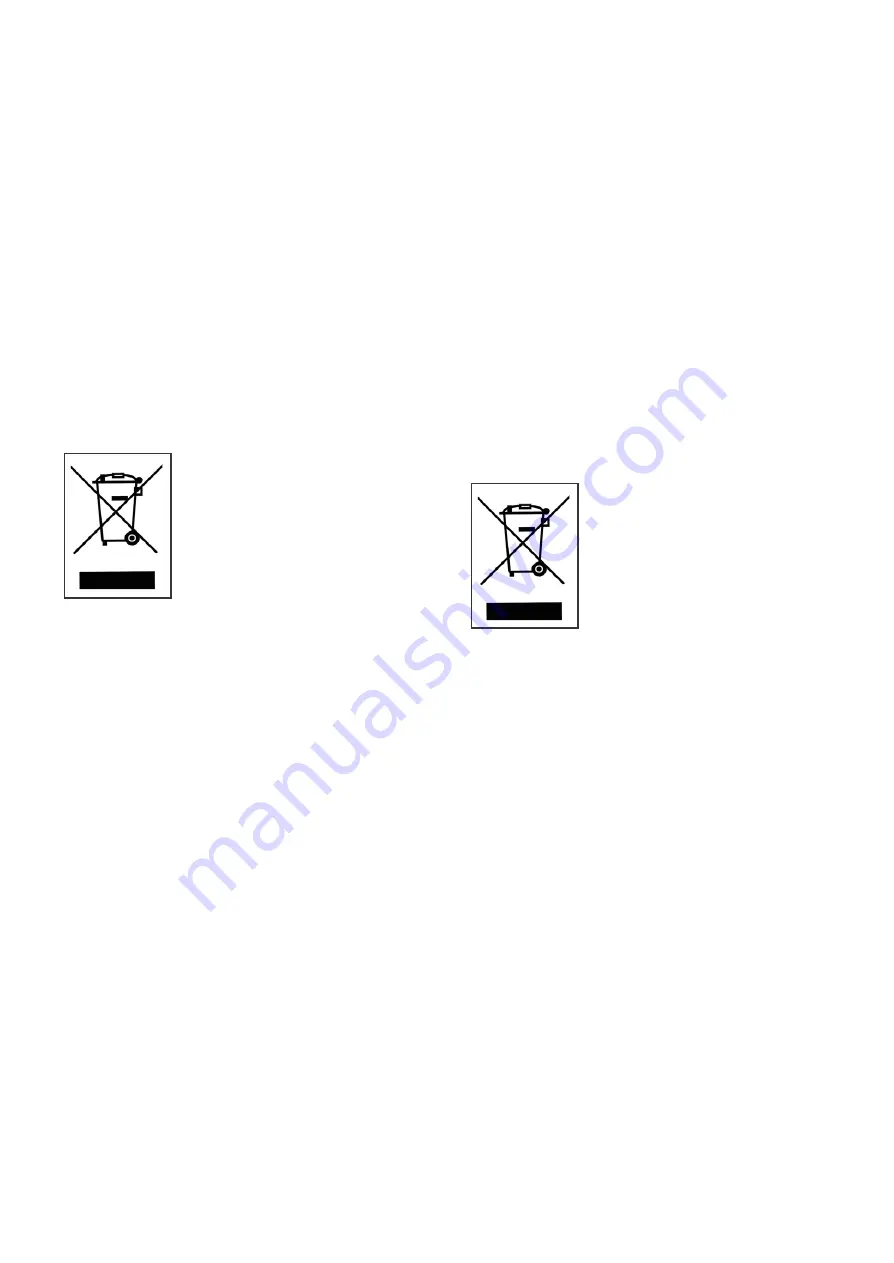
De apparatuur mag niet bij het gewone
huisvuil geplaatst worden maar dient
aangeboden te worden als grofvuil of bij
groot-afval instanties.
This training equipment is for use at home. The equipment
complies with the requirements of DIN EN 957-1/6 Class HB.
The CE marking refers to the EU Directive 2004/108/EEC;
98/37/EEC, 2006/42/EEC und die 2006/95/EEC. Damage
to health cannot be ruled out if this equipment is not used as
intended (for example, excessive training, incorrect settings,
etc.).
Before starting your training, you should have a complete phy-
sical examination by your physician, in order to rule out any
existing health risks.
2.1 Packaging
Environmentally compatible and recycable materials:
External packaging made of cardboard
Molded parts made of foam CFS-free polystyrol (PS)
Sheeting and bags made of polyethylene (PE)
Wrapping straps made of polypropylene (PP)
2.2 Disposal
Please be sure to keep the packing for the
event of repairs / warranty matters. The
equipment should not be disposed of in the
household rubbish!
Summary of Contents for LR 22i
Page 1: ...Loopband...
Page 6: ...5 3 2 Montage stappen Assembly steps Stap Step 1 Stap Step 2...
Page 12: ...11...
Page 13: ...12...
Page 22: ...8 Onderdelentekening Explosiondrawing 21...
Page 23: ...22...


