


ADJUSTMENTS
AND
TESTING
ANTEA 50 BT – BTS - BTO
Doc.
10059284
Issued
12/2016
Ver.
AC
Page
20 of 25
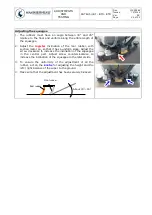
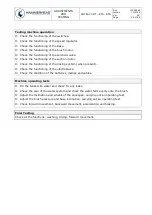
Vacuum adjustment
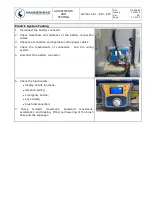
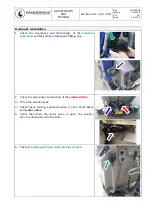
1. Check cleanliness and functionality of the
floating filter
.
2. Unscrew the
cap
of the floating filter and check the right
positioning of the
vacuum filter
, cleaning it if necessary.
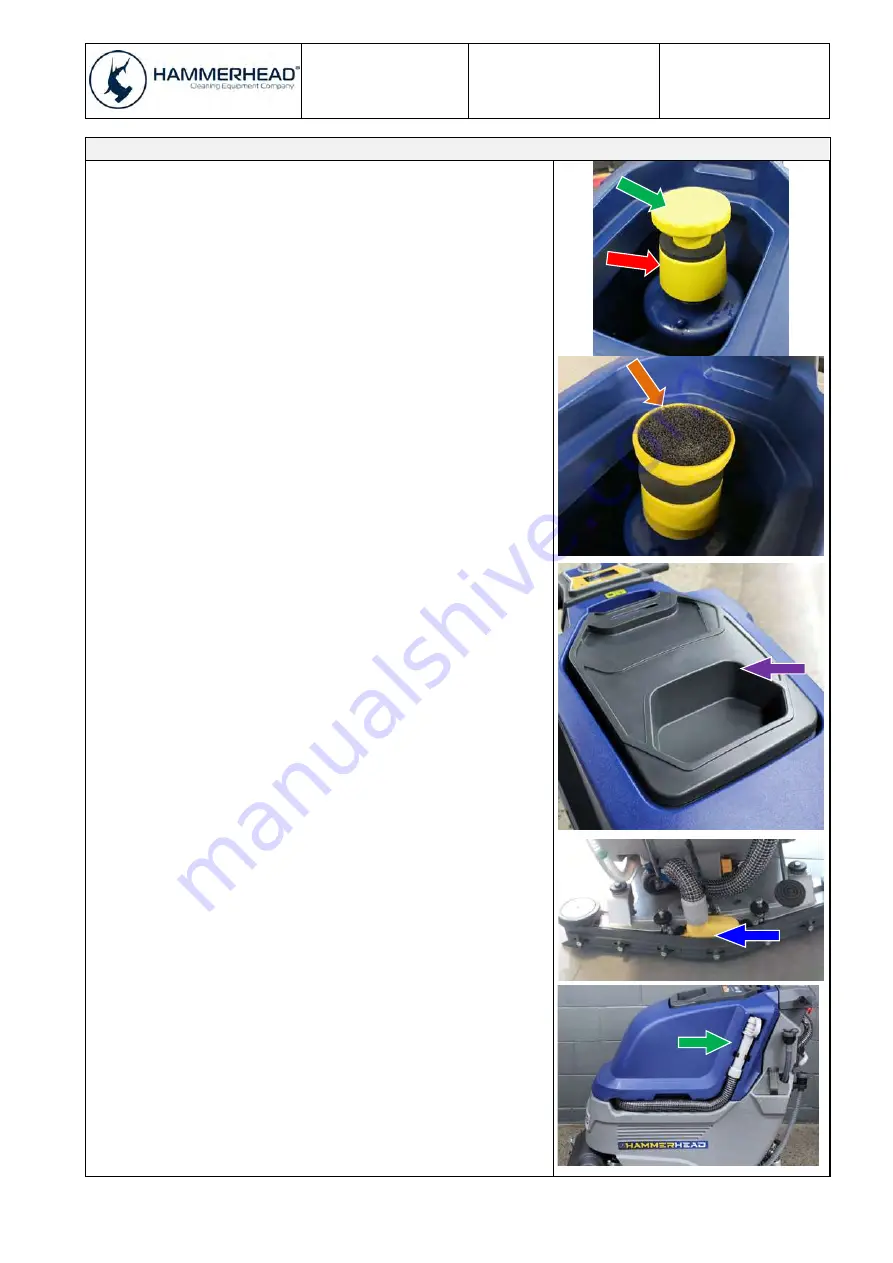
3. Check the seal between the
vacuum head
and the
recovery tank.
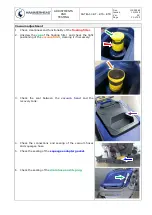
4. Check the connections and sealing of the vacuum hoses
and squeegee hose.
5. Check the sealing of the
squeegee adapter gasket.
6. Check the sealing of the
drain hose and its plug.


