

ADJUSTMENTS
AND
TESTING
ANTEA 50 BT – BTS - BTO
Doc.
10059284
Issued
12/2016
Ver.
AC
Page
4 of 25
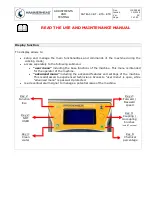
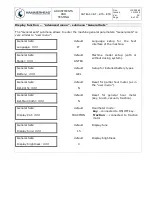
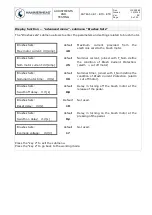
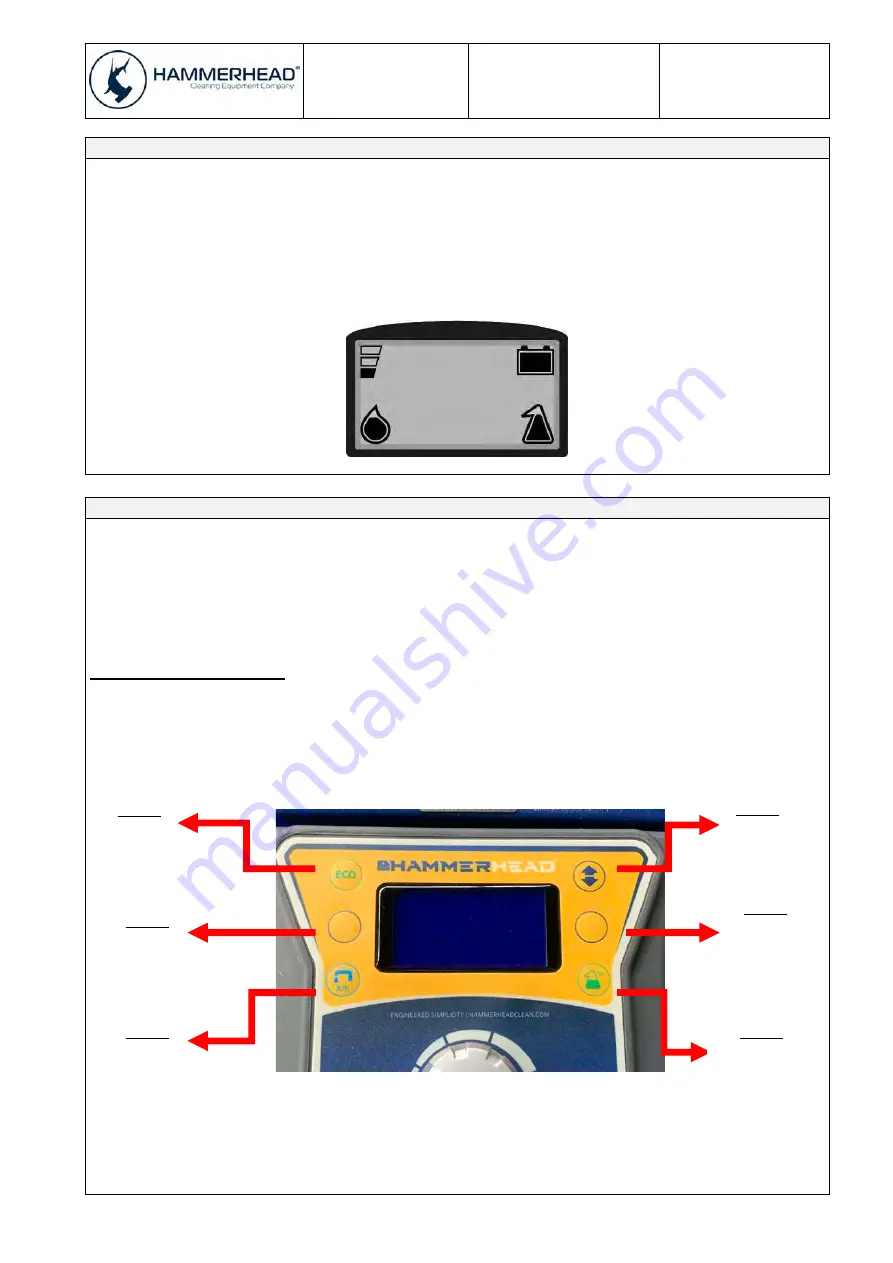
Display function – Working Mode – Battery Status
During the working mode the display shows battery charge status (as percentage of the total
available charge).
Verify that the
battery check card
disables the brush motor (traction and vacuum motors still
on) when the remaining battery charge is at 20% (alarm limit 1).
From the limit 1, the charger level will blink.
Verify that the
battery check card
disables the vacuum motor (traction motor still on) when the
remaining battery charge is at 10% (alarm limit 2).
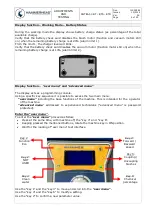
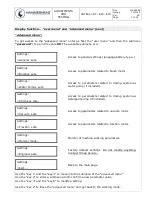
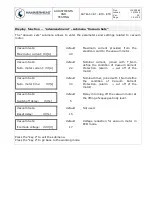
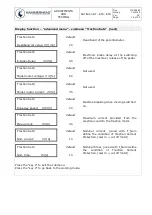
Display function – “
user menu
” and “
advanced menu
”
The display acts as a programming console.
Using a specific key sequence it is possible to access the two main menu:
“
user menu”
including the base functions of the machine. This is intended for the operator
of the machine.
“advanced menu
” addressed to experienced technicians (“a
dvanced menu
” is password
protected).
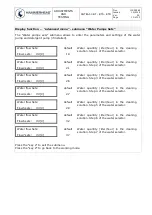
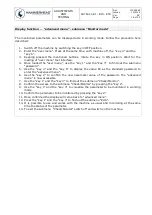
Enter the “
user menu”
.
To enter the
“
user menu
”
proceed as follow:
•
Press at the same time, with machine off, the “key 4” and “key 6”.
•
Keeping pressed the mentioned buttons, rotate the machine key in ON position.
•
Wait for the loading of “
user menu
” text interface.
Use the “key 1” and the “key 3” to move and scroll into the
“
user menu
”.
Use the “key 4” and the “key 6” to modify a setting.
Use the “key 2” to confirm a new parameter value.
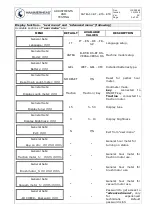
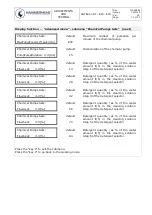
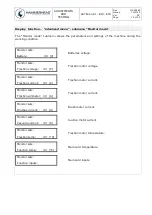
Key 1
:
Function
Eco
Key 4
:
Forward /
Bacward
speed
Key 2
:
NOT
USED
Key 5
:
Coupling /
Uncoupling
brushes
Key 3
:
Clean
water
Key 6
:
Chemical
percentage


