


40
41
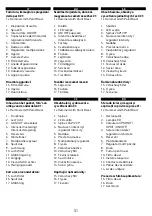
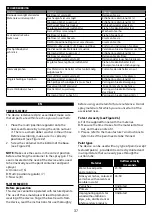
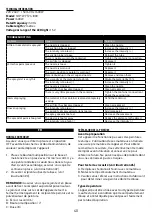
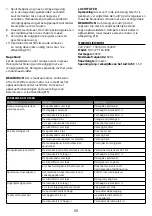
TECHNICAL INFORMATION
220-240V ~ I 50/60 Hz I 600W
Model: Q1P-WYT24-800
Power: 600W
Rated frequency: 50 Hz
Cable length: 2 metres
Voltage or range of the LED light: 1.5 V
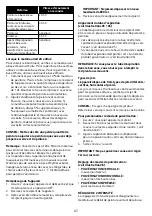
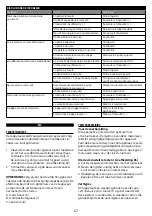
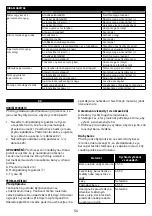
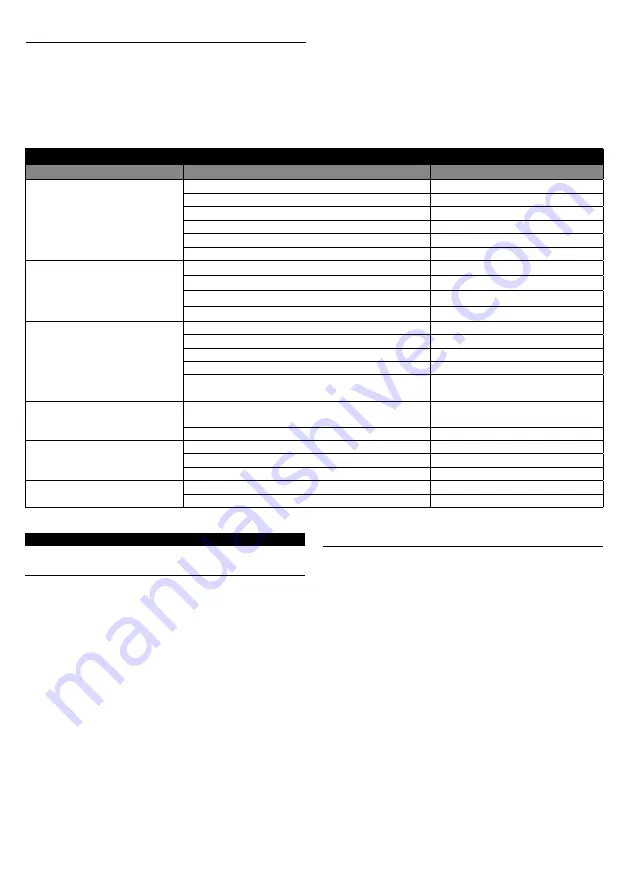
TROUBLESHOOTING
Problem
Cause
Solution
Little or no material is sprayed
The nozzle is clogged
Clean the nozzle
The suction tube is clogged
Increase the intensity (+)
The intensity is too low (-)
Increase the intensity (+)
The suction tube is loose
Reinsert the tube
There is no pressure in the container
Tighten the container connection
The air filter is clogged
Replace it
Varnish or paint leaks out
The nozzle is loose
Tighten it
The nozzle is worn out
Replace it
The multi-position regulator is worn out
Replace it
Material build up in the air cap and nozzle
Remove and clean them
The spray mist is very thic
The viscosity of the material is too high
Dilute the material by 10%
The intensity is too low (-)
Increase the intensity (+)
The nozzle is clogged
Clean the nozzle
The air filter has become clogged
Clean or replace it
There is very little pressure in the container
Tighten the container connection/
Check the sealing ring
Interval spraying
The material in the container is almost completely
used up
Refill the container
The air filter has become clogged
Clean or replace it
Uneven spraying
The intensity is too low (-)
Increase the intensity (+)
The quantity of sprayed material is too low
Add more paint
The spray speed is too fast
Decrease the movement
The spread of paint is too great
The device is too far away
Reduce the distance to the object
The intensity is too high (-)
Decrease the intensity (-)
FR
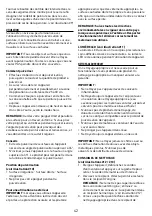
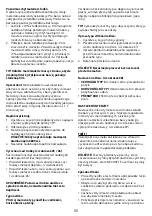
MONTAGE DU PRODUIT
Assurez-vous que l‘interrupteur est en position
OFF avant de brancher le cordon d‘alimentation, de
soulever ou de déplacer l‘appareil :
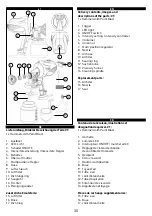
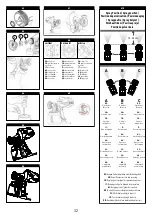
1. Placez le bouton multiposition sur la buse et
maintenez-le en place avec l‘écrou-raccord. Il y a
une petite rondelle en caoutchouc dans le tuyau
d‘air. Avant l‘assemblage, assurez-vous qu‘elle
est bien en place. (voir illustration #2)
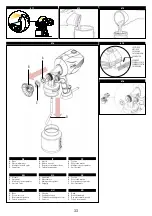
2. Vissez le récipient au bas de la base. (voir
illustration #3)
REMARQUE : Assurez-vous que le joint est en place
avant de fixer le récipient au pistolet pulvérisateur.
Le joint est situé sur le col de l‘appareil et sert à
fermer hermétiquement le récipient de peinture et le
pulvérisateur de peinture.
A : Écrou-raccord (6)
B : Bouton multiposition (7)
C : Buse (8)
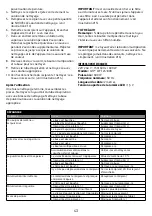
PRÉPARATION DE LA PEINTURE
Avant la préparation
Cet appareil ne fonctionne pas avec des peintures
texturées. L‘utilisation de ces matériaux entraînera
une usure prématurée de l‘appareil. Pour obtenir
les meilleurs résultats, lisez attentivement le mode
d‘emploi avant utilisation et conservez-le pour
référence future. Ne pulvérisez pas de produits dont
vous ne connaissez pas les risques.
Pour tester la viscosité (voir illustration #4)
A. Remplissez l‘entonnoir fourni avec le matériau.
B. Notez le temps d‘écoulement du matériau.
C. Veuillez vous référer aux instructions du fabricant
pour déterminer si la peinture doit être diluée.
Types de peinture
L‘appareil peut être utilisé avec tout type de peinture
(sauf texturée) à condition qu‘elle soit parfaitement
diluée et à l‘état liquide pouvant passer facilement
par le tube d‘aspiration.


