Setting the Parameters
71
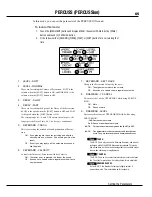
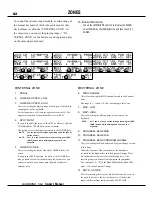
REVERB
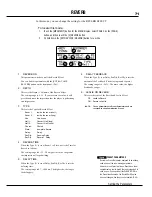
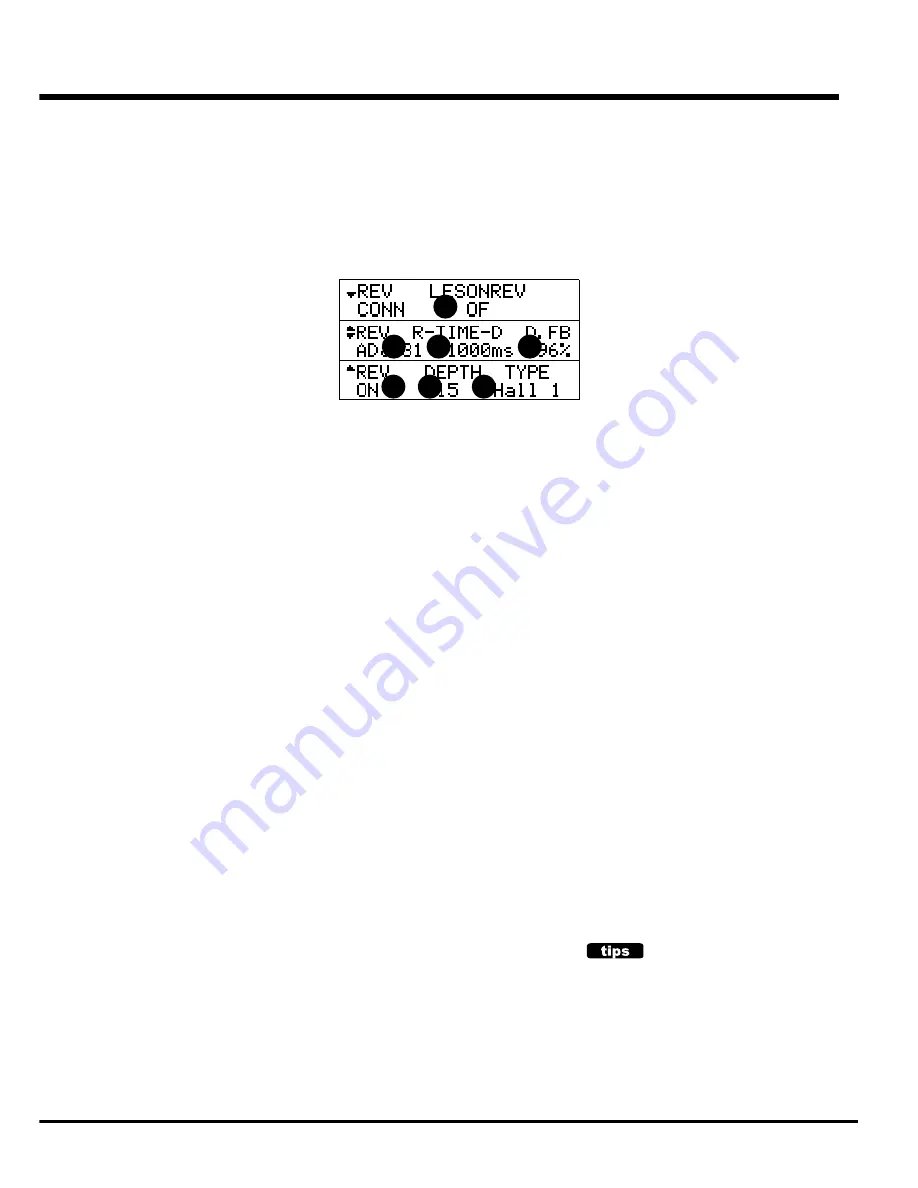
In this mode, you can change the setting for the REVERB EFFECT.
To locate this mode:
1.
Touch the [MENU/EXIT] button for the MENU display, select PAGE C by the [PAGE]
button, and then touch the [4] REVERB button.
2.
Or, hold down the [EXTRA VOICE / REVERB] button for a while .
1.
REVERB ON
This parameter switches on/off the Reverb Effect.
You can link this parameter with the [EXTRA VOICE /
REVERB] button on the front panel. (P.61)
2.
DEPTH
This sets the Depth (= Volume) of the Reverb Effect.
The setting range is 0 - 15. If you increase the value, it will
give the audience the impression that the player is performing
in a larger room.
3.
TYPE
This sets the Types of Reverb Effect.
Room 1:
Inside the room (short)
Room 2:
Inside the room (long)
Live:
Live house
Hall 1:
Concert Hall (long)
Hall 2:
Concert Hall (short)
Church:
Church
Plate:
Iron-plate Reverb
Delay:
Delay
PanDly:
Panning Delay
RevDly:
Delay
4.
REVERB TIME
When the Type (3) is set at Room 1 to Plate, it sets the Time for
Reverb to fade out.
The setting range is 0 - 31. The higher the value, the greater
the impression of large building.
5.
DELAY TIME
When the Type (3) is set at Delay, PanDly, RevDly, it sets the
delaying time.
The setting range is 4.7 - 1000 ms. The higher the, the longer
the delay gets.
PRESET PARAMETERS
Reverb is a Preset Parameter, designed to be actively
used as one of the tone-making parameters.
However, it is not practical to use Reverb as a tonal
complementary tool to match the room/stage/hall. In
such a case, if you switch off the PLOAD RV/EQ in
the Preset function mode, the Reverb On/Off value
does not change when the preset is recalled. (P. 56)
6.
DELAY FEEDBACK
When the Type (3) is at Delay, PanDly, RevDly, it sets the
amount of the Feedback. (The delaying sound repeats.)
The setting range is 0 - 96%. The more value, the higher
Feedbacks you get.
6.
LESLIE ON REVERB
This sets the route of the Reverb and Leslie Effect.
OF: Leslie to Reverb
ON: Reverb to Leslie
NOTE:
These parameters are Preset Parameters and are
recorded to each Combination Preset.
3
6
5
2
1
4
7
Summary of Contents for XK-1
Page 8: ...1 Owner s Manual...
Page 15: ...1 Owner s Manual 15 HOOK UP...
Page 19: ...1 Owner s Manual 19 TURN ON AND PLAY...
Page 28: ...1 Owner s Manual 28...
Page 29: ...1 Owner s Manual 29 SETTING UP...
Page 30: ...1 Owner s Manual 30 SOUND ENGINE STRUCTURE SYSTEM STRUCTURE OF XK 1 KEYBOARD...
Page 45: ...1 Owner s Manual 45 USING THE CONTROL PANEL...
Page 53: ...1 Owner s Manual 53 SETTING THE PARAMETERS...
Page 75: ...1 Owner s Manual 75 MIDI...
Page 86: ...1 Owner s Manual 86...
Page 87: ...1 Owner s Manual 87 TROUBLE SHOOTING...
Page 89: ...APPENDIX...
Page 108: ...HAMMOND SUZUKI LTD Hamamatsu Japan Printed in China 00457 40113 V1 00 051222...

