background image

CAUTION:

1. Before starting installation of this fixture or removal of a previous fixture,

disconnect the power by turning off the circuit breaker or by removing the fuse
at the fuse box.

2. CONSULT

A

QUALIFIED

ELECTRICIAN

IF

YOU

HAVE

ANY

ELECTRICAL QUESTIONS. If you have any non-electrical questions about
this fixture, please call our Customer Service Team at 1-877-527-0313 or visit
www.homedepot.com.

Please reference your SKU (153-697) or UPC

p

y

(

)

(046335934597).

3. KEEP your receipt and these Instructions for Proof of Purchase.

SELECTING A LOCATION:

SELECTING A LOCATION:

This fixture has a photocell light control. Avoid installing this fixture under
shaded areas, such as under porches or eaves, which might prevent daylight from
reaching the photocell and cause it to remain on during the day. In addition,
avoid installing it near nighttime light sources, such as street lights or other light

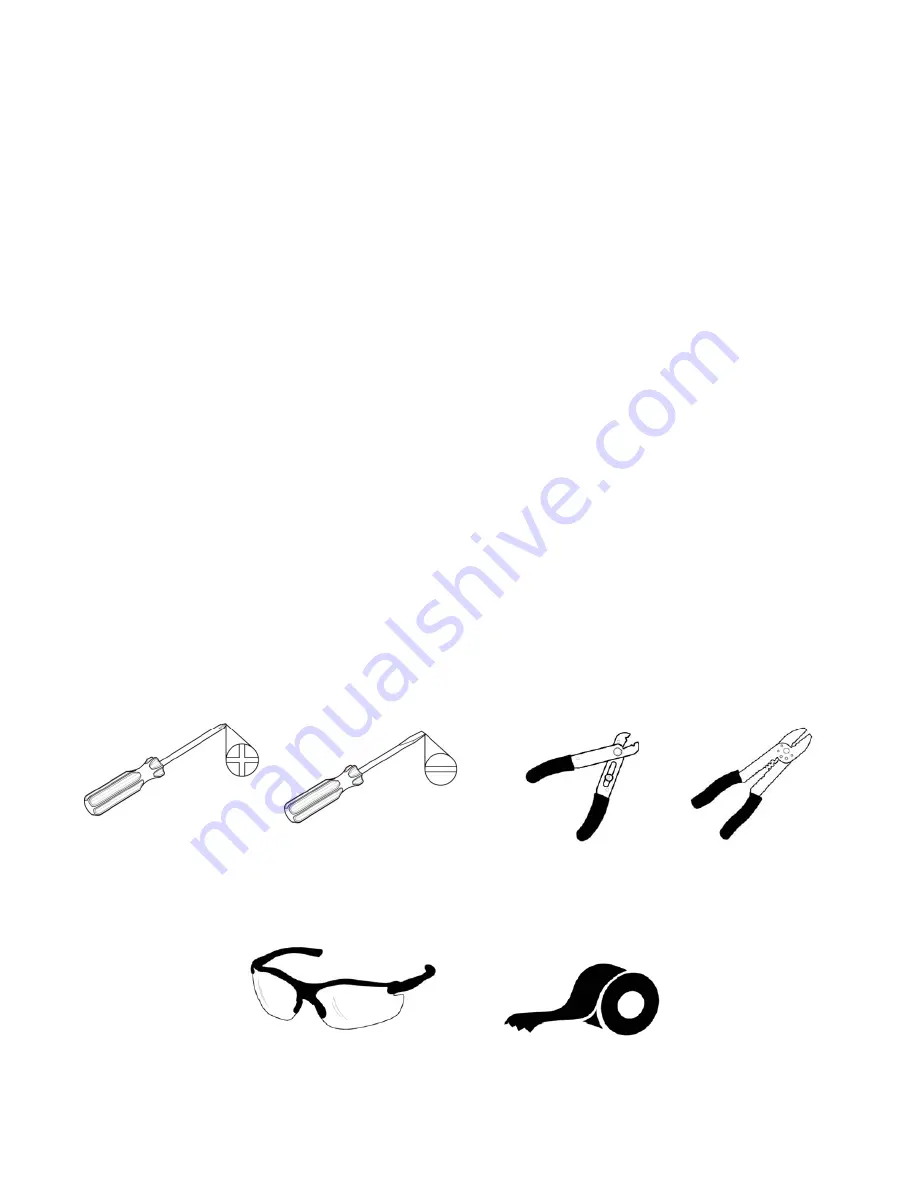
TOOLS REQUIRED FOR INSTALLATION AND ASSEMBLY (not 
included): 

fixtures, which might prevent the light from turning on.

Wire

Wire 

strippers

Phillips 

screwdriver

Wire 

cutters

Flathead

screwdriver

Safety 

goggles

Electrical

tape

Page 3

Summary of Contents for 046335934597

Page 1: ...INSTRUCTIONS MANUAL EXTERIOR FLUORESCENT POST LANTERN WITH DUSK TO DAWN PHOTOCELL PHOTOCELL HOME DEPOT SKU 153 697 UPC 046335934597 Page 1...

Page 2: ...ight will automatically turn on and i th h t th i ht At d th li ht ill t ti ll remain on throughout the night At dawn the light will automatically turn off and remain off throughout the day 4 For ener...

Page 3: ...7 3 KEEP your receipt and these Instructions for Proof of Purchase SELECTING A LOCATION SELECTING A LOCATION This fixture has a photocell light control Avoid installing this fixture under shaded areas...

Page 4: ...e 2 ASSEMBLY INSTRUCTIONS ASSEMBLY INSTRUCTIONS 1 Carefully unpack the fixture Lay out all parts on a clean surface 2 Install the provided 18 Watt GU24 SBCFL Light Bulb 5 into the socket of h C 2 d 18...

Page 5: ...ASSEMBLY 1 Hood 5 Light Bulb 2 Cage 3 Hood Screw 19 Photocell Page 5...

Page 6: ...round Wire 10 together using a Wire Nut 8 Wrap all pp y g g p wire connections with electrical tape for a more secure connection Note If you have electrical questions consult your local electrical cod...

Page 7: ...STALLATION 4 Post Cap 6 Fixture Mounting Screw 12 Black Fixture Wire 7 White Fixture Wire 8 Wire Nut 9 White Supply Wire 13 Fixture Ground Wire 14 Black Supply Wire 11 Post 10 Supply Ground Wire Page...

Page 8: ...not use any cleaners with chemicals solvents or harsh abrasives Use only a dry soft cloth to dust or wipe carefully LIMITED WARRANTY The manufacturer warrants this lighting fixture to be free from def...

Page 9: ...MANUAL DE INSTRUCCIONES FAROL DE POSTE PARA EXTERIOR CON FOTOC LULA DEL ANOCHECER ALAMANECER HOME DEPOT SKU 153 697 UPC 046335934597 ANOCHECER ALAMANECER Page 9...

Page 10: ...3 ANOCHECER AL AMANECER Al anochecer la luz se prender autom ticamente y quedar encendida toda la noche Al amanecer la luz se apagar autom ticamente y quedar apagada todo el d a apagar autom ticament...

Page 11: ...referencia su SKU 153 697 o UPC 046335934597 3 CONSERVE su recibo y estas Instrucciones como comprobante de compra SELECCI N DE LA UBICACI N Este farol tiene un control de luz mediante Fotoc lula 19...

Page 12: ...bierta 3 INSTRUCCIONES DE ASAMBLEA 1 Desempaque el luminario con cuidado Coloque todas las superficies sobre una superficie limpia 2 Instale el foco GU24 SBCFL de 18 vatios 5 provisto en el portal mpa...

Page 13: ...ENSAMBLAJE 1 Cubierta 1 Cubierta 5 Foco ill 3 Tornillo para la cubierta 2 Jaula 2 Jaula 19 Fotoc lula Page 13...

Page 14: ...cables 8 Conecte el cable a tierra del luminario 13 y el cable a tierra de alimentaci n 10 utilizando la tuarca para cables 8 Envuelva todas las conexiones de los cables con cinta de aislar para una...

Page 15: ...luminario 12 Cable negro del luminario 7 Cable blanco del l i i 14 Cable negro d li t i 8 Tuarcas para cables luminario 9 Cable blanco d li t i 13 Cable a tierra del luminario de alimentaci n 10 Cable...

Page 16: ...es a os fusible en la caja de fusibles Despu s use un pa o seco o ligeramente humedecido use agua limpia nunca un solvente para limpiar la superficie interior del luminario 3 No use limpiadores con qu...

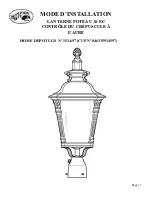
Page 17: ...MODE D INSTALLATION LANTERNE POTEAU AVEC CONTR LE DU CR PUSCULE L AUBE HOME DEPOT UGS N 153 697 CUP N 046335934597 L AUBE Page 17...

Page 18: ...la tomb e du jour le luminaire s allume Il demeure allum toute la nuit jusqu l aube Lorsque le jour se l ve le luminaire s teint et demeure teint toute la journ e jusqu au cr puscule 5 Aux fins d cono...

Page 19: ...preuve d achat CHOIX DE L EMPLACEMENT Ce luminaire comporte une cellule photo lectrique n 19 qui permet de contr ler l clairage vitez d installer le luminaire dans un endroit ombrag tel que sous un po...

Page 20: ...BLAGE 1 D ballez d licatement le luminaire Placez toutes les pi ces sur une surface propre 2 Installez la lampe fluocompacte n 5 GU24 ballast int gr de 18 watts fournie dans la douille du la cage n 2...

Page 21: ...ASSEMBLAGE 1 Capot 5 Lampe 18 Vis de 18 Vis de capot 2 Cage 19 Cellule photo lectrique Page 21...

Page 22: ...connexions lectriques avec du ruban isolant pour plus de s curit noter si vous avez des questions concernant isolant pour plus de s curit noter si vous avez des questions concernant l installation le...

Page 23: ...montage du luminaire 12 Fil noir du luminaire 7 Fil blanc du 14 Fil d alimentation 8 Capuchon de connexion luminaire 9 Fil 13 Fil de terre du luminaire noir 11 Poteau 10 Fil de terre d alimentation 9...

Page 24: ...utilisez aucun produit de nettoyage contenant des agents chimiques des solvants ou des abrasifs durs Utilisez uniquement un linge doux et sec pour enlever la poussi re en essuyant d licatement GARANTI...

Reviews: