background image

68"

0.34

0.45

0.56

16

32

68

30

50

70

1200

3150

5300

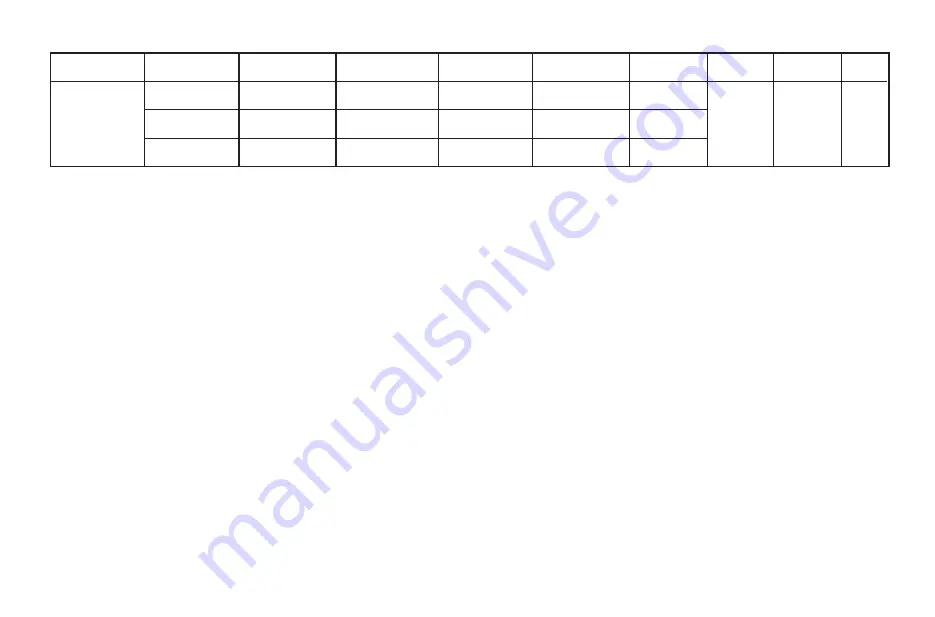
 Specifications 13.

These are typical readings. Your actual fan may vary. They do not include Amps and Wattage used by the light kit.

RPM

CFM

N.W.

G.W.

C.F.

120

120

15.10 kgs

(33.25 lbs)

17.32 kgs

(37.14 lbs)

2.95'

120

Fan Size 

Speed 

Volts 

Amps 

Watts

Low 

Medium

High

Distributed by 
Your Other Warehouse, LLC 
12100 Little Cayman Dr. 
Baton Rouge, LA 70809

Summary of Contents for 180-471

Page 1: ...cover any changes in brass finish including rusting pitting corroding tarnishing or peeling Brass finishes of this type give their longest useful life when protected from varying weather conditions A...

Page 2: ...R FAN HANGING THE FAN ELECTRICAL CONNECTIONS FINISHING THE INSTALLATION BLADE INSTALLATION CARE OF YOUR FAN TROUBLESHOOTING SPECIFICATIONS INSTALLING THE MOUNTING PLATE CONNECTING THE LIGHT KIT GLASS...

Page 3: ...st 50 1 Safety Rules 8 After you install the fan make sure that all mounting components are secured to prevent the fan from falling 9 Do not insert anything into the fan blades while the fan is operat...

Page 4: ...ing installation only 6 Coupling cover 7 Fan motor assembly 8 Blade holders 3 9 Mounting plate 10 Light plate 11 Glass shade assembly 13 Watt compact fluorescent bulb 12 Receiver 6 wire nuts 13 Transm...

Page 5: ...turning off circuit breakers Secure the outlet box directly to the building structure Use appropriate fasteners and building materials The outlet box and its support must be able to fully support the...

Page 6: ...itch pin Tighten set screws Step 5 Slip coupling cover canopy cover and canopy onto downrod Fig 9 Carefully reinstall hanger ball onto rod being sure that cross pin is in correct position set screws a...

Page 7: ...r Connect the BLUE wire from the fan to the BLUE wire marked For Light from the Receiver NOTE If your ceiling fan features an UP Light Connect the ORANGE wire from the fan to the ORANGE wire marked Fo...

Page 8: ...Black AC IN L Black to motor L Receiver Blue for light Blue light Black motor Step 1 Tuck connections neatly into ceiling outlet box Step 2 Slide the canopy up to ceiling and over the two crews on ha...

Page 9: ...Screws Screws 8 Installing the Mounting Plate Step 1 Remove 1 of the 3 screws from the mounting ring and loosen the other 2 screws Do not remove Step 2 Place the key holes from the mounting plate over...

Page 10: ...Connect the white wire connectors from the light plate and fan follow the same procedure with the black wire connectors Fig 17 Step 3 Place the light plate key holes over the 3 screws previously loose...

Page 11: ...tings for warm or cool weather depend on factors such as the room size ceiling height number of fans etc The Reverse switch is located on top of the motor assembly Slide the switch to the Left for war...

Page 12: ...ee cloth to avoid scratching the finish The plating is s e a l e d w i t h a l a c q u e r t o m i n i m i z e discoloration or tarnishing 4 You can apply a light coat of furniture polish to the wood...

Page 13: ...with a new fan disappear during this time 5 If using an optional light kit make sure the screws securing the glassware are tight Check that the light bulb is also secure 6 Do not connect the fan with...

Page 14: ...s Your actual fan may vary They do not include Amps and Wattage used by the light kit RPM CFM N W G W C F 120 120 15 10 kgs 33 25 lbs 17 32 kgs 37 14 lbs 2 95 120 Fan Size Speed Volts Amps Watts Low M...

Reviews: