2
1
Operation
Remote Control - Your fan is equipped with a remote control to
operate the speed and lights of your new ceiling fan. For more
information on how to install the remote control, see the remote
control instruction packaged with the remote control components.
The appropriate speed setting for warm or cool weather depends
on factors such as the room size, ceiling height, and number of fans.
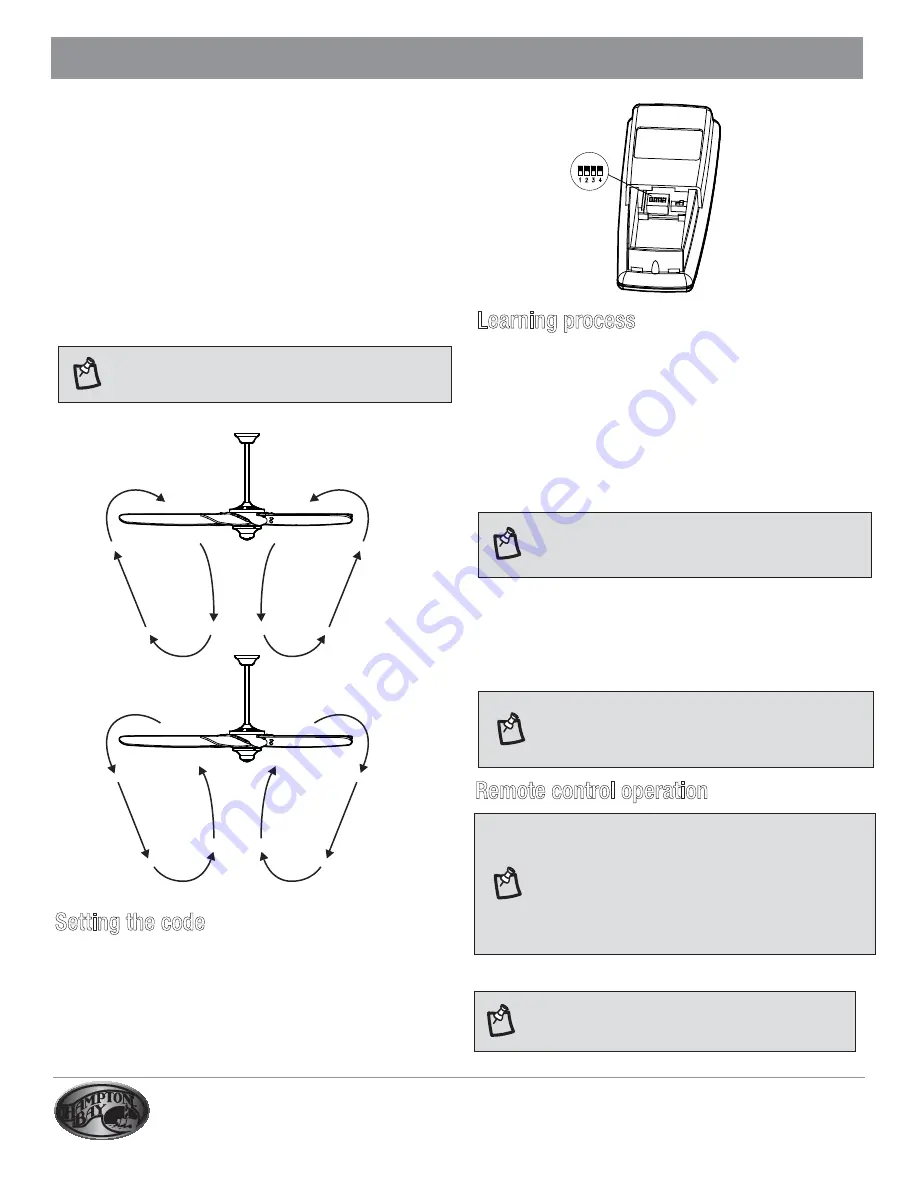
Warm weather - (Forward) A downward air flow creates a cooling
effect. This allows you to set your air conditioner on a warmer
setting without affecting your comfort.
Cool weather - (Reverse) An upward air flow moves warm air off the
ceiling. This allows you to set your heating unit on a cooler setting
without affecting your comfort.
NOTE:
Do not wait for the fan to stop to press the reverse
button. The fan will not reverse if the fan is not moving.
Setting the code
Setting the code on the remote control:
a. Remove the battery cover by pressing firmly on the arrow and
sliding the cover off.
b. Slide the code switches to your choice of either up or down. The
factory setting is up.
c. Replace the battery cover on the remote control.
NOTE:
After the AC power is on, do not press any other button
on the remote control before pressing the "FAN OFF" button.
Doing so will cause the procedure to fail.
NOTE:
The remote control can learn multiple receivers. Make
sure no other receivers are operating during the learning
process. Separate the fan power switches by approximately
2 meters.
Remote control operation
NOTE:
This remote is equipped with 16 code combinations.
To prevent possible interference from or to other remote units,
such as garage door openers, car alarms, or security systems,
simply change the combination code. The code switch marked
ON/DIM is for dimming control of the lights: Set the code switch
to ON to allow for no dimming of the lights such as for
fluorescent bulbs. Set the code switch to DIM to allow for
dimming of the lights.
NOTE:
The ceiling fan must be set at HIGH speed and
the light kit (If any) at ON position before operating the
remote control.
Install a 9-V battery (included).
Ƒ
Turn the main power source off to being the learning process.
Remove the remote control battery cover to set the dip switches
to the desired combination. Use a small size tool, such as a
ball-point pen or small srew driver, to change the frequency settings
on the control system. The receiver will automatically learn the
frequency code.
Return the power to the unit.
Should you desire to use another remote control unit with your
new fan, install one using the steps below:
Learning process
Ƒ
Ƒ
Ƒ
Within 30 seconds of turning the Fan's AC power ON, press and
hold the "FAN OFF" button for 5 seconds. Once the receiver has
detected the set frequency, the down light of your fan, if
applicable, will blink twice. There is no indication if your fan is
not equipped with a light.
Ƒ
ON DIP


