11
G
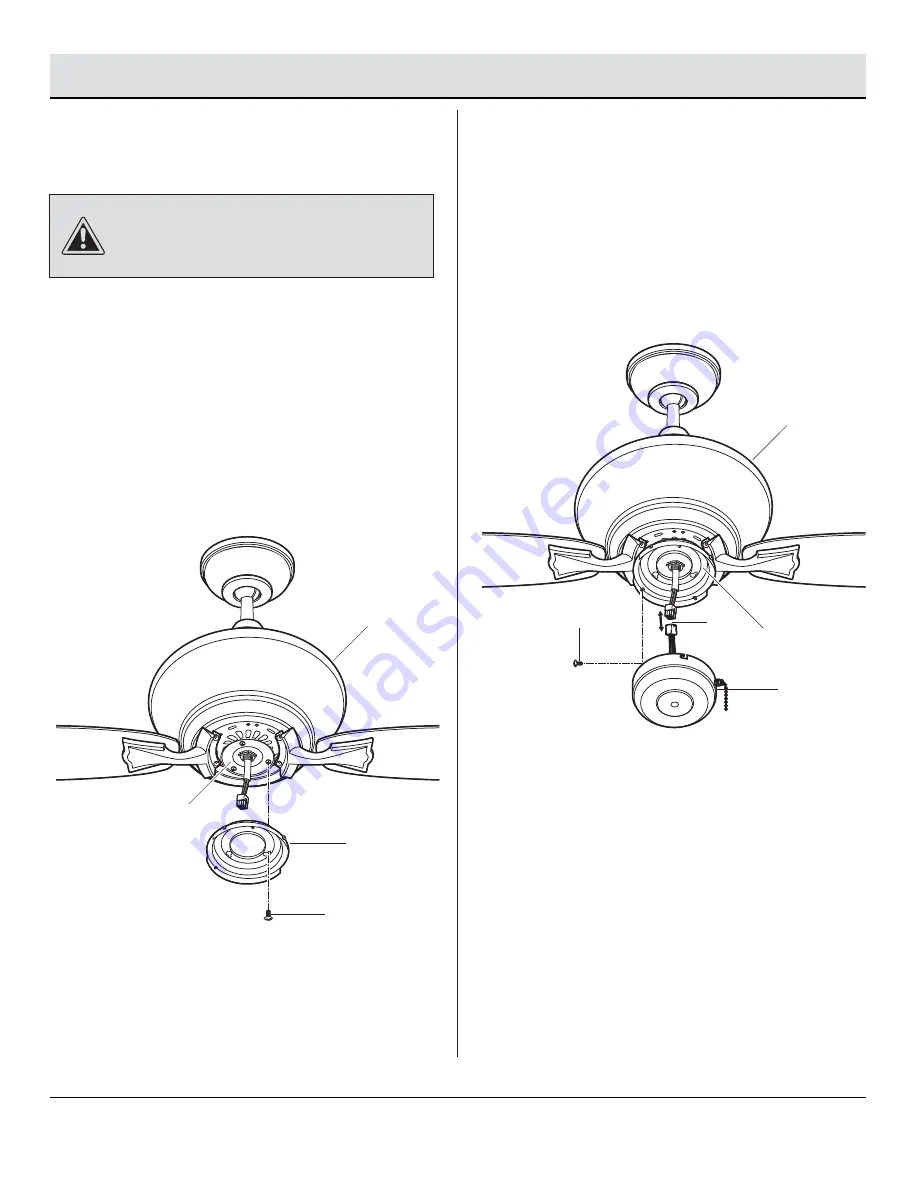
Attaching the light kit mounting
plate to the mounting ring
□
Remove one of the three light kit mounting plate
screws (HH) from the mounting ring (TT) and loosen
the other two screws (HH). (Do not remove)
□
Place the key holes in the light kit mounting plate (J)
over the two screws (HH) previously loosened from
the mounting ring (TT), and turn the light kit mounting
plate (J) until the light kit mounting plate (J) locks in
place at the narrow section of the key holes.
□
Securely tighten the two light kit mounting plate
screws (HH) previously loosened and the one (HH)
previously removed.
HH
J
TT
CAUTION:
Before starting installation, disconnect the
power by turning off the circuit breaker or removing the fuse
at the fuse box. Turning power off using the fan switch is not
sufficient to prevent electric shock.
Assembly — Installing the Light Kit
12
Attaching the switch housing
to the light kit mounting plate
□
While holding the switch housing (K) under the fan,
snap together the wire connection plugs (UU).
□
Carefully push all wires back into the switch housing.
Install the switch housing (K) onto the light kit
mounting plate (J) with the switch housing mounting
screw (II) provided. Be sure to tighten all screws.
J
K
UU
G
II
16


