7 - 11
Snapshot
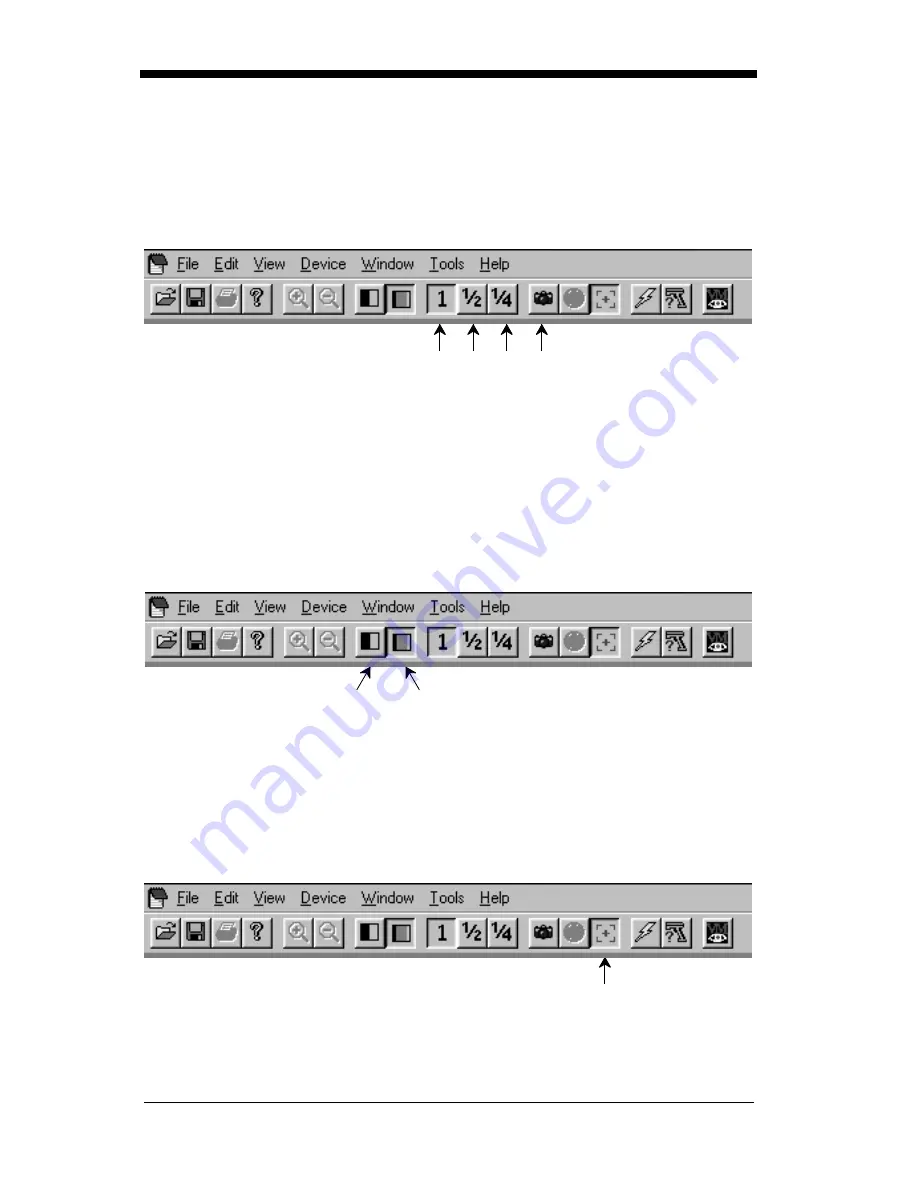
You may also use the IMAGETEAM 4410/4710 to capture an image. Click on
Device - Snapshot, or click on the camera icon in the button bar to activate this
feature.
Select the resolution you wish to use for this image, either Full, Half or Quarter
Resolution. (These can also be selected by clicking on the 1, 1/2, or 1/4 buttons
in the button bar.)
Note: The higher resolution, the sharper the image, and the larger the size of
the resulting file. Higher resolution images also take longer to process.
You must also select whether you wish to capture the image in Gray Scale or in
Black & White.
Note: If you need to see exactly what the Imager sees (for example, if you are
diagnosing a bar code), you should set the image to Black & White.
If you want the Imager to display illuminated aiming brackets, click on Device -
Snapshot Properties - Use Aimer During Image Capture, or click on the aimer
icon in the button bar.
Snapshot
icon
Resolution
icons
Black &
White
Gray Scale
Aimer
icon
Summary of Contents for IMAGETEAM 4410
Page 1: ... User s Guide IMAGETEAM 4410 4710 2D Series Hand Held Imager ...
Page 4: ......
Page 12: ...viii ...
Page 70: ...2 50 ...
Page 112: ...3 42 ...
Page 123: ...4 11 Exit Selections Save OCR Template Discard OCR Template ...
Page 124: ...4 12 ...
Page 132: ...6 2 ...
Page 170: ...7 38 ...
Page 176: ...9 4 ...
Page 196: ...11 4 ...
Page 206: ...Data Bits 2 12 Serial Command 7 21 Stop Bits 2 12 Serial Command 7 21 ...
Page 207: ......
Page 208: ......
Page 212: ...Programming Chart OCR a e d g c h ...
Page 213: ...Programming Chart OCR l Save Discard t r ...
Page 214: ...Programming Chart 0 2 6 1 7 5 4 3 ...
Page 215: ...Programming Chart 8 A E 9 F D C B Save Discard E ...
Page 216: ...44 4710 UG Rev C ...


