10
Dolphin® 7900 Series Mobile Computer Quick Start Guide
Using the Imager
Dolphin 7900 Series terminals offer four image engine options that instantly read
all popular 1D and 2D bar codes and capture images:
•
IMAGETEAM™ 4300 Standard Range (IT4300SR)
•
IMAGETEAM™ 4300 Smart Focus (IT4300SF)
Activating the Engine
You can activate the engine in the following ways:
•
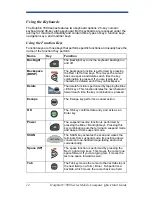
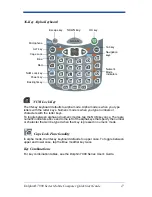
The SCAN key located in the center of both keyboards;
SCAN
, page 14.
•
The buttons located on both side panels activate the imager by default;
Programmable Side Buttons
, page 3.
You must press and hold the key or button until the image or scan is completed
successfully.
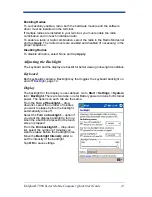
All Dolphin 7900 terminals contain demos that enable you to test and verify
performance. To access these demos, go to Start > Demos.
Taking an Image
The terminal saves images in industry-standard file formats such as *.bmp, *.jpg
and *.png. The default file format for images is a grayscale *.jpg.
1. Tap Start > Demos > Image Demo. The image demo opens.
2. Point the terminal at an object and activate the image engine. A preview of
the object appears on the terminal screen. Because this is a live video image
of what the imager is currently viewing, it has a slightly degraded
appearance; this is normal.
3. Release the SCAN key or side button. The image is captured and appears on
the screen. By default, the image saves to the My Device folder as
“imagedemo.jpg.”
4. Press the ESC key to close the demo.
Decoding
1. Tap Start > Demos > Scan Demo.
2. Aim the terminal at a bar code and activate the engine; 4–10 inches (10–25
cm) from the bar code is recommended.
3. The scan LED lights. The aimer projects from the engine; it should be
oriented in line with the bar code to achieve optimal decoding.
4. When a good scan is obtained, the decode LED lights and the terminal
beeps. The bar code readout appears on the screen.
Decode LED
(red)
Scan LED
(green)


