HandiQuilter.com
Page 7
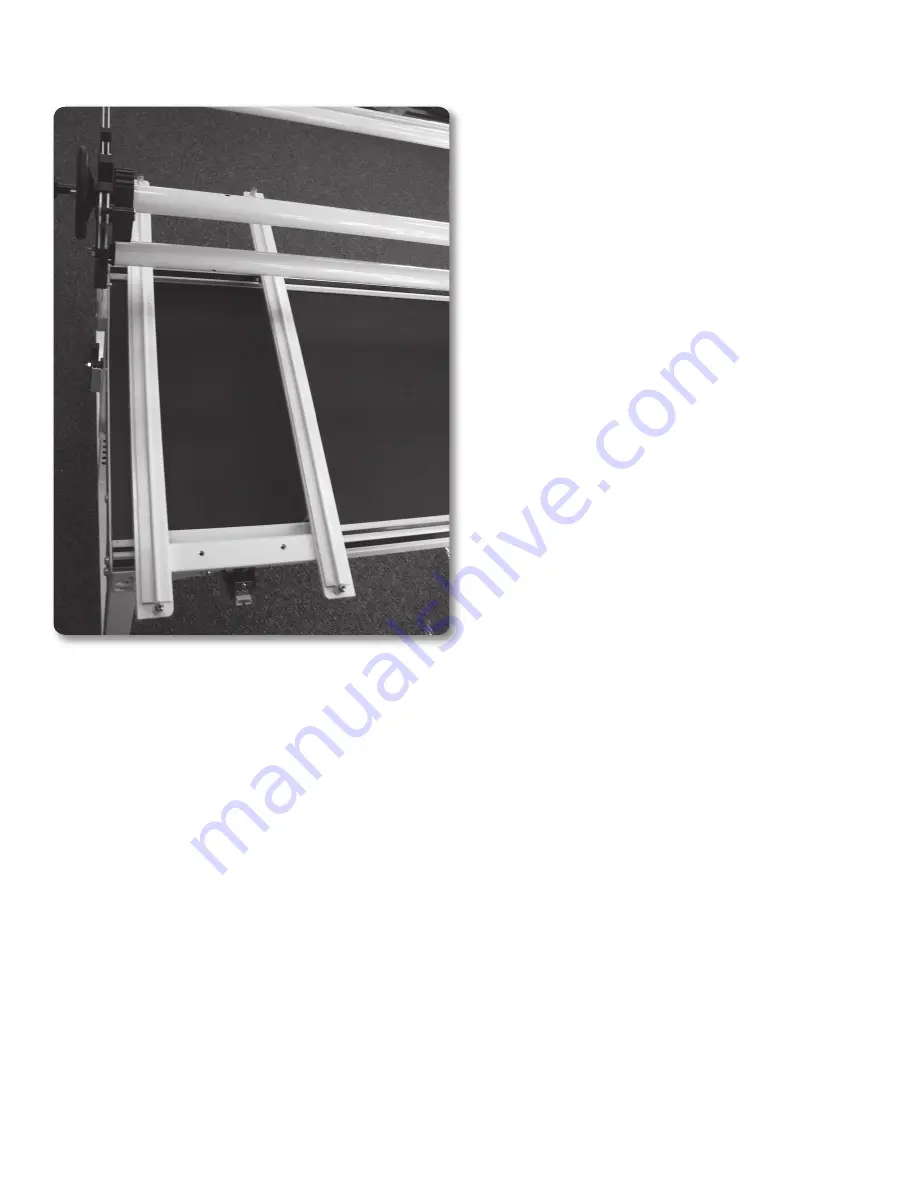
1. Place the carriage on the table rails, ensuring that
the Carriage Encoder Assembly will be toward the
back of the machine (the power cord side of the
machine). The back side of the carriage has an
encoder assembly attached to the rear cross-piece.
Be sure to place the carriage on the frame correctly
(see Figure 4).
2. Place the machine on the carriage.
3. Plug the Ribbon cable into the Carriage Encoder
Assembly. The connector is keyed to assure correct
alignment. Make sure the keyed portion of the
cable connector aligns with the keyed portion of
the encoder connector. Do not force.
4. The remaining length of cable comes back under
the Power Pod from the Rear Encoder Assembly,
behind the machine, and into the 9 pin serial port
of the machine (see Figure 5).
5. REMEMBER that if the machine is to be removed
from the carriage, the cable must be disconnected
from the Carriage Encoder Assembly. The other
two connectors on the cable should remain in
place. Failure to unplug the cable when removing
the machine from the carriage could result in
damage to the cable, encoders, and carriage.
Installation (Studio Frame)
Figure 4
Installing Front Handlebars
Caution: Unplug the HQ Avanté from the electrical outlet. All power to the machine must be turned off
when installing the front handles. Failure to do so can result in damage to the machine.
Locate the three long bolts and the 5mm Hex wrench. To install the handlebar,line up the holes on top of
the handles with the pre-drilled holes on top of the machine. Slide a single bolt into one of the holes until
it stops. Hand-tighten the bolt enough to secure the handles to the top of the machine. Insert and hand-
tighten the remaining two handlebar bolts.
Use the included 5 mm Hex wrench to securely fasten the handles to the front of the machine.
Once the bolts are in place, plug the 9-pin connector into the serial port located on the left-hand side of the
machine (see Figure 2, #18, page 6). Ensure the pins are lined up so they are not damaged when the plug is
pushed in. Push the plug securely in place.


