


HQ Fusion
™
User Manual 1.0
Page 7
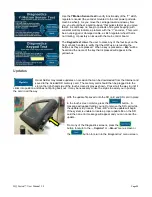
Diagram F
Installing the Laser Stylus
Begin by locating the laser stylus guide post, the laser holder and the
laser stylus.
To attach the laser stylus to the top of the machine:
1.
Locate the threaded hole on top of the machine near the front (see
diagram B, #20). The laser stylus guide post comes with the
washer and nut on it. Remove the nut and washer, replace the nut
onto the post and then place the washer under the nut and onto the
machine painted surface. The washer protects the painted surface
when the nut is tightened. Tighten the post clockwise until it is
securely in place. Use the nut to secure the post to the machine.
Be sure the laser stylus is inserted into the laser clamp.
2.
Slide the laser clamp over the post to the desired height.
3.
Plug the laser into the top port on the side of the front electronic control pod (see
diagram C, #29).
To attach the laser stylus to the side of the machine:
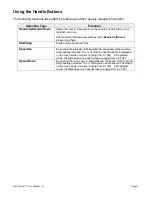
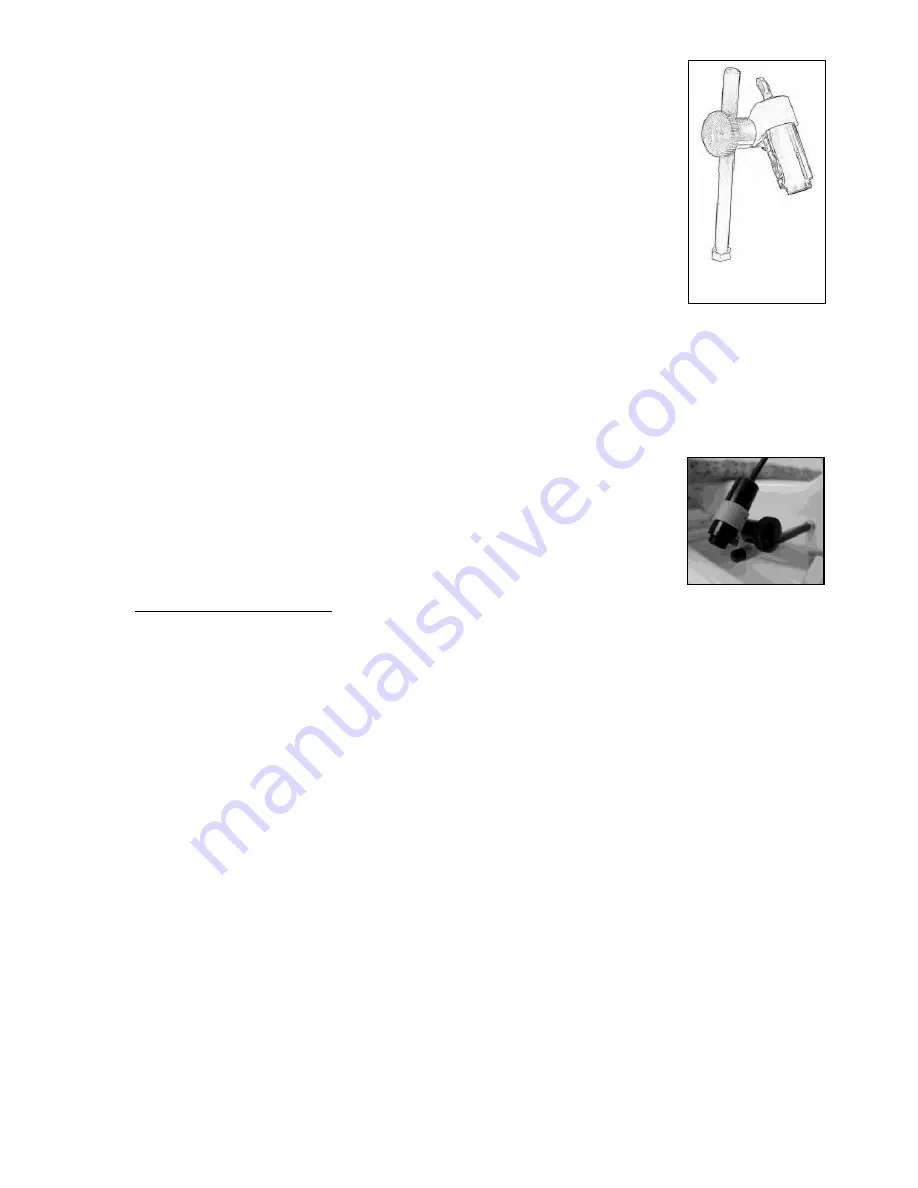
1. Place the nut on the laser stylus guide post with the washer under
it and thread the laser guide post into the threaded hole (see
diagram A, #14), near the rear wheel base. Turn until securely in
place. Lock in place with lock nut – the washer will be under the nut
to protect the machine paint. (see Photo 6). An unused spool pin
can also be used to mount the laser.
Follow steps 2-4 above
Photo 6


