3.24 | Installation
www.HandiQuilter.com
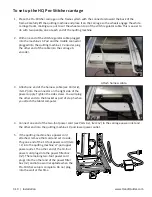
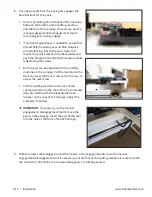
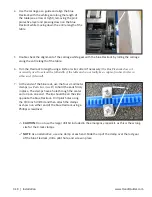
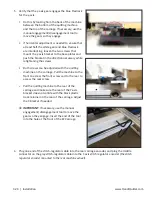
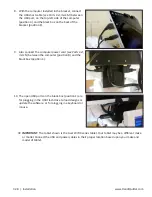
5. Verify that the y-axis gear engages the blue Flexirack
for the y-axis.
• Do this by looking from the back of the machine
between the bottom of the quilting machine
and the top of the carriage. If necessary, use the
manual engagement/diseangagement tool to
move the gears so they engage.
• If horizontal adjustment is needed to ensure that
at least half the white gear and blue Flexirack
are interlocking, loosen the two screws that
mount the y-axis bracket to the base plates and
push the bracket in the direction necessary while
retightening the screws.
• Both screws can be adjusted with the quilting
machine on the carriage. Pull the machine to the
front to access the front screw and to the rear to
access the rear screw.
•
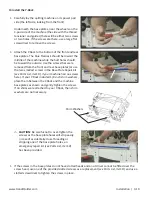
Pull the quilting machine to the rear of the
carriage and make sure the rear of the Y-axis
bracket does not collide with the black plastic
track retainer on the rear of the carriage. Adjust
the Y-bracket if needed.
Â
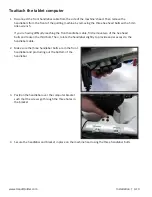
IMPORTANT: If necessary, use the manual
engagement/disengagement tool to move the
gears so they engage. Insert the end of the tool
into the hole at the front of the EZ Carriage.
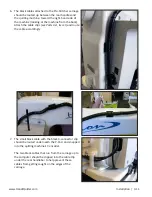
6.
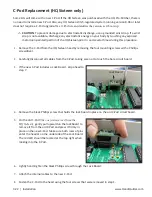
Plug one end of the stitch-regulator cable into the rear carriage encoder, and plug the middle
connector on the gray stitch-regulator cable into the Y-axis stitch regulator encoder (the stitch
regulator encoder mounted to the rear machine wheel).
Summary of Contents for Pro-Stitcher QM30010-2
Page 43: ...3 32 Installation www HandiQuilter com...
Page 53: ...4 10 Overview www HandiQuilter com...
Page 57: ...6 4 Art Stitch www HandiQuilter com...
Page 105: ...7 12 Quilt Menu www HandiQuilter com...
Page 131: ...HQ Pro Stitcher User Manual 10 8 Warranty Training Checklist...
Page 133: ...HQ Pro Stitcher User Manual 11 2 HQ Printouts...
Page 135: ...www HandiQuilter com 12 2 Tutorials...

