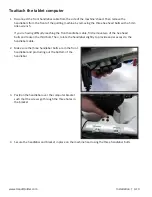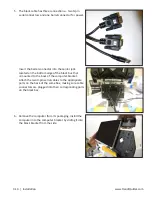
www.HandiQuilter.com
Installation | 3.25
7.
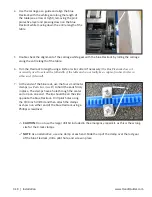
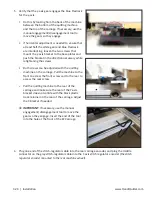
Route the final section of the stitch regulator cable
around the back of the quilting machine and plug the
9-pin D-sub connector into the C-Pod.
8.
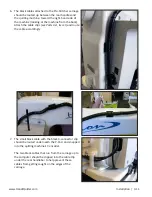
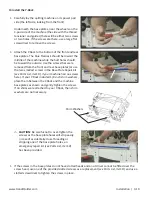
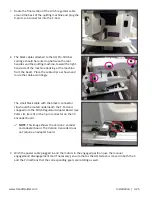
The black cables attached to the HQ Pro-Stitcher
carriage should be routed up between the rear
handles and the quilting machine, toward the right-
hand side of the machine (looking at the machine
from the back). Place the cable clips as shown and
route the cable accordingly.
The small black cable with the black 3-connector
clip should be routed underneath the P-Pod and
snapped into the Stitch Regulator Adapter Board (see
Parts List, item R) or the 3-pin connector on the V3
encoader board.
NOTE: This image shows the Version 2 encoder
and adapter board. The Version 3 encoder does
not require an adapter board.
9.
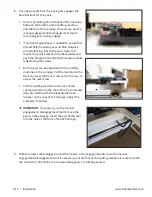
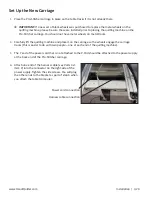
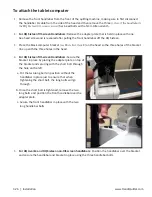
With the power cable plugged in and the motors in the engaged position (use the manual
engagement/disengagement tool if necessary), ensure that as the HQ Sixteen is moved in both the X
and the Y directions that the corresponding gears are rotating as well.
Summary of Contents for Pro-Stitcher QM30010-2
Page 43: ...3 32 Installation www HandiQuilter com...
Page 53: ...4 10 Overview www HandiQuilter com...
Page 57: ...6 4 Art Stitch www HandiQuilter com...
Page 105: ...7 12 Quilt Menu www HandiQuilter com...
Page 131: ...HQ Pro Stitcher User Manual 10 8 Warranty Training Checklist...
Page 133: ...HQ Pro Stitcher User Manual 11 2 HQ Printouts...
Page 135: ...www HandiQuilter com 12 2 Tutorials...

