www.HandiQuilter.com
Design Menu | 5.13
3.
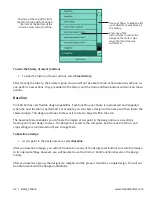
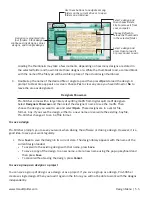
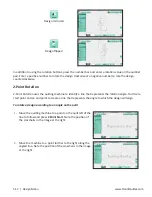
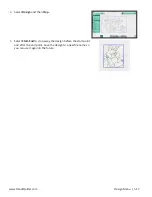
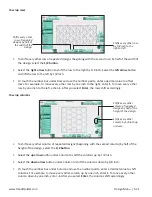
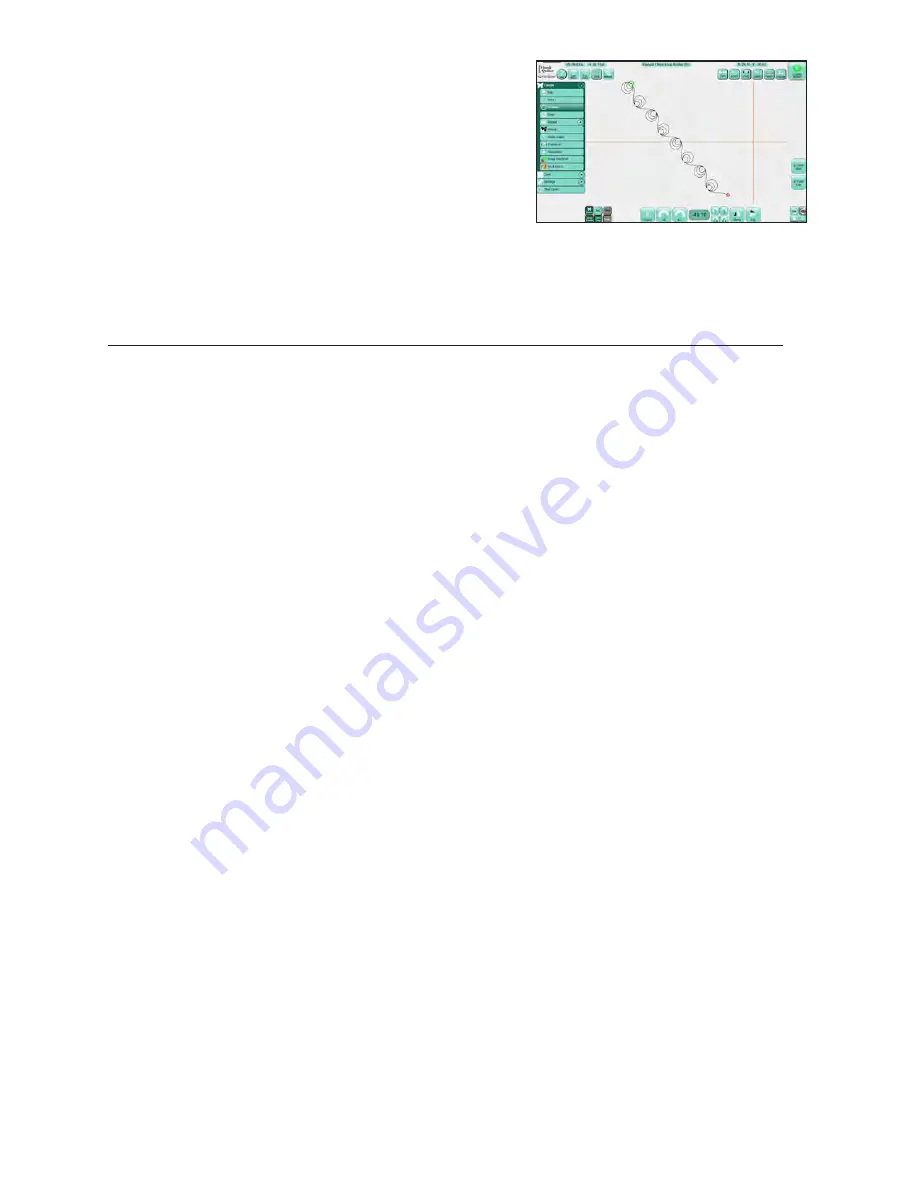
Select 2 Point End. The design rotated to match the angle
created by the two points selected in steps 1 and 2
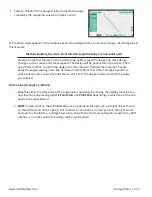
The rotation angle appears in the number box and the design rotates to match the angle, -49.10 degrees in
this example.
Machine Quilting Tip: Use 2-Point rotation to quilt sashing in an on-point quilt
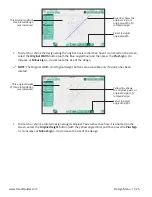
Create an area that represents the sashing to be quilted. Load the design and make design
changes, such as resize and create repeats. The design will be horizontal on the screen. Then
use 2-Point rotation to rotate the design to match the quilt. Position the machine’s needle
along the angled sashing seam line and select 2-Point Start. Move the machine’s needle to a
spot along the same seam line and select 2-Point End. The design rotates to match the angle
you defined.
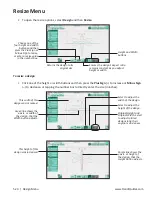
To fine tune the angle of rotation
•
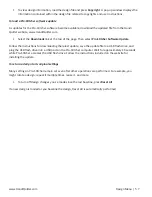
Redefine either the start point or the end point as necessary by moving the quilting machine to a
new location and pressing either
2 Point Start
or
2 Point End,
depending on which end of the line
needs to be repositioned.
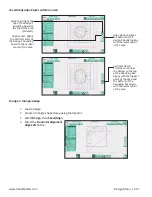
NOTE:
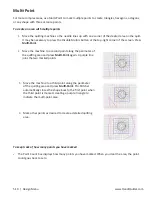
A start point on the left followed by an end point on the right (i.e. a straight line with start
on the left and end on the right) is a 0° rotation, or no rotation. A start point on the right and an
end point on the left (i.e. a straight same line, but with the start and end points reversed) is a 180°
rotation, or in other words, the design will be upside down.
Summary of Contents for Pro-Stitcher QM30010-2
Page 43: ...3 32 Installation www HandiQuilter com...
Page 53: ...4 10 Overview www HandiQuilter com...
Page 57: ...6 4 Art Stitch www HandiQuilter com...
Page 105: ...7 12 Quilt Menu www HandiQuilter com...
Page 131: ...HQ Pro Stitcher User Manual 10 8 Warranty Training Checklist...
Page 133: ...HQ Pro Stitcher User Manual 11 2 HQ Printouts...
Page 135: ...www HandiQuilter com 12 2 Tutorials...


