ENGLISH
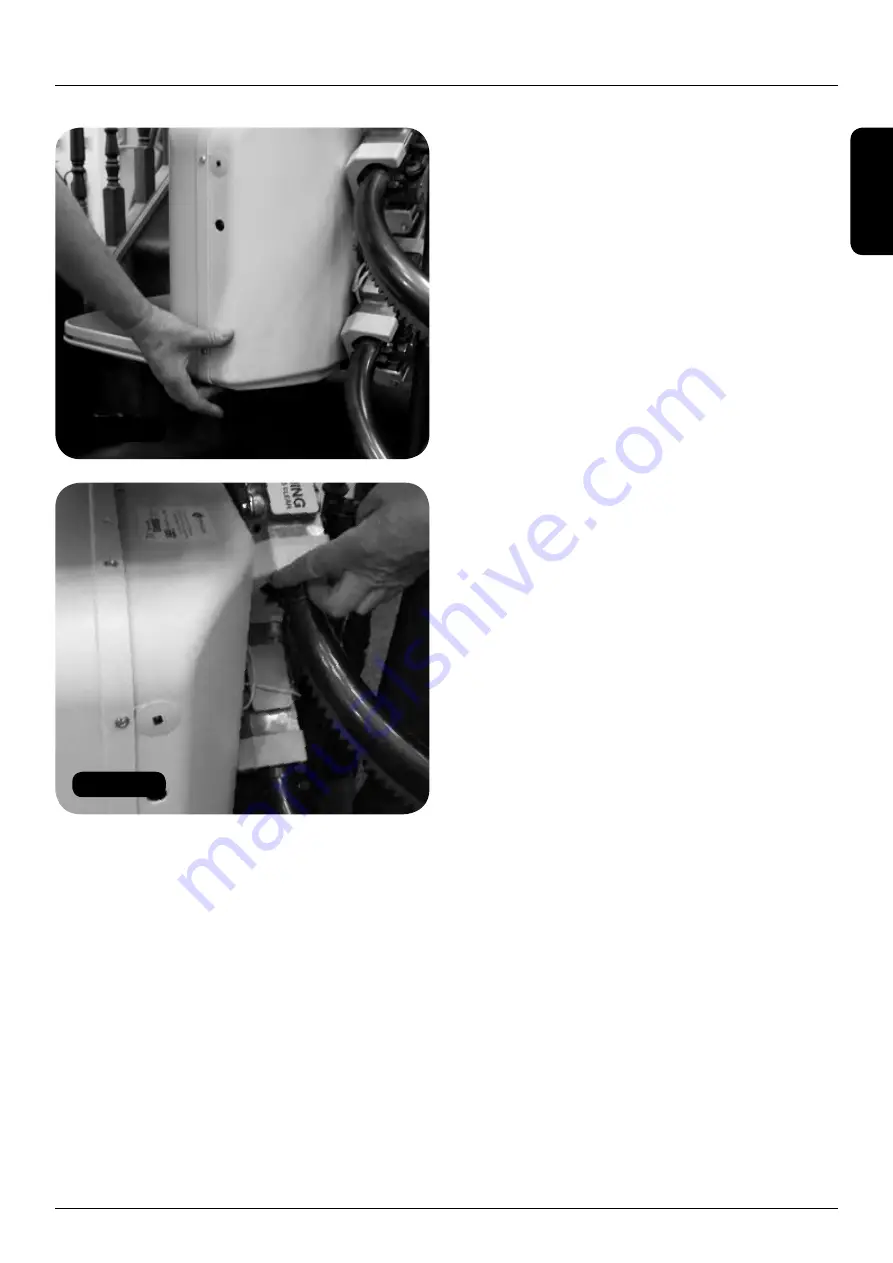
Figure 118
Figure 119
HANDICARE 2000 SIMPLICITY / STYLE INSTALLATION MANUAL
39
Testing
Testing
Items required:
Tools required:
• Handsets
• None
All variants
1
Sit on the lift and drive up and down the
track to ensure that the footplate clears
the nose of the risers along the complete
length of the track.
2
Check that the lift charges correctly:
a
Drive the lift to the top charge contacts
and ensure that ‘-’ shows in the diagnostic
display.
b
Drive the lift to the bottom charge contacts
and ensure that ‘-’ shows in the diagnostic
display.
3
Check the key switch operation:
a
Turn the key to the off position and ensure
that the lift will not drive - ‘0’ should show in
the diagnostic display when you try to drive
the lift with the key switch in the off position.
b
Turn the key switch back on.
4
Ensure that the under chassis safety edge on
the power pack is functioning
(Figure 118)
:
a
Drive the lift in the down direction.
b
Press the under chassis safety edge
– the lift should stop.
5
Ensure that all of the safety edges on the
trunnions are functioning
(Figure 119)
:
a
Drive the lift in the up direction.
b
Press the upside top trunnion safety edge
– the lift should stop.
c
Drive the lift in the up direction.
d
Press the upside bottom trunnion safety
edge – the lift should stop.
e
Drive the lift in the down direction.


