Page 24
HQ Sweet Sixteen Service Manual
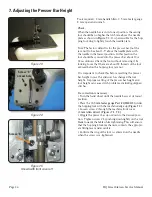
7. Adjusting the Presser Bar Height
Tools required: 3 mm handle Allen, 0. 5 mm feeler gauge,
8 mm open end wrench
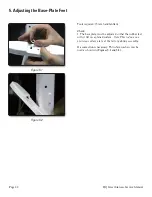
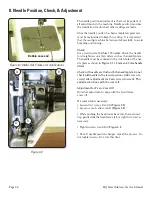
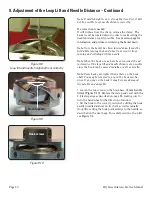
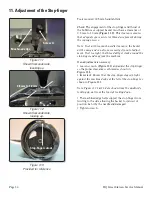
Check:
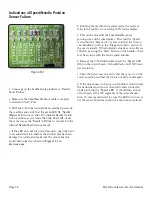
When the needle bar is in its lowest position, the sewing
foot should be no higher than 0.5 mm above the needle
plate as shown in
Figure 7.3
. It is permissible for the hop-
ping foot ring to lightly touch the needle plate.
Note: The factory default is for the presser bar (not the
jam nut) to be about 1.5” above the needle plate with
the needle in the lowest position. In this position the
foot should be screwed into the presser bar about 10 or
12 revolutions. Check the foot without removing it by
looking to see that there are about 12 threads of the foot
exposed below the hopping foot jam nut.
It is important to check this before resetting the presser
bar height in case the end user has changed the foot
height. Improper setting of the presser bar height and
foot height can cause stitch problems, including skipped
stitches.
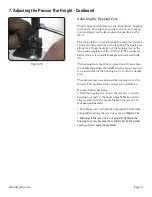
If a correction is necessary:
• Turn the hand wheel until the needle bar is at its lowest
position.
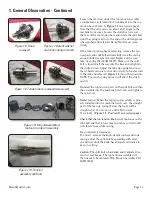
• Place the
(0.5 mm feeler gauge Part # QM40133)
under
the hopping foot with the machined edge up (
Figure 7.3
).
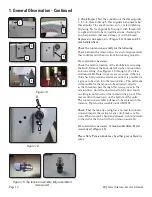
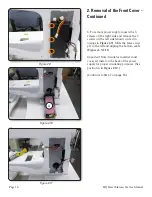
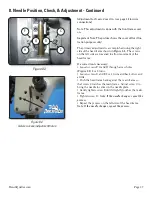
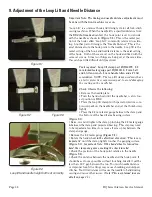
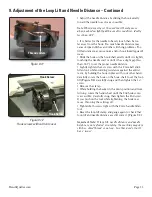
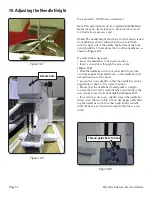
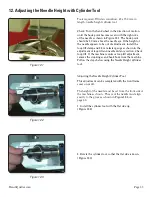
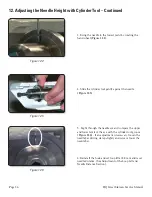
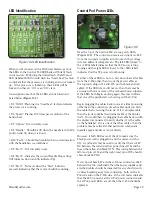
• Loosen screw C through the machine front cover
(3 mm Allen driver) (Figures 7.4, 7.5)
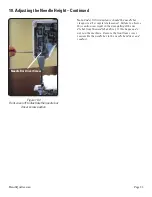
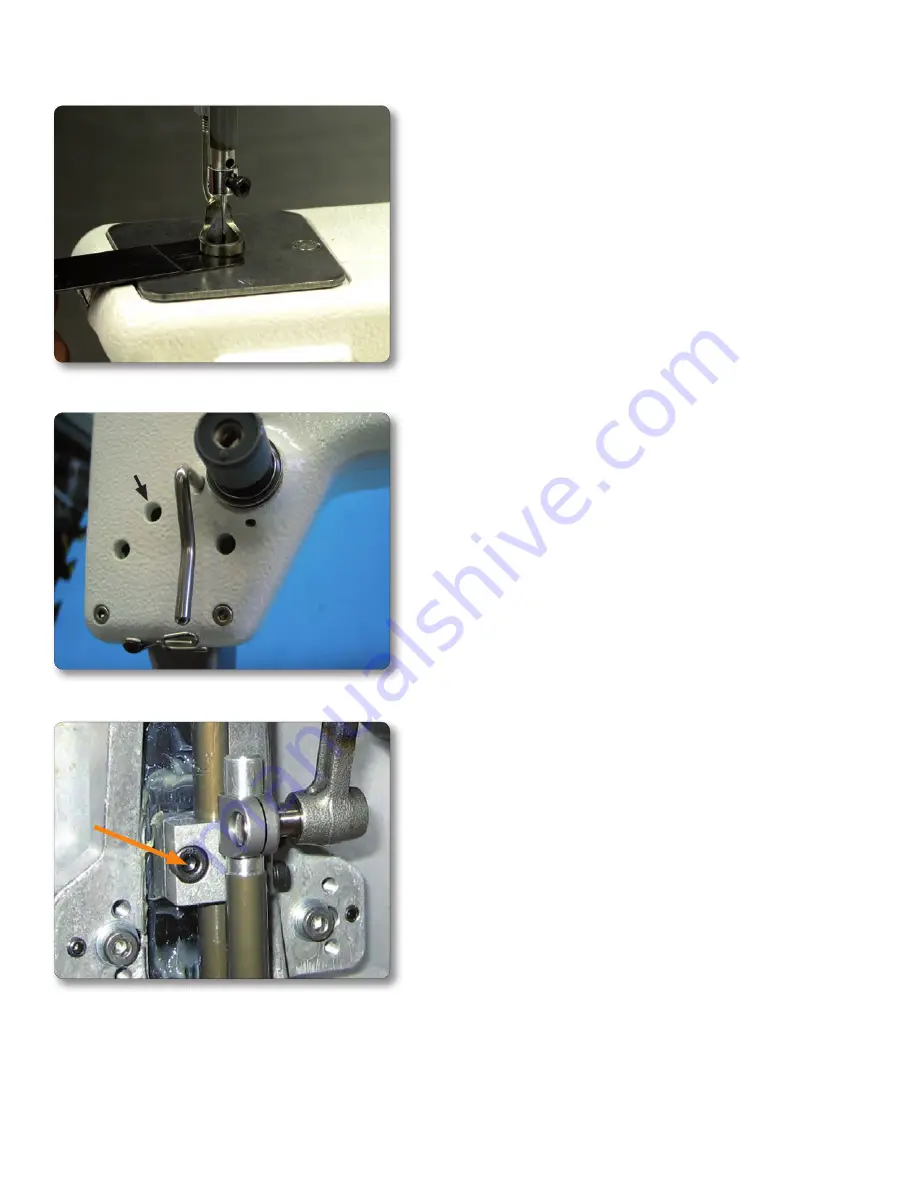
• Wiggle the presser bar up or down to the desired posi-
tion. Tighten screw C by pushing down lightly on the tool
blade towards the table while tightening. This will ensure
that the hopping-block mechanism contacts the appropri-
ate lifting lever and eccentric.
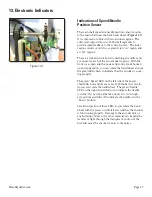
• Confi rm the ring of the foot is centered on the needle
when the screw is re-tightened.
Figure 7.3
Figure 7.4
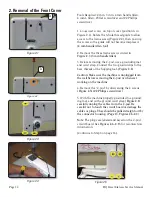
Figure 7.5
Shown with front cover off
Screw “C”
Screw “C”
access hole


