
HandiQuilter.com
Page 31
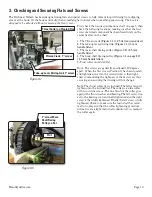
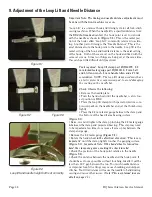
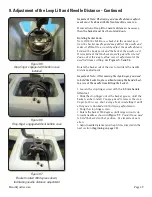
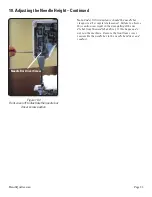
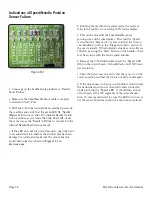
9. Adjustment of the Loop Lift and Needle Distance – Continued
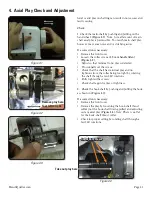
• Adjust the needle distance by sliding the hook axially
toward the needle to as close as possible.
Note:
When properly set, the needle will barely move
when pushed on lightly with a small screwdriver, ideally
less than .001”.
• It is better for the needle to barely touch than be too
far away from the hook. Too much needle distance may
cause skipped stitches and other stitching problems. Too
little distance may cause noise and/or hook (needle guard)
wear.
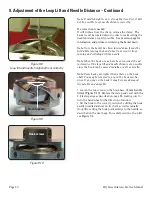
• Slide the hook on the hook shaft axially until it is lightly
touching the needle scarf or until it has a slight gap (less
than .001”) to set the proper needle distance.
• Lightly tighten the 1st screw with the 2 mm ball end L
Allen tool, while providing resistance against the adjust-
ment, by holding the hook in place with your other hand.
Carefully rotate the hook on the hook-shaft to set the loop
lift
(Figure 9.8).
Carefully snug and then tighten the 1st
screw.
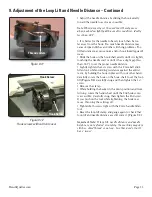
• Remove the clamp.
• While holding the basket in the down position and from
turning, rotate the hand wheel until the 2nd hook screw
is accessible. Carefully snug, then tighten the 2nd screw.
If you push on the tool while tightening, the hook may
move, throwing the settings off.
• Tighten both screws tight with the 2 mm handle Allen
tool.
• Reset the loop lift clamp and gauge again to check that
loop lift and needle distance are still correct. (Figure 9.8)
Important Note:
If loop lift, needle distance and needle
height are not adjusted accurately, the machine may skip
stitches, shred thread or not sew. In other words, it will
have “issues”.
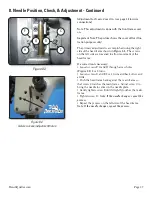
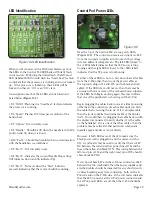
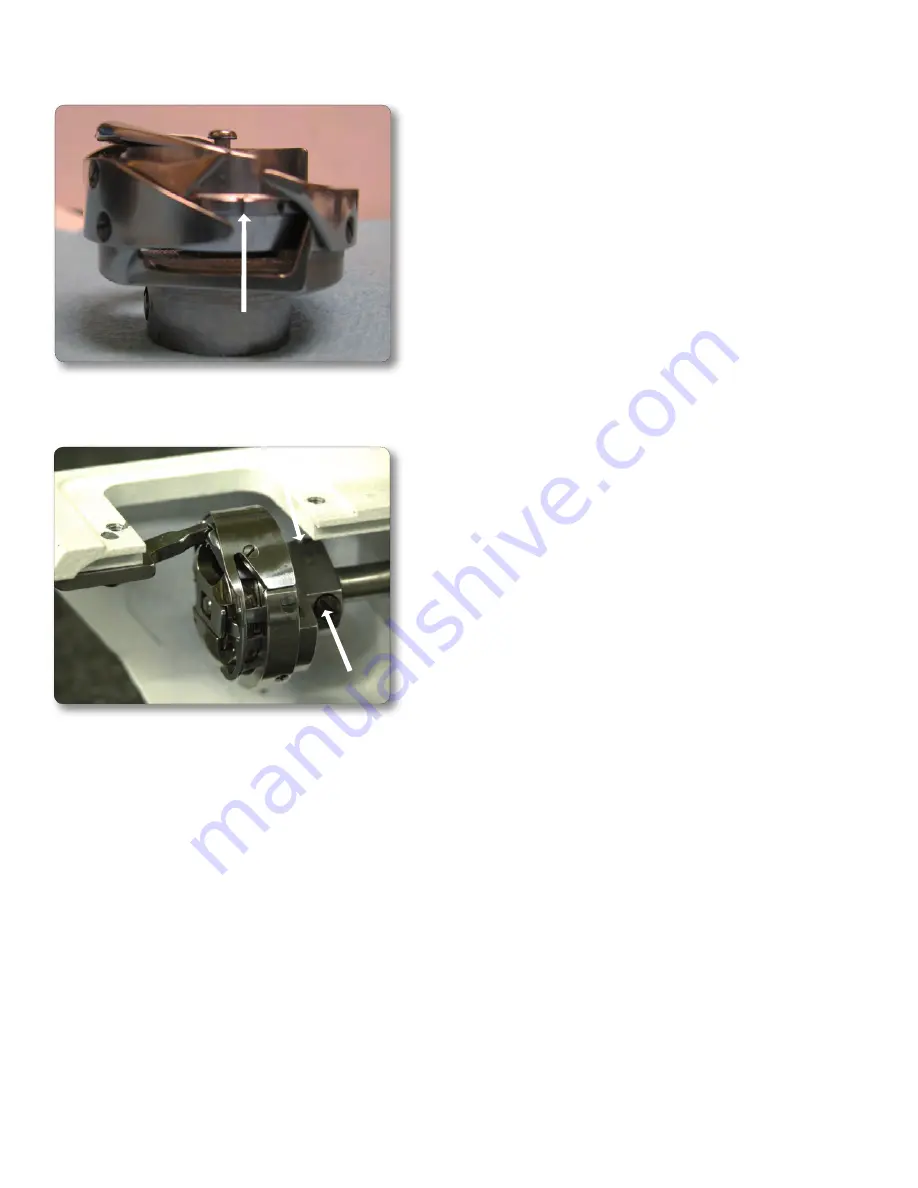
Figure 9.12
Hook screws without front cover
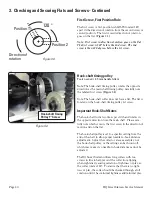
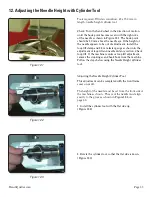
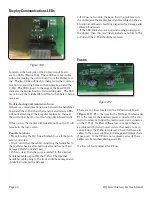
Figure 9.11
Thread cutters
Hook Screw
Hook Screw


