-25-
VERTICAL BEATERS
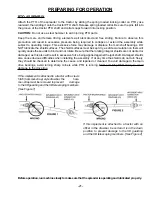
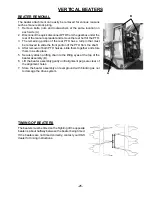
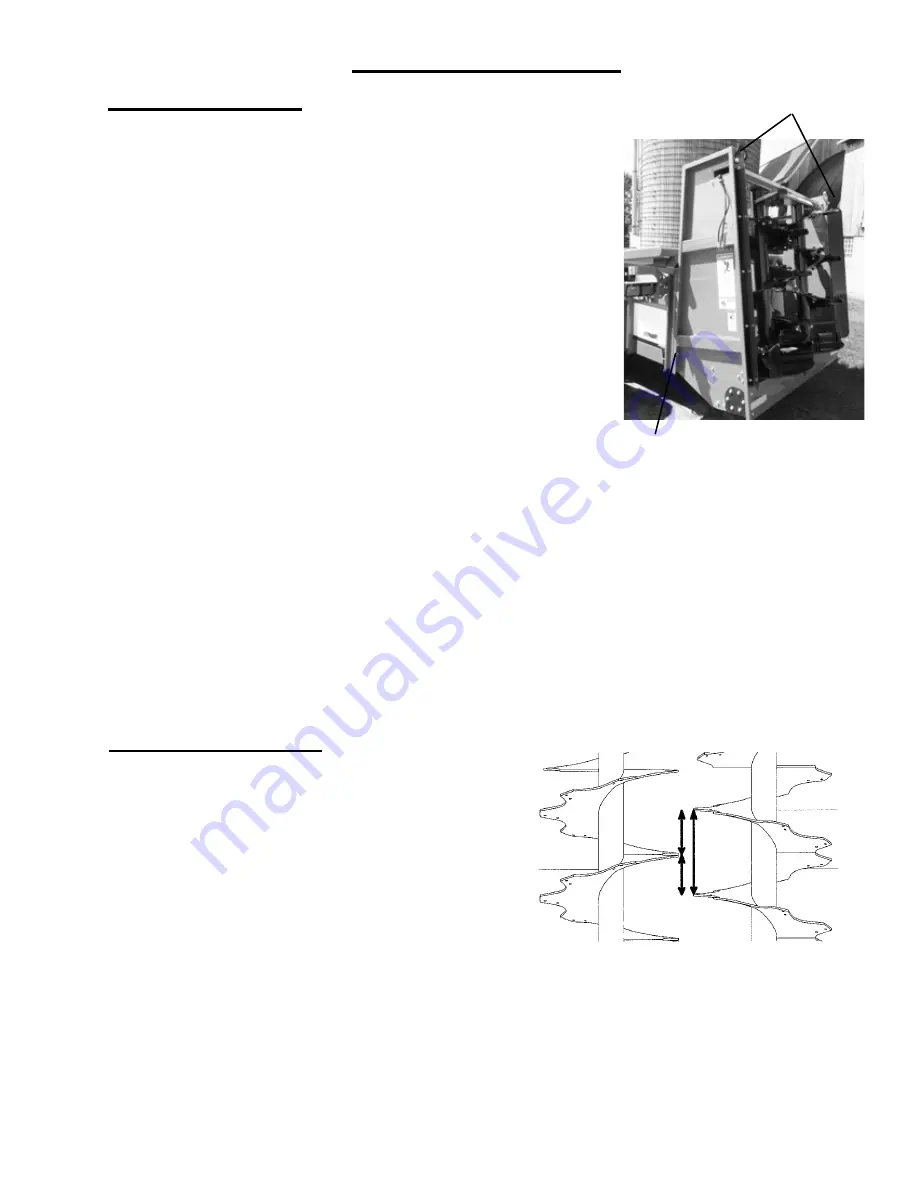
BEATER REMOVAL
The beater attachment can easily be removed for various reasons
such as manure stock piling.
1. Remove bolts, nuts and lockwashers at the same location on
each side (A).
2. Disconnect the quick disconnect PTO from the gearbox under the
rear of the manure spreader and remove the rear half of the PTO.
3. The remaining portion of the rear PTO has a roll pin that must
be removed to slide the front portion of the PTO from the shaft.
4. After removal of both PTO halves, slide them together and store
them in a safe place.
5. Securely attach a lifting chain to the lifting eyes at the top of the
beater assembly (B).
6. Lift the beater assembly gently until alignment pegs are clear of
the alignment holes.
7. Store the beater assembly on level ground with blocking as not
to damage the drive system.
B
TIMING OF BEATERS
The beaters must be timed so the flighting of the opposite
beater is about halfway between the beater being timed.
If the beaters are not timed correctly, contact your H&S
dealer for timing instructions.
A
Summary of Contents for 4242
Page 6: ...4 Intentionally Left Blank...
Page 8: ...6 Intentionally Left Blank...
Page 10: ...8 Intentionally Left Blank...
Page 13: ...11 SAFETY DECALS...
Page 14: ...12 SAFETY DECALS...
Page 15: ...13 SAFETY DECALS...
Page 18: ...16 HYDRAULIC FITTING TORQUE SPECIFICATIONS...
Page 19: ...17 HYDRAULIC FITTING TORQUE SPECIFICATIONS...
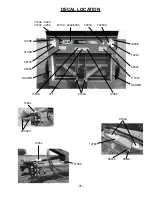
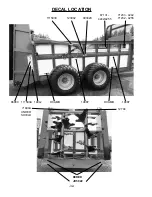
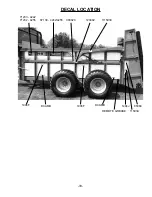
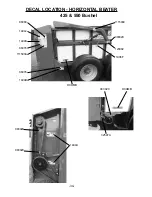
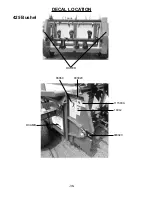
Page 38: ...36 DECAL LOCATION 425 Bushel DCRED 093020 093020 111593A 1494J 86060 DCAMB...
Page 41: ......

