32
• Follow directions provided by manufacturer and these instructions.
SHINGLES
- NOT INCLUDED -
NEVER DRIVE FASTENERS INTO OR ABOVE SEALING STRIPS.
Familiarize yourself with a 3-Tab Shingle.
SHINGLE NAIL PATTERN
1"
(2,5 cm)
NAILS
Sealing Strip
1"
(2,5 cm)
1/2"
(1,3 cm)
Full Rain Slot
Half A Rain Slot
Notch
Notch
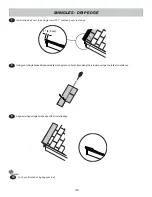
Begin at the front of roof and work your way up to the back of roof:
Install first starter row upside down, color up and flush to drip edge at bottom of roof panel. Use (4) nails per shingle.
Starter row must be straight and level all the way across with lower edge of roof deck.
Begin where indicated on image below, install first row of shingles with notch flush with drip edge.
2
2
Drip Edge
Notch
BACK OF SHED
BACK OF SHED
FRONT OF SHED
FRONT OF SHED
START HERE
TABS UP
BEGIN
Shingle overlaps
roof decking.
(4) Nails
Flush to drip edge.
Flush with starter row.
1" (2,5 cm)
Flush to drip edge.
DOOR
DOOR
BEGIN
¸
1


