16
Hangar 9 33% Pawnee 80cc ARF
Note
: Always use threadlock on metal-to-metal
fasteners to prevent them from vibrating loose.
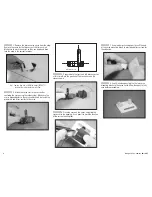
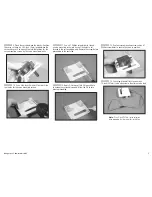
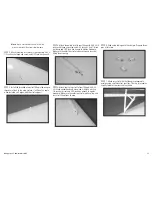
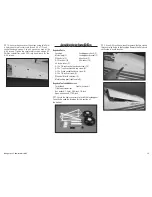
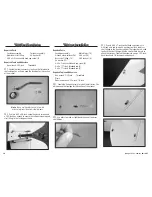
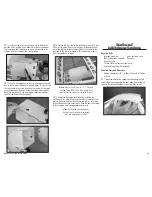
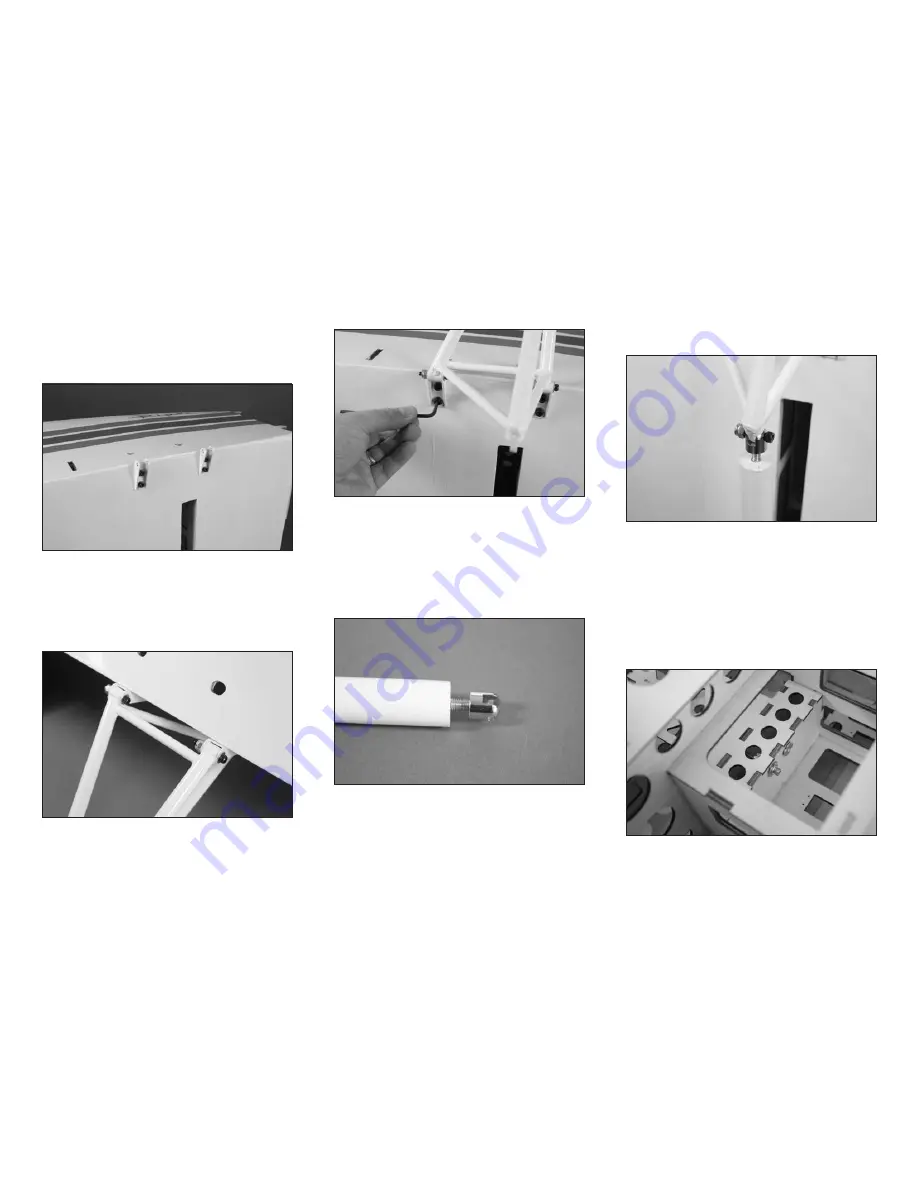
3. Use four 8-32 x 3/4-inch socket head cap screws
and four #8 washers to attach the two landing gear brackets
to the bottom of the fuselage. Leave the screws slightly
loose so the gear can be installed. Tighten the screws using
a 1/8-inch hex wrench.
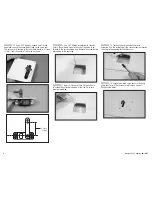
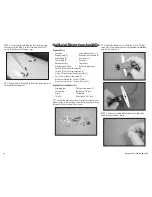
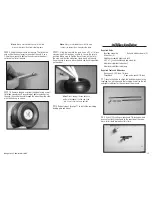
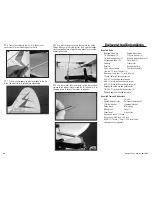
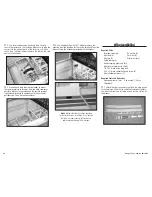
4. Use two 8-32 x 1-inch socket head cap screws,
four #8 washers and two 8-32 lock nuts to attach the main
landing gear to the brackets. Use a 1/8-inch hex wrench and
11/32-inch open-end wrench to tighten the hardware. Make
sure not to over-tighten the hardware as the gear must move
freely in the brackets.
5. Fully tighten the screws that secure the landing gear
brackets to the fuselage at this time using a 1/8-inch hex
wrench. Double-check that the gear can still move freely in
the brackets. If not, adjust the hardware as necessary.
Note
: Always use threadlock on metal-to-metal
fasteners to prevent them from vibrating loose.
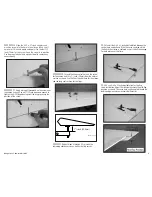
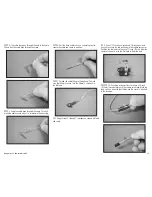
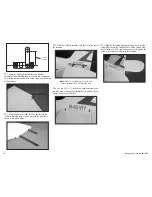
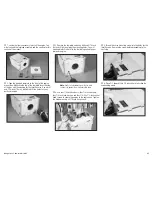
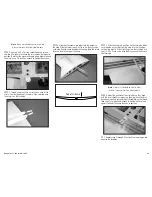
6. Thread the shock end on the shock. Screw the end
on so the threads are flush to the inside of the bracket. You
must use threadlock on the shock end to prevent it from
vibrating loose over time.
7. Attach the shock end to the main landing gear
using an 8/32 x 1-inch socket head cap screw and 8/32 lock
nut. Use an open-end 11/32-inch wrench and 1/8-inch hex
wrench to tighten the hardware. Check to make sure the
shock can pivot on the gear, and if not, adjust as necessary
until if can move freely.
Note
: Always use threadlock on metal-to-metal
fasteners to prevent them from vibrating loose.
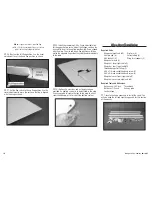
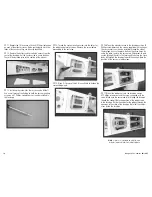
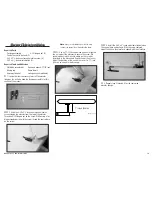
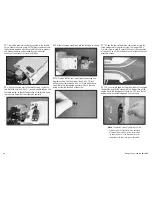
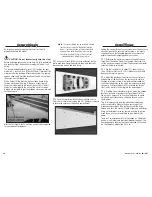
8. Slide a #8 lock washer, then a #8 washer on an
8/32 x 2-inch socket head cap screw. Slide the screw
through the bushing, then on through the hole in the top of
the shock. The screw then threads into a blind nut that has
been installed in the fuselage. Tighten the screw using a
1/8-inch hex wrench.

