43
Hangar 9 Alpha 40 ARF Assembly Manual
Step 5
As you slide the wing panels together, make sure the pin at
the back (trailing edge) of the wing slides into the hole of
the receiving wing panel. Slide the two wing panels tightly
together so there is no gap between the two.
Step 6
Use a paper towel and rubbing alcohol to remove any epoxy
that seeps from the joint between the two wing panels.
Step 7
Use tape (low-tack tape suggested) to keep the two wing
panels tight against each other until the epoxy is fully cured.
Step 8
After the epoxy has fully cured, use a covering iron to apply
the covering to the joint of the wing. Use the red covering
on the bottom of the wing, and the white covering on the
top of the wing.
Step 9
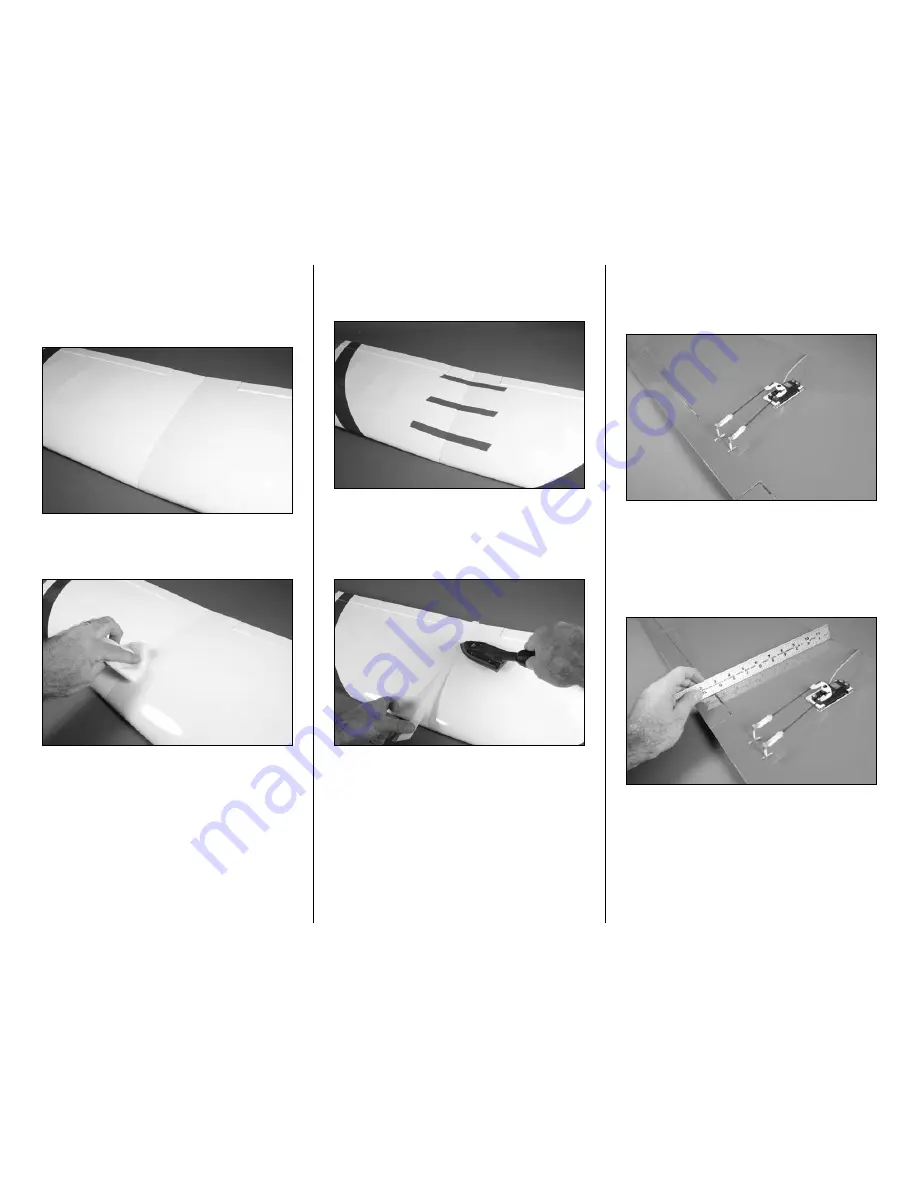
Connect the clevises from the aileron pushrods to the aileron
control horns. The alignment of the ailerons will be checked
later in this manual.
Step 10
Plug the aileron servo into the extension coming from the
aileron port of the receiver. Turn on the radio system and
center the aileron stick and trim. Use a ruler to check that the
aileron are in alignment with the bottom of the wing. If they
are not, thread the clevis in or out as necessary to align the
aileron and wing. Make sure to align both aileron at this time.


