10
Section 3: Installing the Aileron Servos
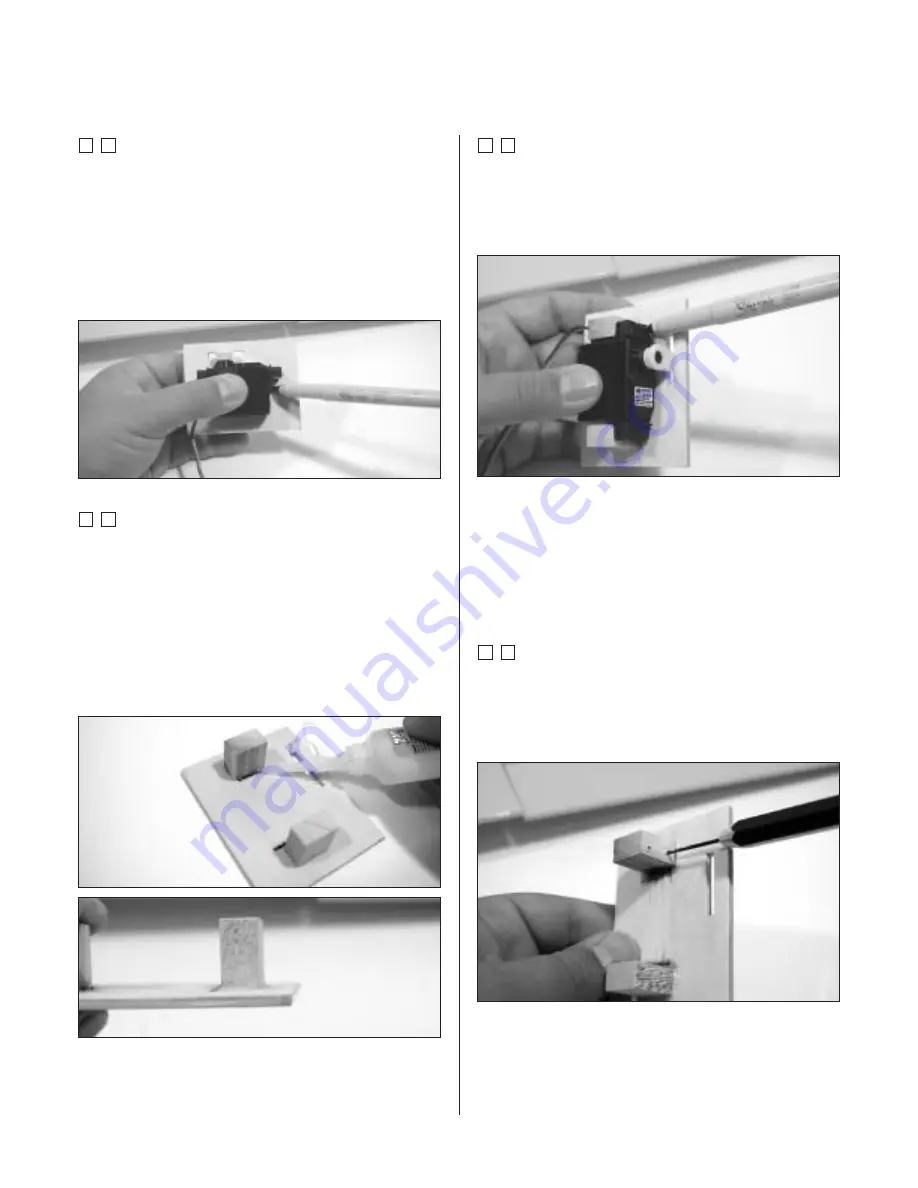
Step 2
Install the recommended servo hardware (grommets
and eyelets) supplied with your radio system onto
the aileron servo. Temporarily install a long half
servo arm (JRPA212) onto the servo and test fit the
servo to the hatch. The servo output shaft and control
arm should be centered in the slot of the hatch. Once
satisfied, mark the location for the servo mounting blocks.
Step 3
Locate the servo mounting blocks. Using a few drops of
thin CA, tack glue them in place on the marks made in
the previous step. Check the fit of the servo between the
mounting blocks. When satisfied with the fit, permanently
glue the mounting blocks in place by first wicking thin CA
between the mounting blocks and the hatch, and then
using thick CA create a fillet around the base. Let the CA
completely dry before proceeding to the next step.
Step 4
Place the aileron servo between the mounting blocks and
use a felt-tipped pen to mark the location of the four servo
mounting screws. Note that the servo must not touch the
hatch in order to isolate engine vibration.
Note
: Before mounting the servo, we suggest
that you electronically center the aileron servos
and install the servo arm to avoid having to
remove the servo to mount the servo arm in
subsequent steps.
Step 5
Remove the servo and using a 1/16" drill bit, drill the four
servo mount screw holes marked in the previous step.
Using the screws supplied with your radio system, mount
the servo to the mounting blocks.


