7
Section 2: Joining the Wing
Parts Needed
• Center wing section w/retracts installed
• Right wing panel assembly
• Left wing panel assembly
• Wing joiners
Tools and Adhesives Needed
• Ruler
• Masking tape
• 30-minute epoxy
• Rubbing alcohol
• Paper towels
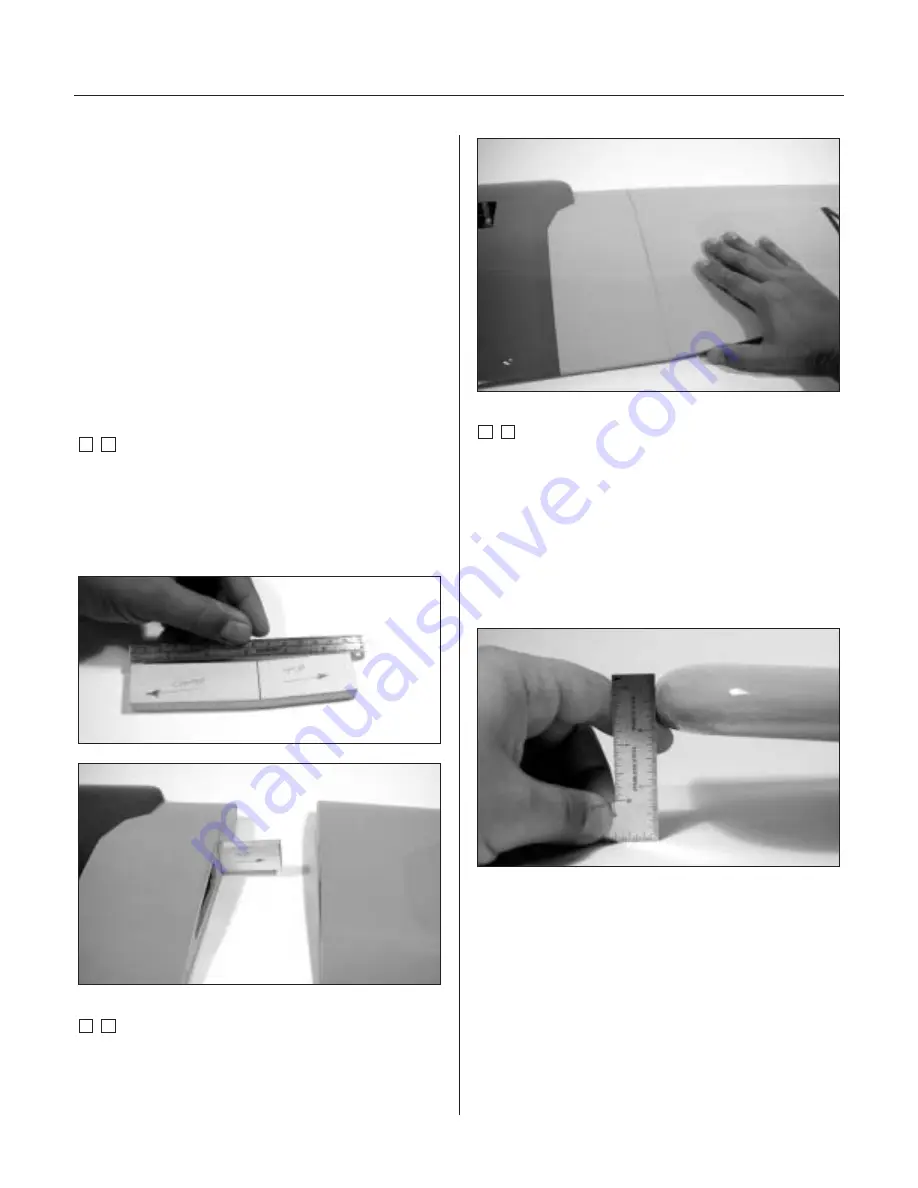
Step 1
Locate the wing joiners. Note that the “V” in the joiner is
not centered. The longer end inserts into the center wing
panel. Test fit the joiners into the center section and make
sure they inserts up to the “V.” Mark the joiners for ease
of reference while gluing the wing panels together.
Step 2
Trial fit the tip panels onto the center section. The panels
should meet with no gaps present on the top or bottom.
Step 3
Check for correct dihedral angle. Place the wing on
a large flat surface with the center panel resting flat
on the surface. Each wing tip panel should be 2" from the
surface measured to the bottom of the tip panel. If
necessary, sand the wing joiner until the proper dihedral
is achieved. There should be no gap at the wing joint.
Once you are satisfied with the fit, separate the wing
panels and remove the wing joiner.
Note
: Read through the remaining steps of
this section before proceeding to epoxy the
wing panels together.
Hint
: It is extremely important to use plenty
of epoxy when joining the wing panels
together. It will also be helpful to use wax
paper under the wing joints to avoid gluing
the wing to your worktop.
Step 2 photo


