50
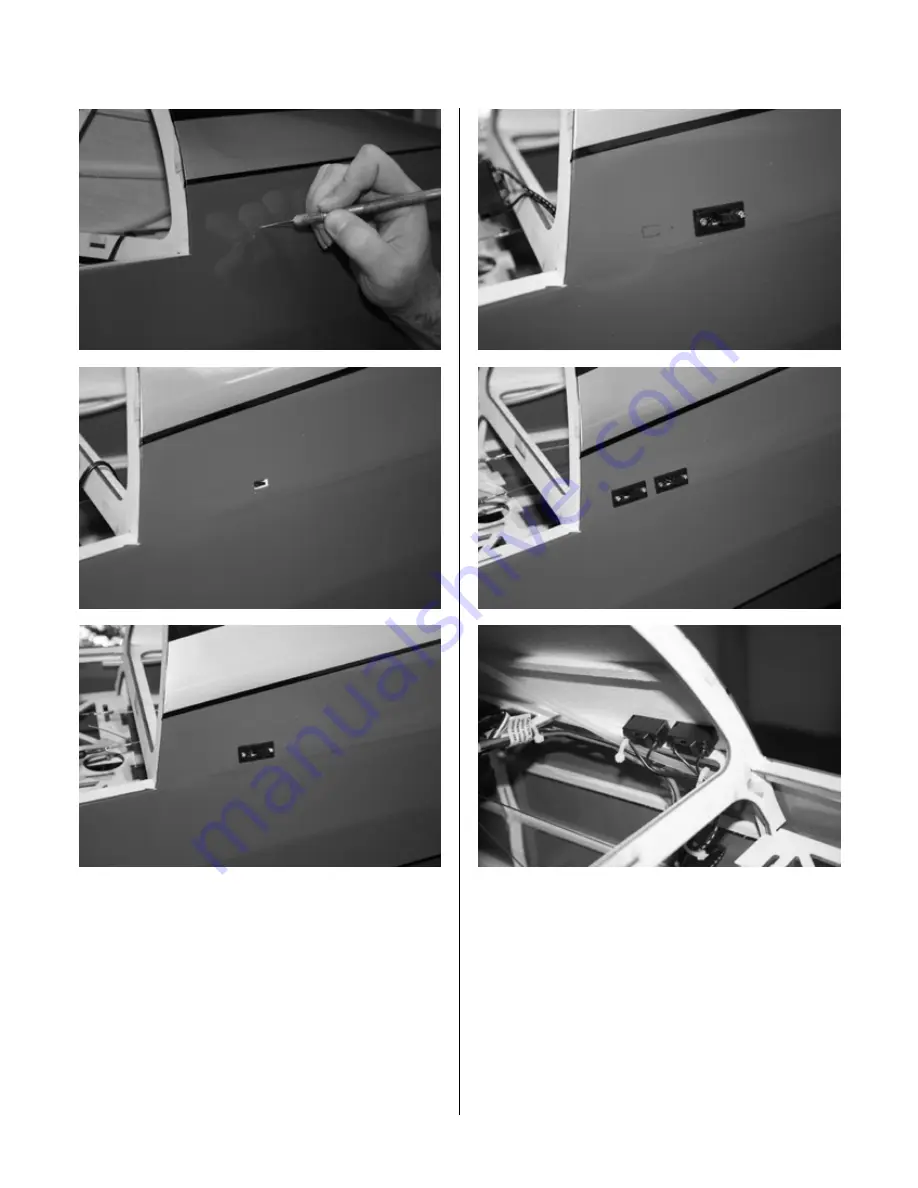
Step 3
Switch number two follows the same step
as switch number one. Before installing the
screws, use a 1/16-inch drill bit and slowly
drill pilot holes in the sheeting, then add a tiny
bit of thin CA to the screws before completing
the installation. If the steps are followed
properly as described, there is no need to
back the screws with a sheet of light plywood.
Step 4
Follow the steps below to prepare the
receiver for mounting.
1. Apply masking tape to the bottom of the
receiver.
2. Glue using (CA) 1/4-inch foam to masking
tape.
3. Glue using CA (medium) Velcro (soft part)
to foam.
Summary of Contents for Beast 100
Page 10: ...10 ...
Page 23: ...23 ...
Page 33: ...33 ...
Page 44: ...44 ...
Page 70: ... 2010 Horizon Hobby Inc horizonhobby com 16725 Created 01 10 ...


