20
Section 6: Installing the Tail (Vertical and Horizontal Stabilizer)
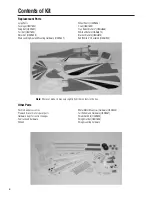
Fuselage
Wing
Horizontal stabilizer with elevators
Vertical stabilizer with rudder
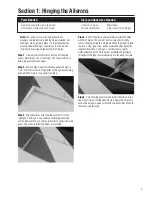
Thin CA glue
CA remover/debonder
30-minute epoxy
Epoxy brush
Hobby knife with #11 blade
Straight edge
Pencil
Parts Needed
Tools and Adhesives Needed
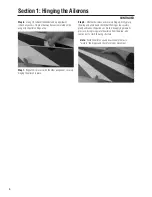
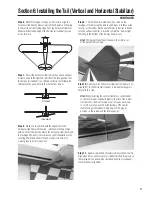
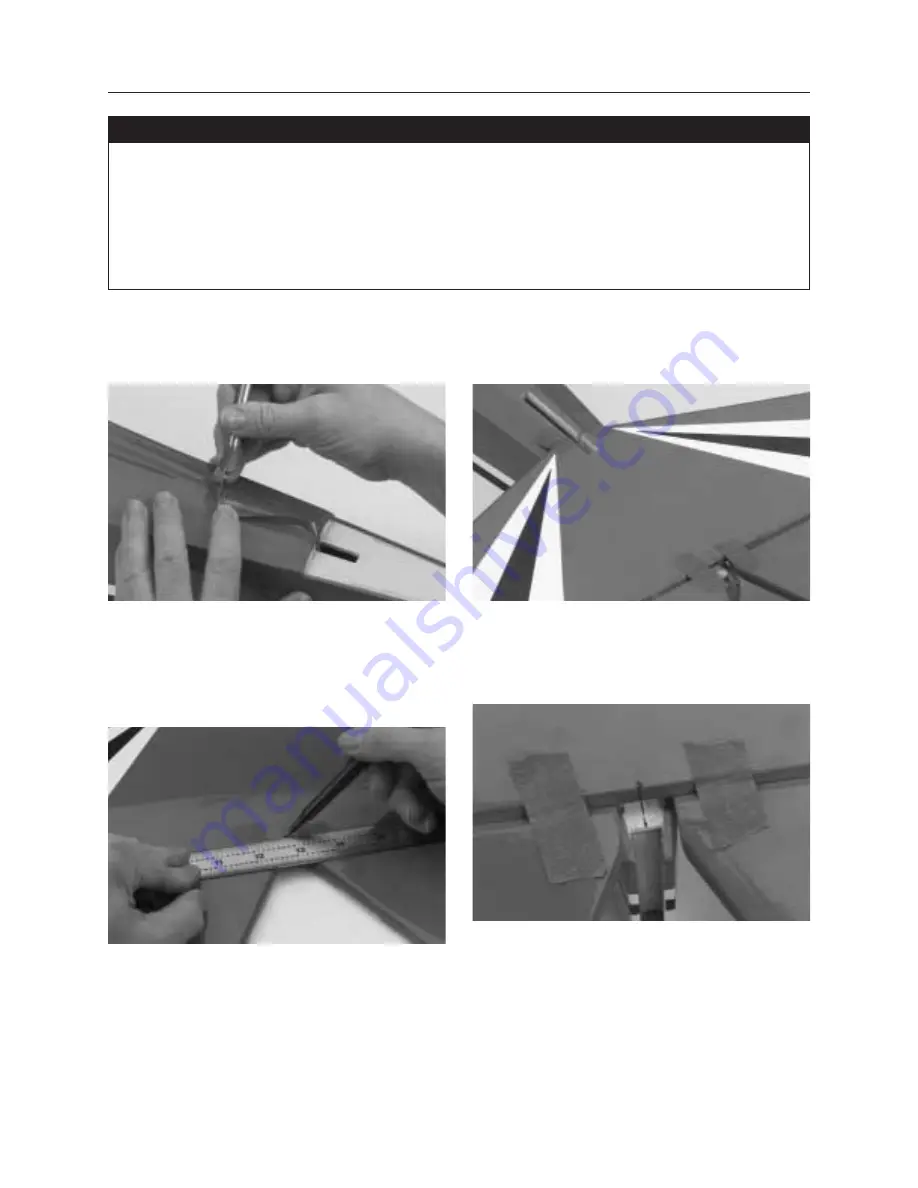
Step 1.
On the rear of the fuselage, slots are precut in the wood
structure for the vertical fin. The horizontal stabilizer mounts to
the area at the top of the fuselage rear. You will need to trim away
the covering with a sharp hobby knife.
Step 2.
The horizontal stabilizer will be mounted to the
fuselage first. Keep the two elevator halves on the horizontal
stabilizer to assist in centering the horizontal stabilizer. Use a
straight edge to locate and mark the centerline of the horizontal
stabilizer. This will serve as a reference point when installing the
horizontal stabilizer onto the fuselage.
Step 3.
By noting the centerline you marked, you can position
the horizontal stabilizer so that it’s centered on the fuselage
opening where the vertical stabilizer will go and the rear of
the fuselage.
Step 4.
Mark the centerline of the rear of the fuselage. Position
the horizontal stabilizer so its center line mark is in line with the
fuselage rear mark. Use the ruler to make sure the horizontal
stabilizer projects an equal amount on either side of the fuselage
at that point.
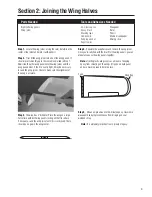
Step 5.
Install the wing and sight the horizontal stabilizer
alignment from the rear of the aircraft. Make sure the horizontal
stabilizer is level with reference to the wing.
Felt-tipped pen
Masking tape
Rubbing alcohol
Paper towels
90-degree triangle
Ruler (36")
Summary of Contents for Clipped-wing Taylorcraft
Page 55: ...55 Notes ...

