26
Standard control horns (4)
Plastic plates (2)
Screws (6)
Nuts (2)
Fuselage
Rudder
Elevators (2)
Phillips screwdriver
Drill
Drill Bit: 1/16"
Ruler
Felt-tipped pen
Masking tape
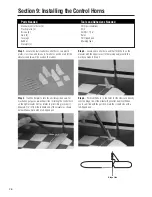
Step 1.
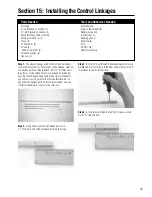
Locate the four standard control horns, two plastic
plates, six screws, and two nuts. Two horns will be used for the
elevators and two will be used on the rudder.
Step 2.
It will be helpful to turn the aircraft upside down. For
illustration purposes, we will describe installing the control horn
on the right elevator first (as relates to pilot sitting in cockpit).
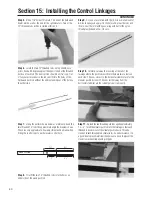
Measure 1/2" in from the inboard end of the elevator as shown
below. Make a mark with a felt-tipped pen.
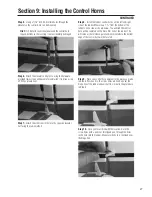
Step 3.
Locate one control horn and trial fit the horn on the
elevator with the edge closest to the fuselage adjacent to the
mark you made in Step 2.
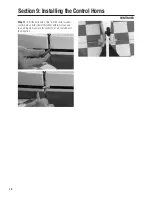
Step 4.
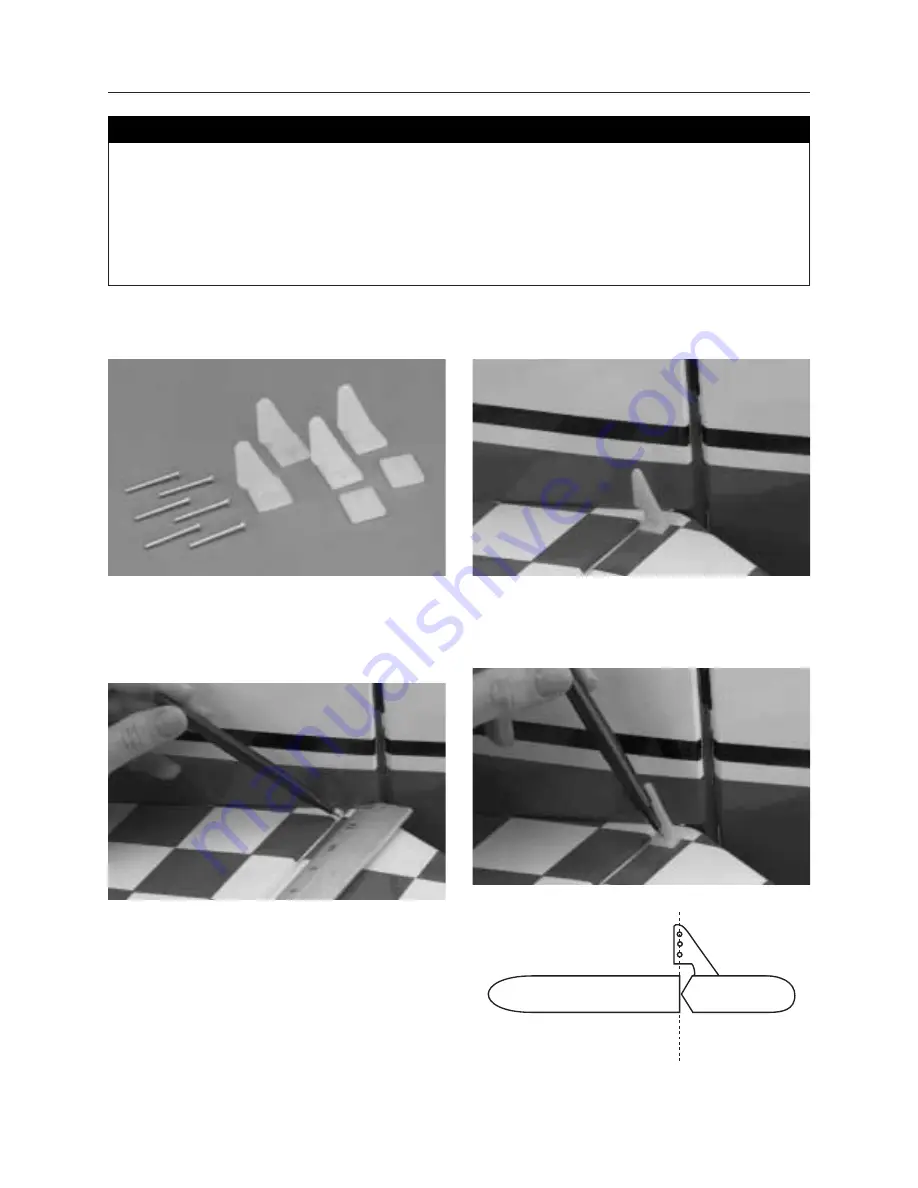
Position the horn so the holes for the clevis are directly
over the hinge line of the elevator/horizontal stabilizer. When
you’re satisfied with the position, mark the screw holes with a
felt-tipped pen.
Section 9: Installing the Control Horns
Hinge Line
Parts Needed
Tools and Adhesives Needed
Summary of Contents for Clipped-wing Taylorcraft
Page 55: ...55 Notes ...

