44
Parts Needed
Tools and Adhesives Needed
Parts Needed
Tools and Adhesives Needed
Section 16: Attaching the Cowling
Fiberglass cowling
Machine screws (4)
Washers (4)
Grommets (4)
Drill
Drill Bit: 1/16"
Masking tape
Moto-tool with sanding drum
Carbide cutter
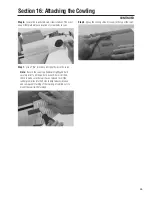
Step 1.
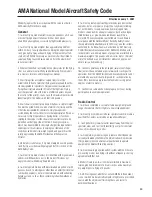
Trial fit the cowl to your fuselage. Note the areas
needing to be trimmed out, such as needle valve openings,
external fill opening, etc.
Step 2.
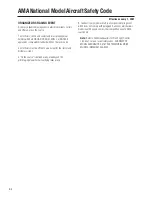
Mark the location of the needle valve, cylinder head,
and muffler with a felt-tipped pen. For illustration purposes, we
are showing the openings for the MDS
™
1.48 engine mounted in
the Taylorcraft.
Step 3.
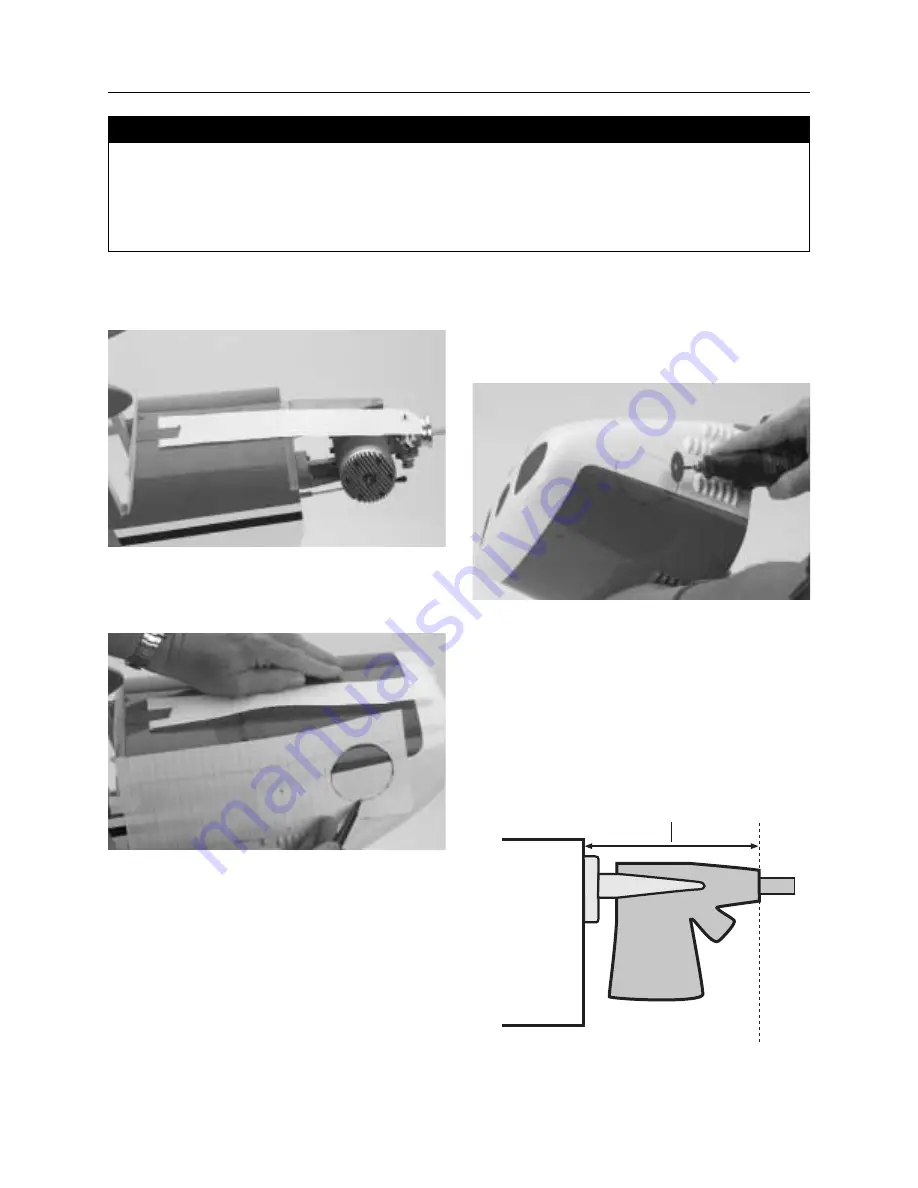
Carefully cut out using a moto-tool.
Note:
If you’re using another type of engine, it will be
necessary to carefully cut portions of the cowl that are
located differently from where it is shown with the
installation of the MDS
™
1.48.
Step 4.
Slide the cowling onto the fuselage.
Note:
It may be necessary to trial fit the cowl with and
without the muffler attached to the engine.
Step 5.
Tape the cowl securely in position and check that it fits
correctly. There should be ample clearance (1/8" around the
engine and muffler). Also check that the prop drive flange (prop
driver) is centered in the opening of the cowl and that the flange
(driver) extends at least 3/16" forward of the cowl.
6"
Sanding stick
Ruler
Felt-tipped pen
Phillips screwdriver
Summary of Contents for Clipped-wing Taylorcraft
Page 55: ...55 Notes ...

