18
EN
71.
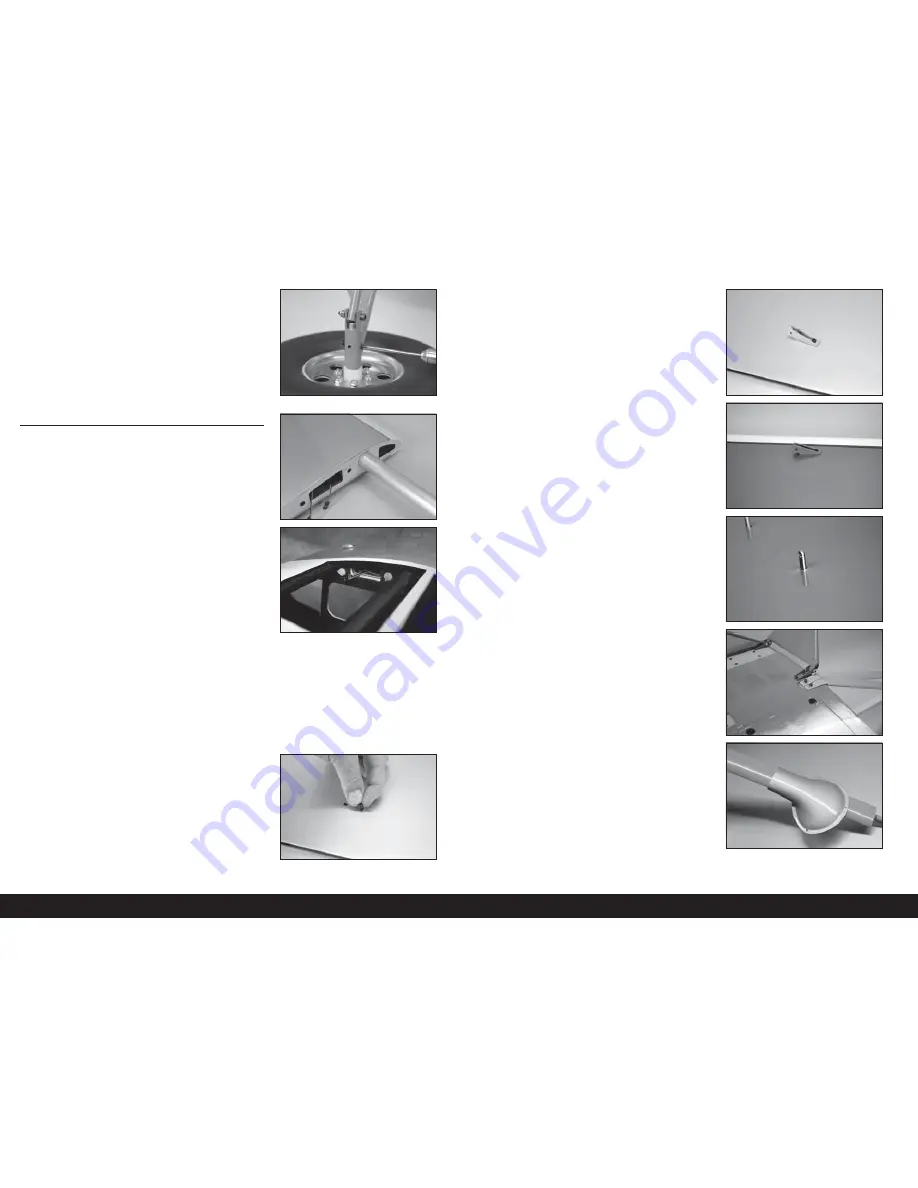
Slide the axle into the main landing gear. Place a drop
of threadlock on the two M3 x 3 setscrews. Thread the
setscrews into the gear, tightening them on the fl at areas of
the axle. Use a 2mm hex wrench to tighten the setscrews.
Use care not to overtighten the
setscrews and damage the threads.
Repeat the previous steps to install the remaining wheel.
WING AND WING STRUT INSTALLATION
72.
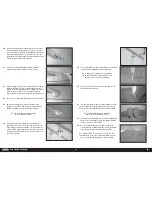
Slide the wing tube into the wing tube socket.
The wing tube may be a tight fit in the socket.
Polishing the wing tube with fine sand paper or steel
wool will help ease the installation of the wing tube.
73.
Slide the wing into position on the fuselage. Guide the leads
for the ailerons and fl aps into the fuselage. Secure the wing
to the fuselage using two nylon wing bolts.
The nylon bolt can be shortened to 1
3
/
8
inches
(55mm) to make securing the wing easier.
Repeat the previous steps to attach
the remaining wing panel.
In testing, we found that a single wing bolt near the leading
edge of the wing and the installation of the wing struts was
enough to retain the wings even during sustained aerobatics.
75.
Attach the strut fi tting near the aileron to the bottom of the
wing using two M3 x 15 socket head cap screws. Apply a
drop of threadlock on each screw before tightening them
using a 2.5mm hex wrench.
Do not overtighten the screws and
compress the wing sheeting.
76.
Attach the strut fi tting near the leading edge to the bottom of
the wing using two M3 x 15 socket head cap screws. Apply
a drop of threadlock on each screw before tightening them
using a 2.5mm hex wrench.
Do not overtighten the screws and
compress the wing sheeting.
77.
Thread the jury strut mounts into the holes in the wing. The
base of the mount will be fl ush with the bottom of the wing.
Place a drop of canopy glue on the screws before
installation. This will keep the mounts from vibrating loose.
78.
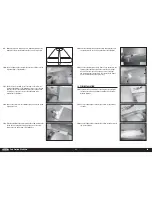
Attach the wing struts to the fuselage using two M3 x 15
socket head cap screws and two M3 washers. Tighten the
screws using a 2.5mm hex wrench.
Place a drop of canopy glue on the screws before
installation. This will keep the screws from vibrating loose
yet leave them easily removable to disassemble the model.
79.
Slide the outer strut fairing on the strut.
The outer strut fairings are optional as
they are a non-functional scale detail.
74.
Thread an M3 x 15 socket head cap screw into each of the
blind nuts in the bottom of the wing. If any of the screws do
not thread easily, use a 3mm tap to clear the threads.


