32
EN
204.
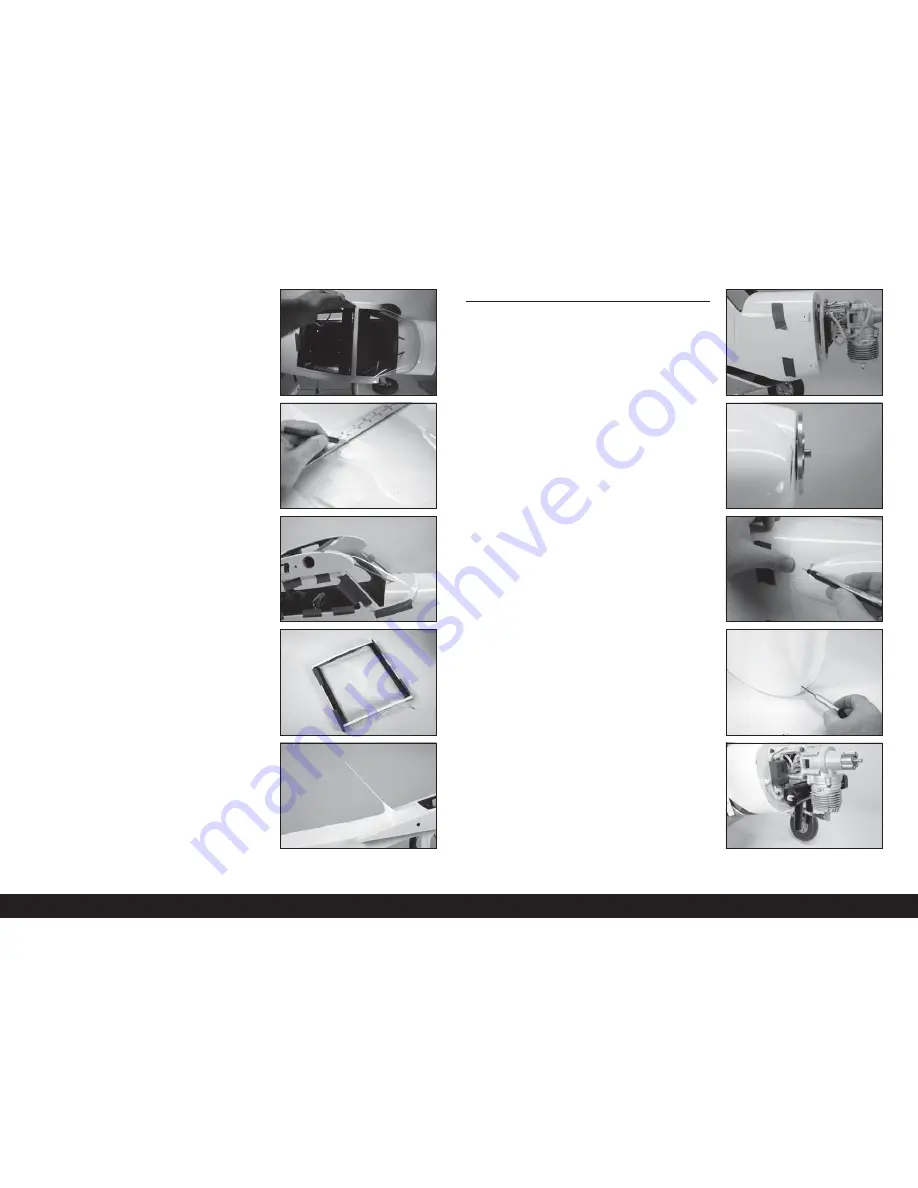
Tape the front window in position. Mark the window at the
division between the top hatch and fuselage.
205.
Use a hobby knife with a new #11 blade to cut the
windshield. The rear fl at area will be glued to the canopy
hatch.
206.
Remove the canopy hatch from the fuselage. Use canopy glue
to glue the windshield to the fuselage. Use low-tack tape to
hold the windshield in position until the glue fully cures.
207.
Position the remaining windshield on the canopy hatch. There
is a hole in the clear material that aligned with the screw
at the rear of the hatch. Use canopy glue to attach the two
items together. Use low-tack tape to hold the clear material
in position until it cures. Once cured, trim the material around
the edges of the hatch.
208.
Remove the covering on the top of the fuselage for the
antenna mast. Plug the antenna mast into the opening. We
recommend removing the antenna mast when transporting or
storing your model.
COWLING INSTALLATION
209.
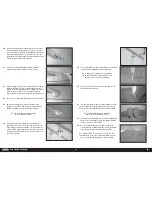
Cut four pieces of card stock that are 1/2 x 2 inches (13 x
51mm). Make a 1/8-inch (3mm) hole in each piece. Tape the
card stock to the fuselage with the hole aligned with the blind
nut in the fuselage.
210.
Slide the cowling on the fuselage, making sure the paper
markers are on the outside of the cowl. With the backplate
pressed tightly against the engine driver washer, position
the cowl so there is a 3/32-inch (2mm) gap between the
backplate and cowl. Also make sure the cowl is aligned with
the backplate. Use low-tack tape to keep the cowl attached to
the fuselage for the following steps.
211.
Use a felt-tipped pen to mark the holes on the cowl using the
paper templates as a guide.
212.
Remove the cowling from the fuselage and drill the locations
using a pin vise and 1/8-inch (3mm) drill bit.
213.
Attach the muffl er to the engine using the hardware included
with the engine. Follow any instructions included with the
engine for the muffl er installation and any other connections
necessary for the operation of your engine.


