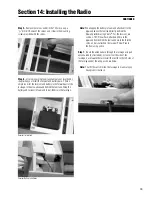
23
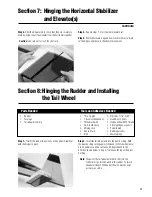
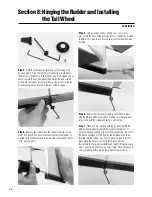
Step 8.
With the rudder aligned (up and down), apply thin CA
glue to the rudder hinges on both sides of the rudder, using the
same technique used in Section 1. Wipe away any excess CA
with CA remover/debonder. After the hinges are dry, check that
they are securely in place by trying to pull the rudder from the
vertical stabilizer and fuselage. There should be a minimal gap
(
1
/
64
”) between the rudder and the vertical stabilizer.
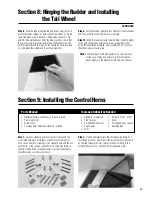
Step 9.
Work the rudder right and left. Check for free movement
and ensure that the tail wheel tracks accordingly.
Step 10.
Slide the tail wheel onto the wire. Next, slide the wheel
collar onto the wire and tighten the screw in the wheel collar
using the hex wrench provided. Use Locktitej® Z-42 to secure
the wheel collar screw in place.
Note:
The wheel must rotate freely with only a small amount
of side play. It may be necessary to drill out the tail
wheel slightly so the wheel will spin freely on the axle.
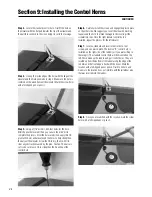
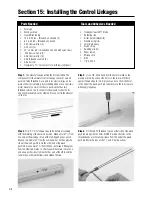
Step 1.
Locate a standard and reverse control horn and the
associated hardware. Note that on the bottom of the control
horn, the one with no markings is the standard horn and the one
with the “R” is the reverse control horn. The right (as relates to
the pilot sitting in the cockpit) elevator uses the standard horn,
the left elevator uses the reverse horn.
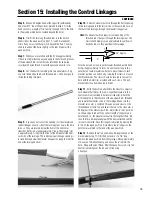
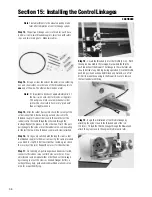
Step 2.
It will be helpful to turn the aircraft upside down. For
illustration purposes we will describe installing the control horn
on the right elevator first (as relates to the pilot sitting in the
cockpit). Measure 1/2'' out from the fuselage and mark.
Section 8: Hinging the Rudder and Installing
the Tail Wheel
CONTINUED
Section 9: Installing the Control Horns
Fuselage
• Standard/reverse control horns (2 each, 4 total)
• Plastic plates (3)
• Screws (12)
• Fuselage with rudder and elevators installed
• Standard screwdriver
• Thin CA glue
• CA debonder/remover
• Paper towel
• Drill
Parts Needed
Tools and Adhesives Needed
• Drill bits, 1/16”, 3/32”
• Ruler
• Felt-tipped pen or pencil
• Masking tape
Summary of Contents for EDGE 540
Page 52: ...52 ...
Page 53: ...53 Template Cut Out of Cowl Bottom MDS 1 48 ...
Page 54: ...54 ...
Page 55: ...55 ...
Page 56: ... 2000 Horizon Hobby Inc www horizonhobby com ...
Page 57: ...57 ...
Page 58: ...58 ...
Page 59: ...59 ...

