21
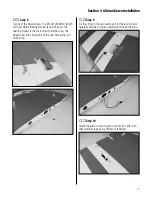
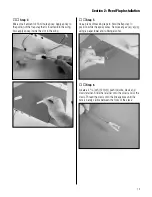
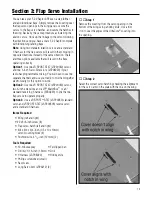
Step 7
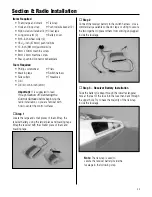
Pass the servo lead through the flap opening and out
the end of the wing. Secure the hatch using four
#2 x 3/8-inch sheet metal screws.
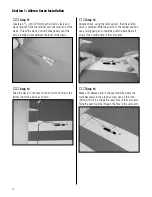
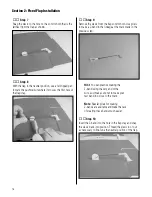
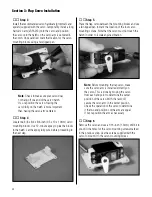
Step 8
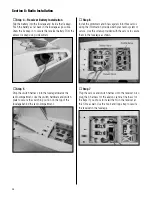
Locate a 4
3
/
4
-inch (121mm) pushrod wire, clevis and
clevis retainer. Slide the retainer onto the small end of the
clevis. Thread the clevis onto the linkage wire until the
wire is barely visible between the forks of the clevis.
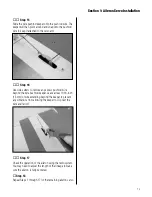
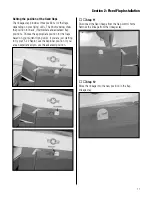
Step 9
With the flap in the neutral position, adjust the servo to
the full "up" position with your transmitter. Use a felt-
tipped pen to mark the pushrod wire where it crosses the
servo arm.
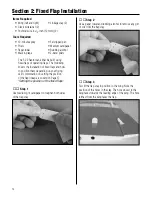
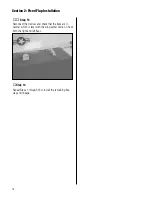
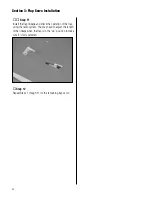
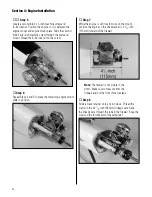
Step 10
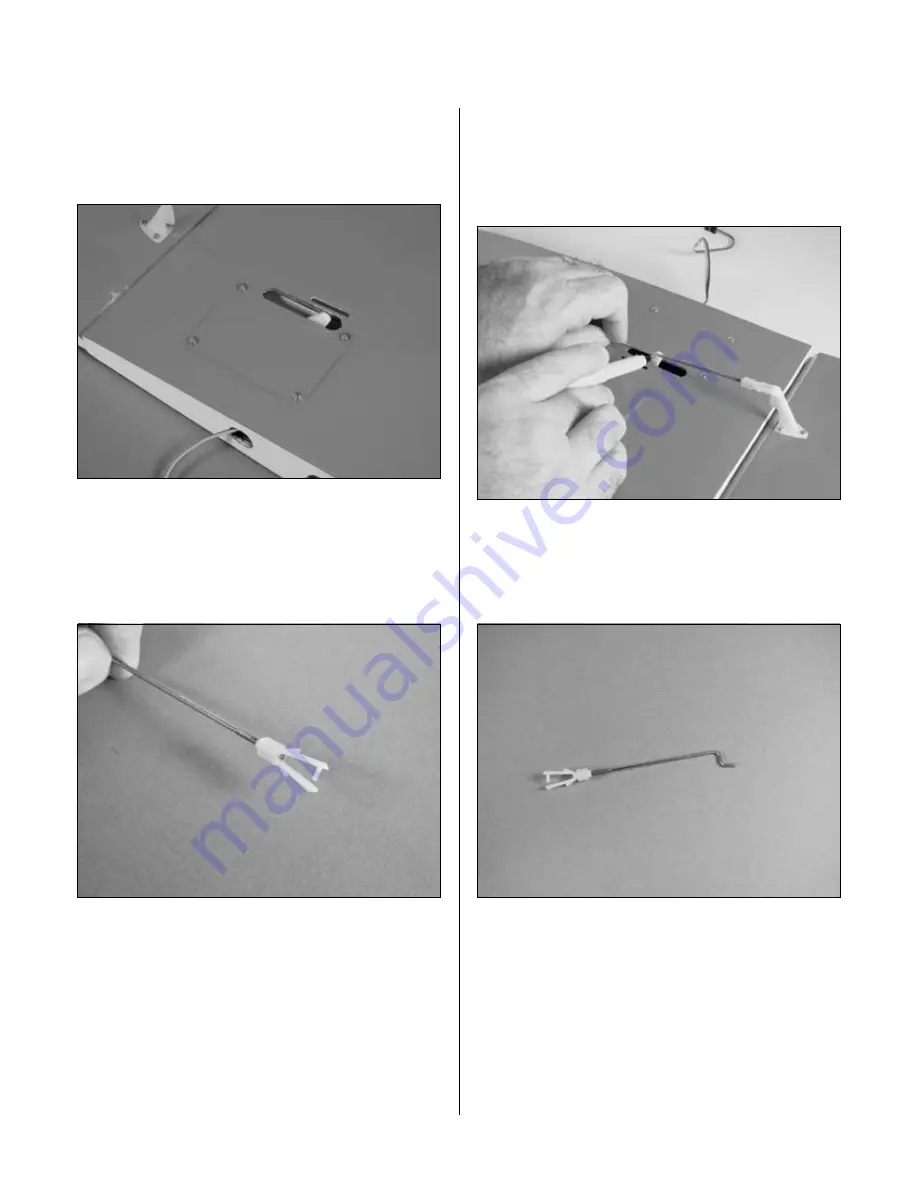
Remove the clevis from the flap control horn. Use pliers
to make a Z-bend in the linkage at the mark made in the
previous step.
Hint
: You can practice making the
Z-bend using the very end of the
wire. Just make sure not to make your
test bend too close to the mark.
Note
: Special pliers for making
Z-bends are available and make the task
of creating these bends much easier.
Section 3: Flap Servo Installation

